surprise your mom with some fancy-looking balloons

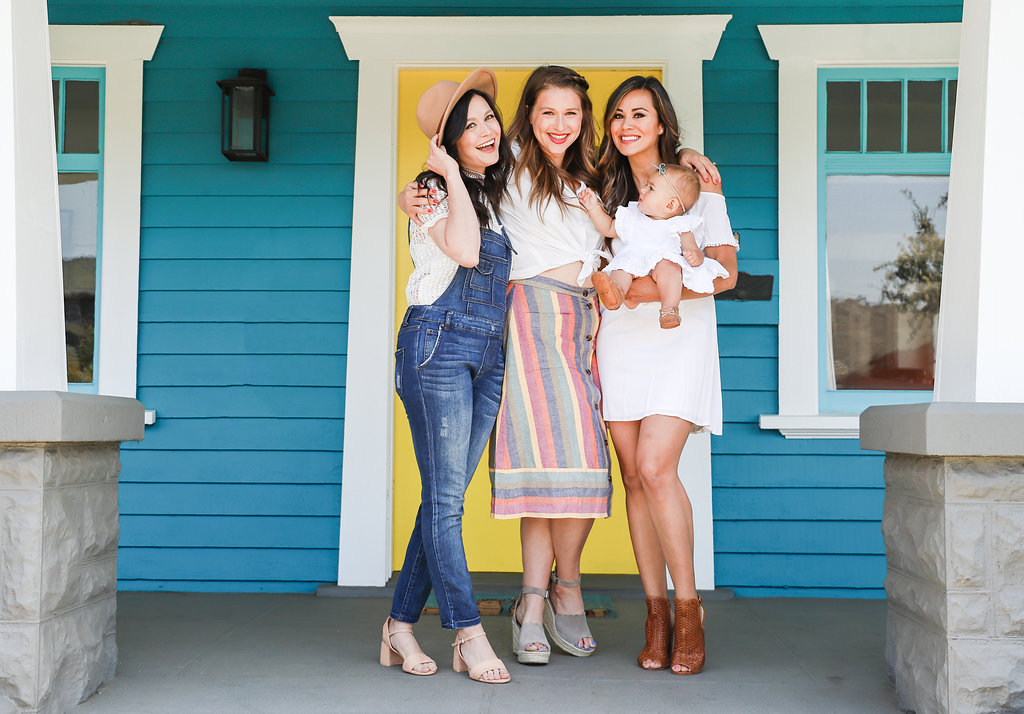
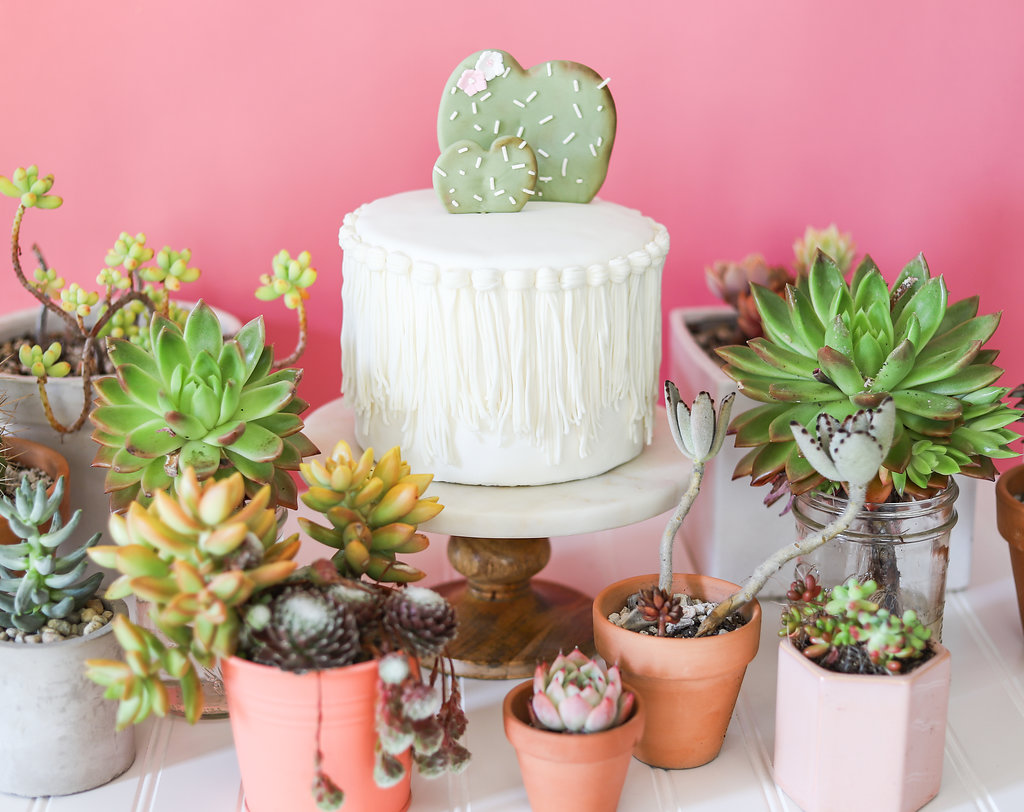
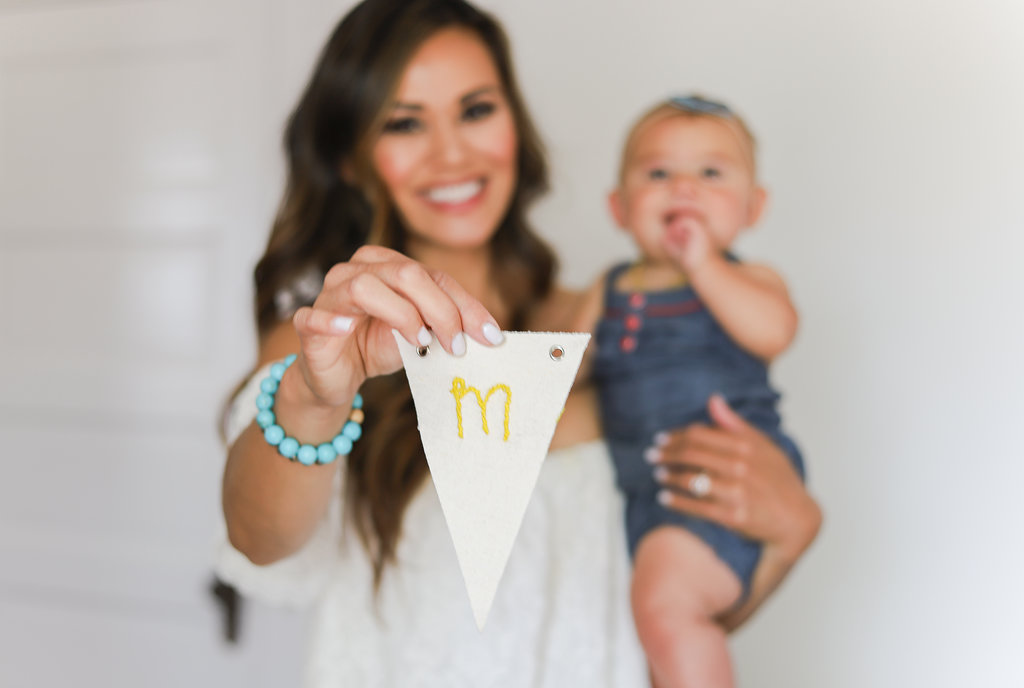
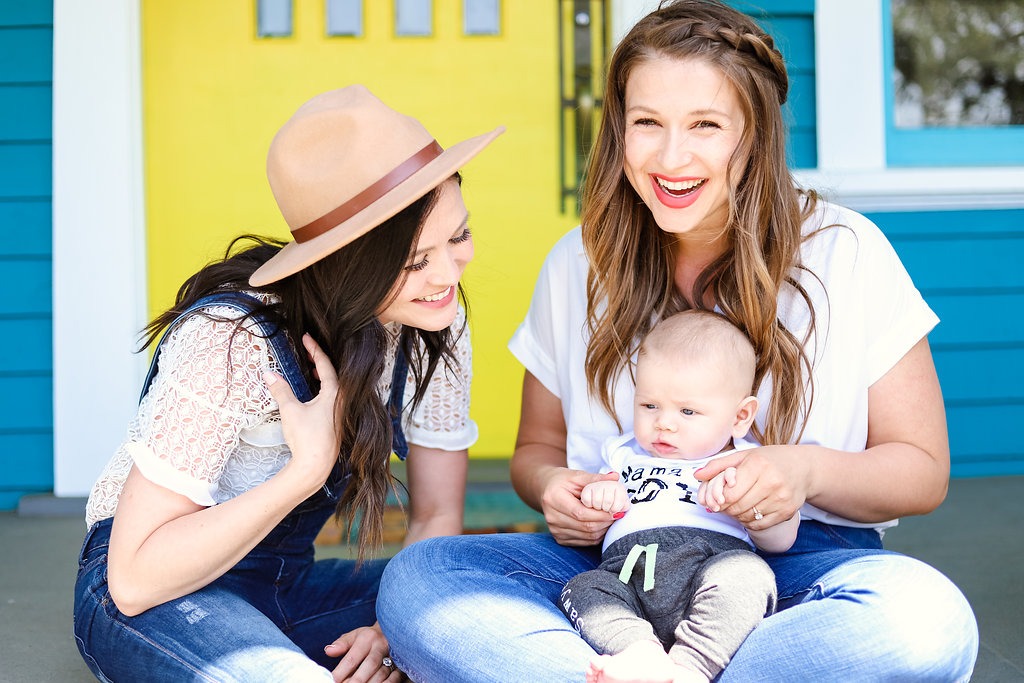
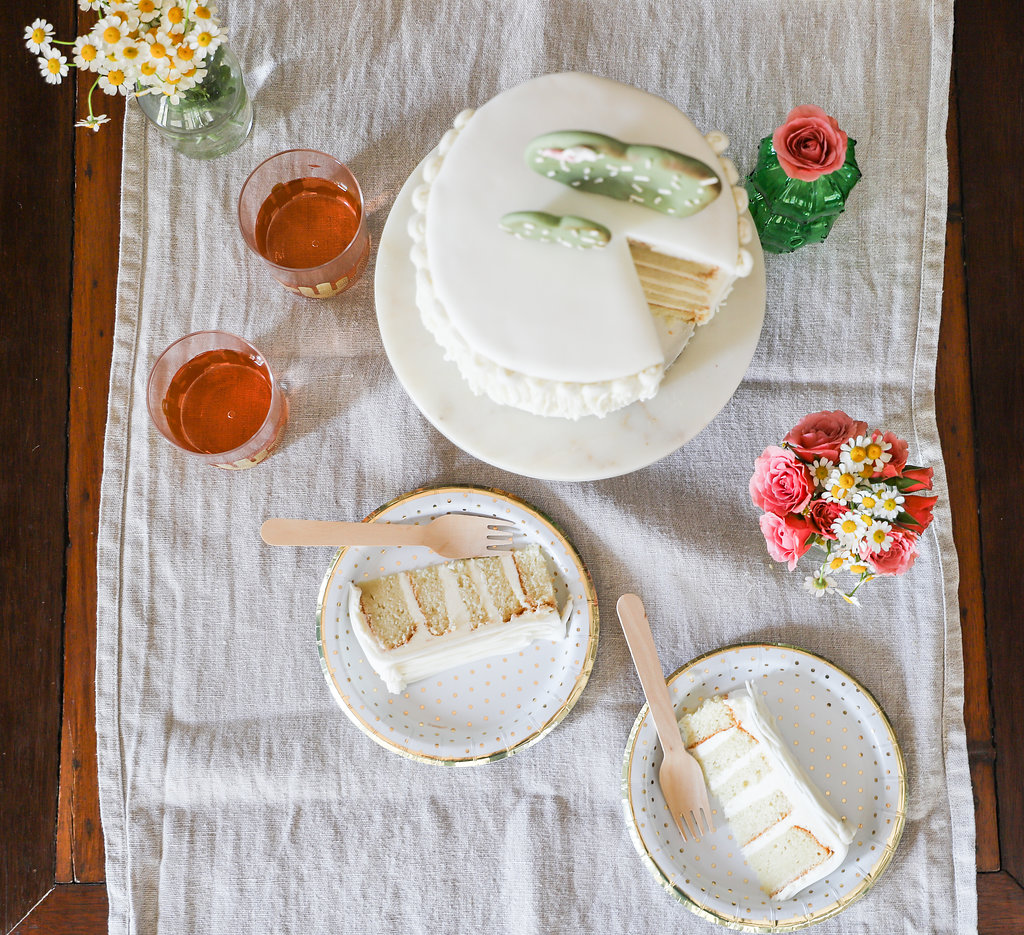
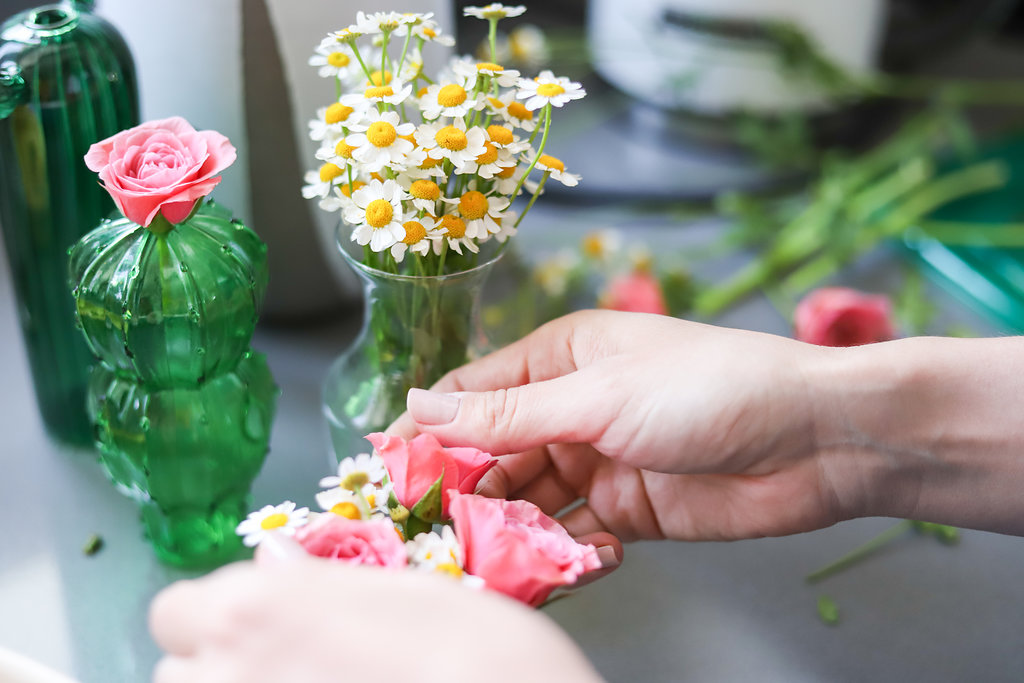
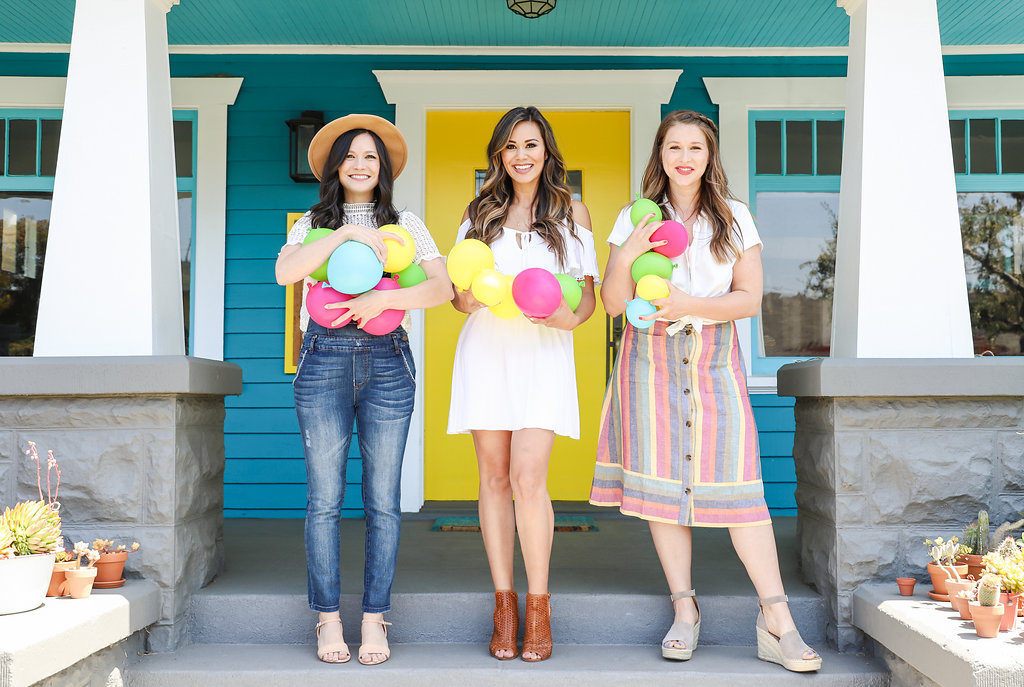
This year for Mother's Day, I've teamed up with two of my talented friends who are new moms, Ashley Adams and Brandi Milloy, to share a few projects for a sweet Mother's Day party. These ideas could be for your mom, for your friends who are moms, or even just for yourself (shhh...if you're not a mom, I won't tell). We each chose a project and then spent the afternoon hanging out and crafting (and I got to hold babies). Brandi embroidered a pennant for her daughter Milly, and Ashley baked & decorated the cutest (and most delish) boho cactus cake. Click here to check out Brandi's post, and here to see Ashley's, where you can see more behind-the-scenes photos & get instructions on how to recreate their adorable creations.


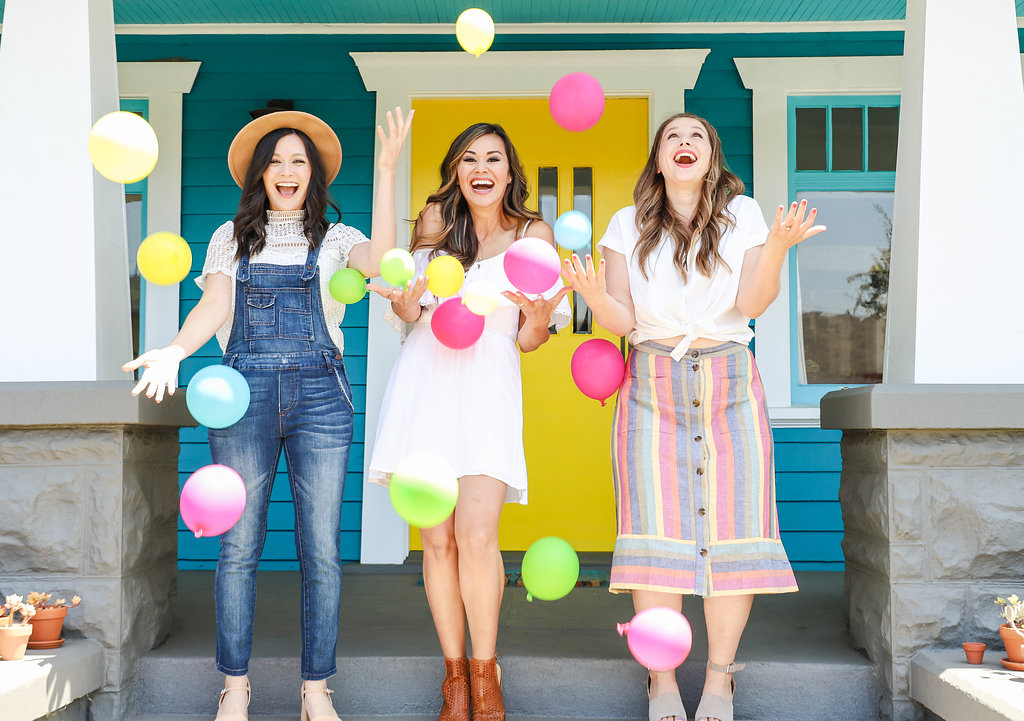

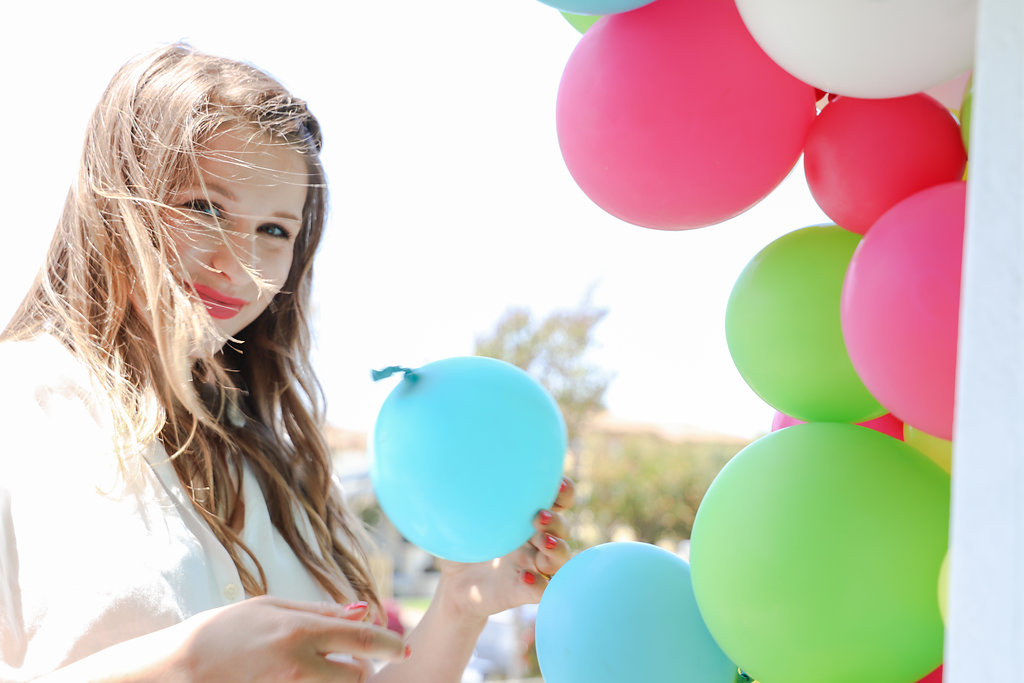
For my project, I decided to make make my own balloon installation. If you've seen these at events, you know how intricate they look, but I promise it's not as complicated as it seems. Not only is it a unique alternative to a handmade sign or flower arrangement for Mother's Day, it also makes for a super cute photo op.

Let's start with what you'll need:
latex balloons in different sizes & colors (you'll want to get 5 inch, 9 inch & 12 inch balloons)

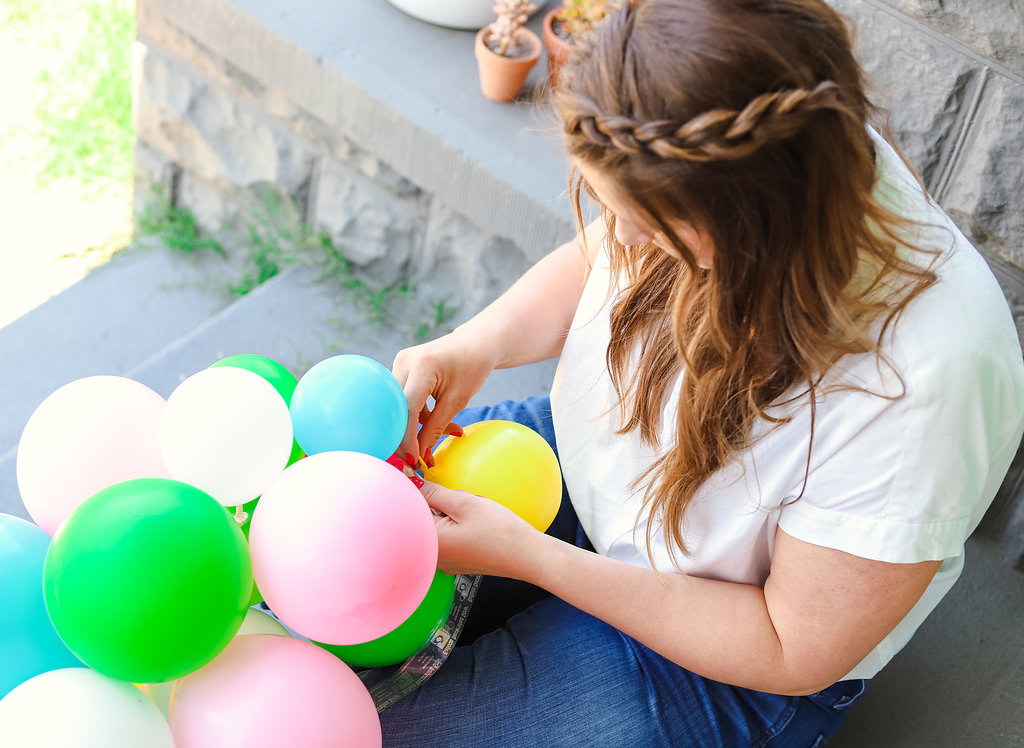
Inflating balloons with my new BFF, Sawyer.
Step 1 is to blow up a lot of balloons! Don't fully inflate them, the goal is to blow them up just enough so they're each a perfect sphere. Step 2 is to measure how long you'll want your installation to be. I took the entire 25 feet of balloon strip outside, roughly measured it out, and cut it a little longer than I thought I wanted it to be.
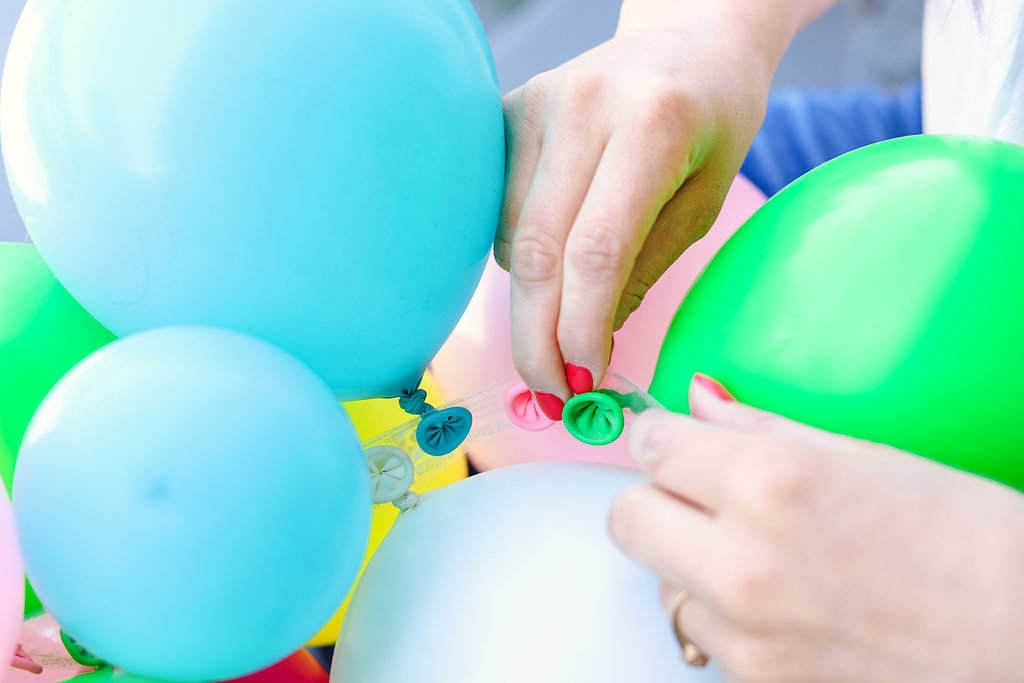

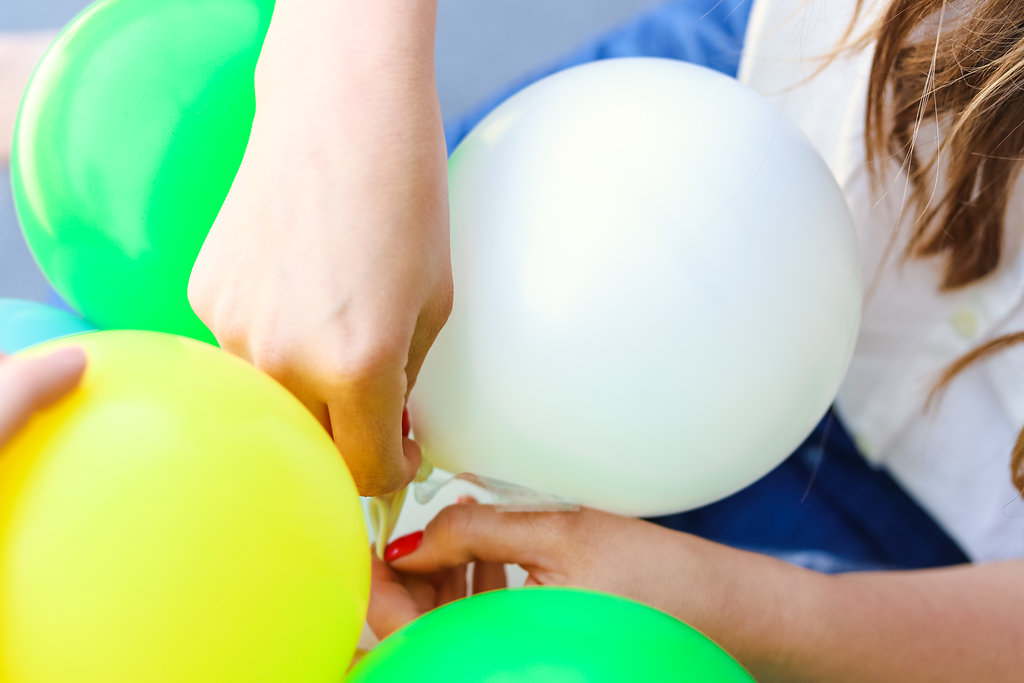
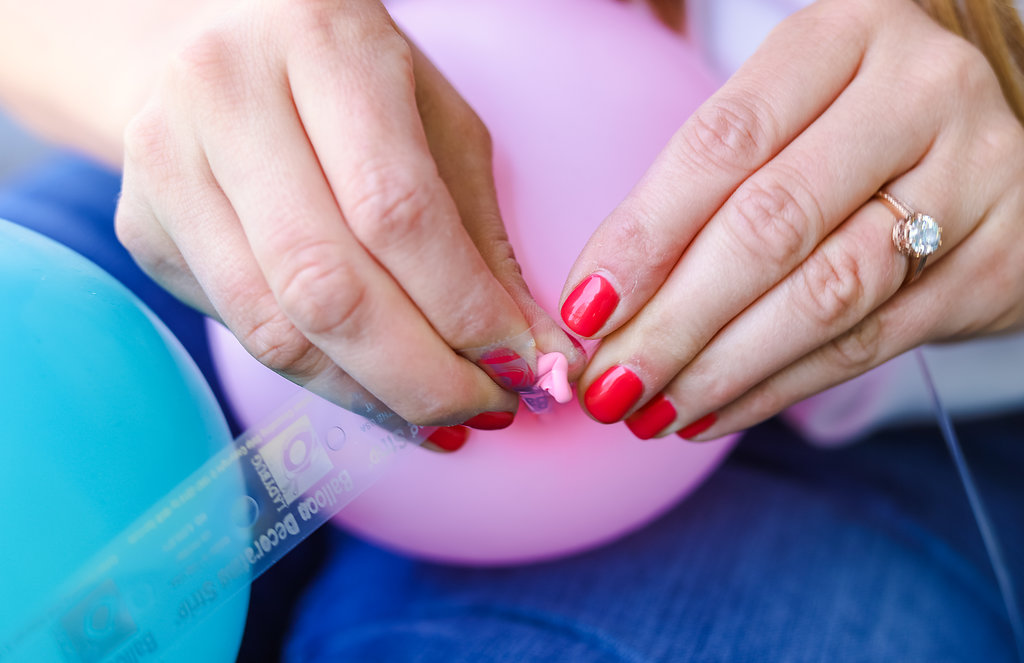
Step 3 is to attach the balloons to the strip. The balloon tape has little holes every quarter inch or so, and all you need to do is pop the end of each balloon into the holes. If you're going for a multi colored installation like I made, alternate colors and sizes as you go. Don't worry about being perfect here, you'll have the opportunity to add more balloons later to even out the shape of the piece, so just have fun here and get into the flow.
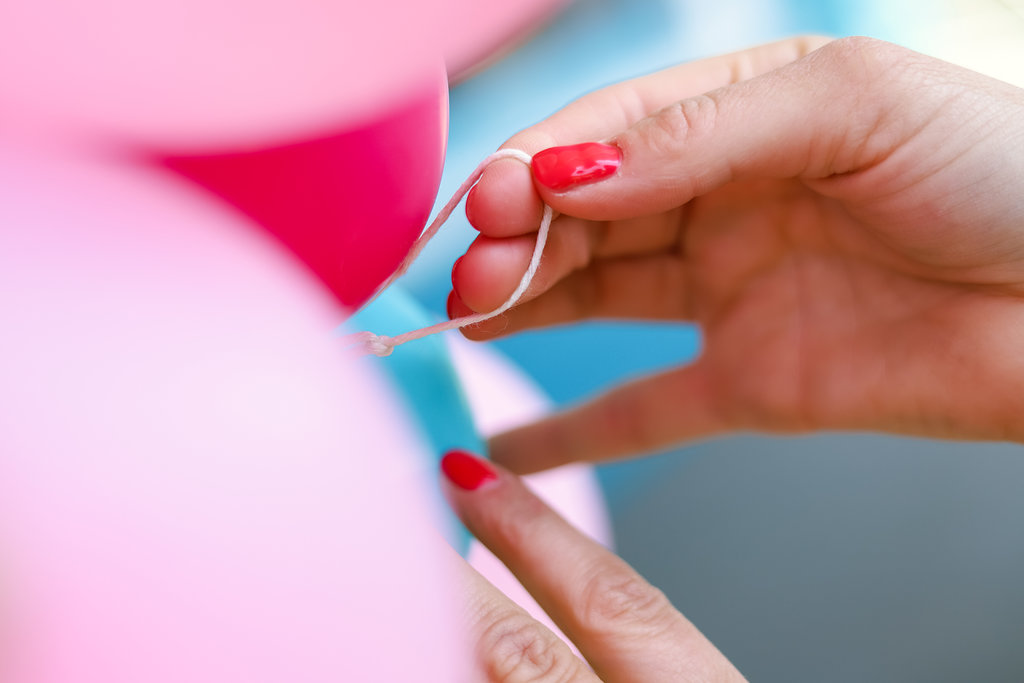

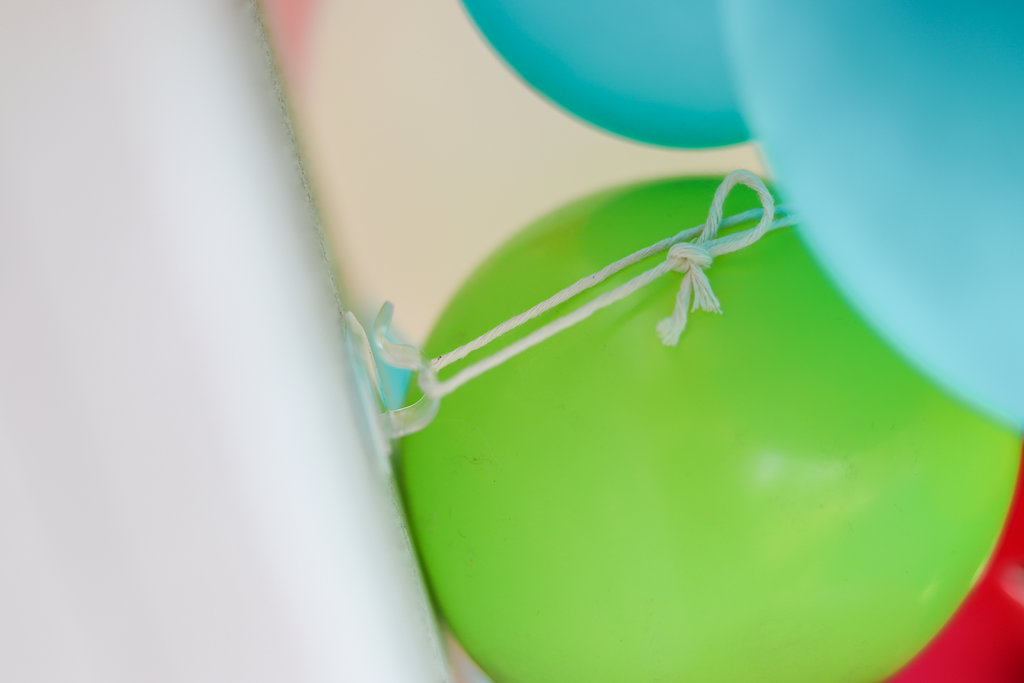
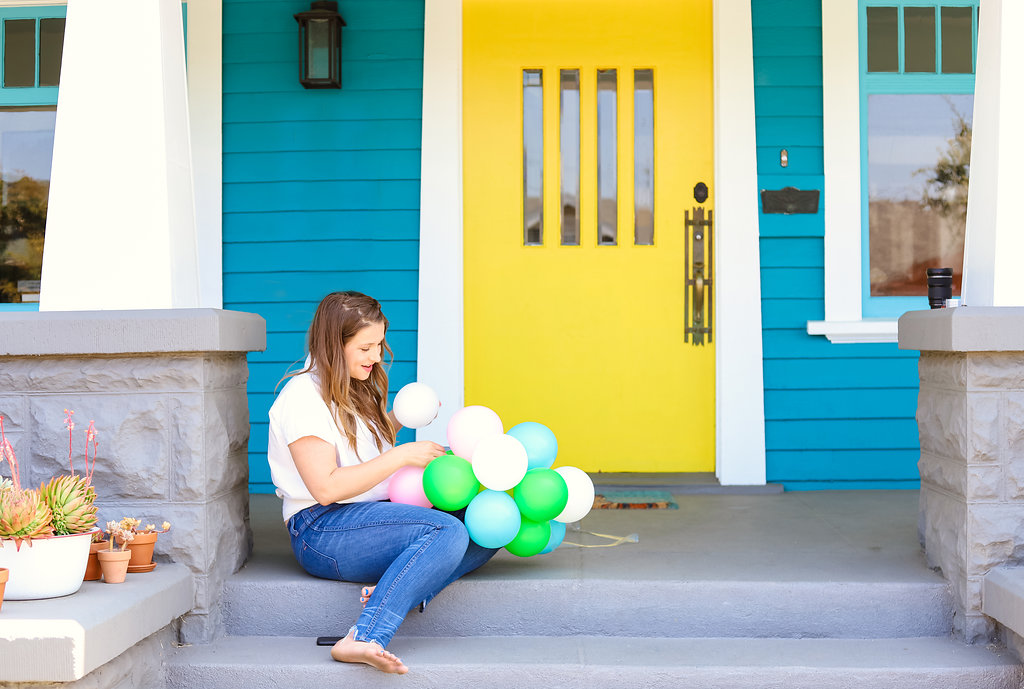
Step 4 is to hang your creation. I did this by attaching one command hook at a time to my surface, and then stepping back to eye the placement between each one. Once they were all attached, I used a 6 inch length of kitchen twine to tie a loop around the balloon tape and then anchor that on the hooks.
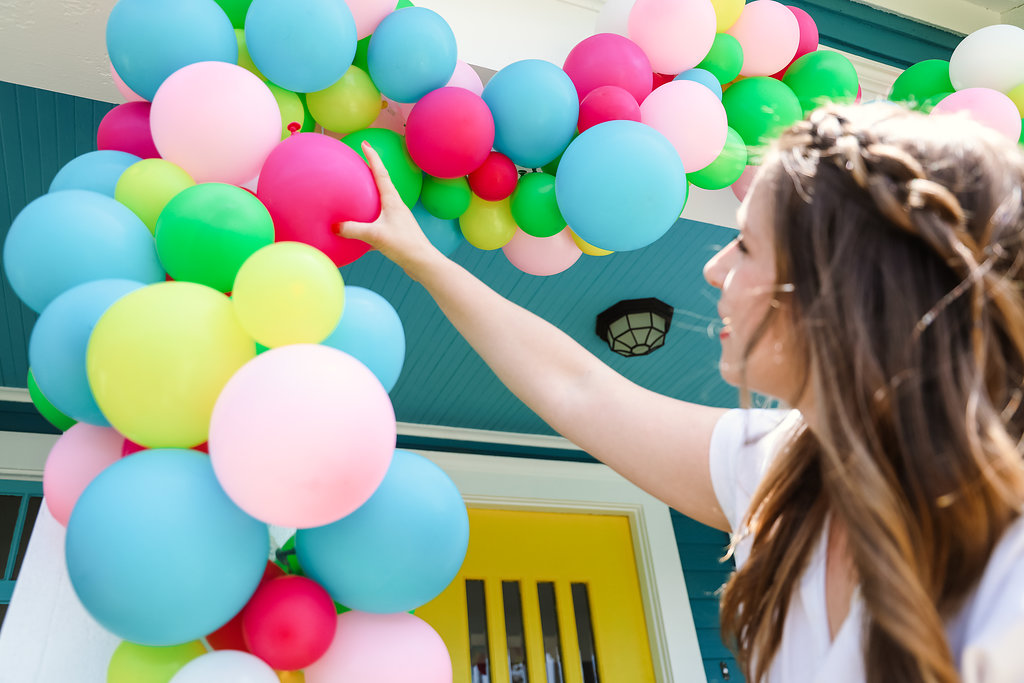
Step 5 is to add some extra balloons to make the piece feel polished and full. Use glue dots or extra sticky double sided tape to stick balloons where you want them to go. For me, this meant making the bottom left section of my installation bigger and fuller, and then letting it taper off more on the upper right side. This also allows you to cover any spots that look empty. Just make sure you tape them on with the round part of the balloon showing and the tie hidden.

And that's it! My creation lasted about a day because it got too hot in the sun, but it should hold up a little better if you keep it in the shade.
Brandi & Ashley & I loved putting this together, so leave a comment if you're excited to try any of our Mother's Day DIY's or have ideas for future collabs.
Happy Mother's Day!!
xoxo,
Julianna

Meet The Photographer!
I couldn't finish this blog post without introducing you to the adorable and wonderful photographer who took these pics for us. We met a few months ago on Instagram because we have nearly the same name! Her name is Juliana Rose (I'm Julianna Rose), and this shoot was our first time meeting in person. She is a delight and I can't wait to shoot more with her in the future. Check out her website here, and her instagram here!