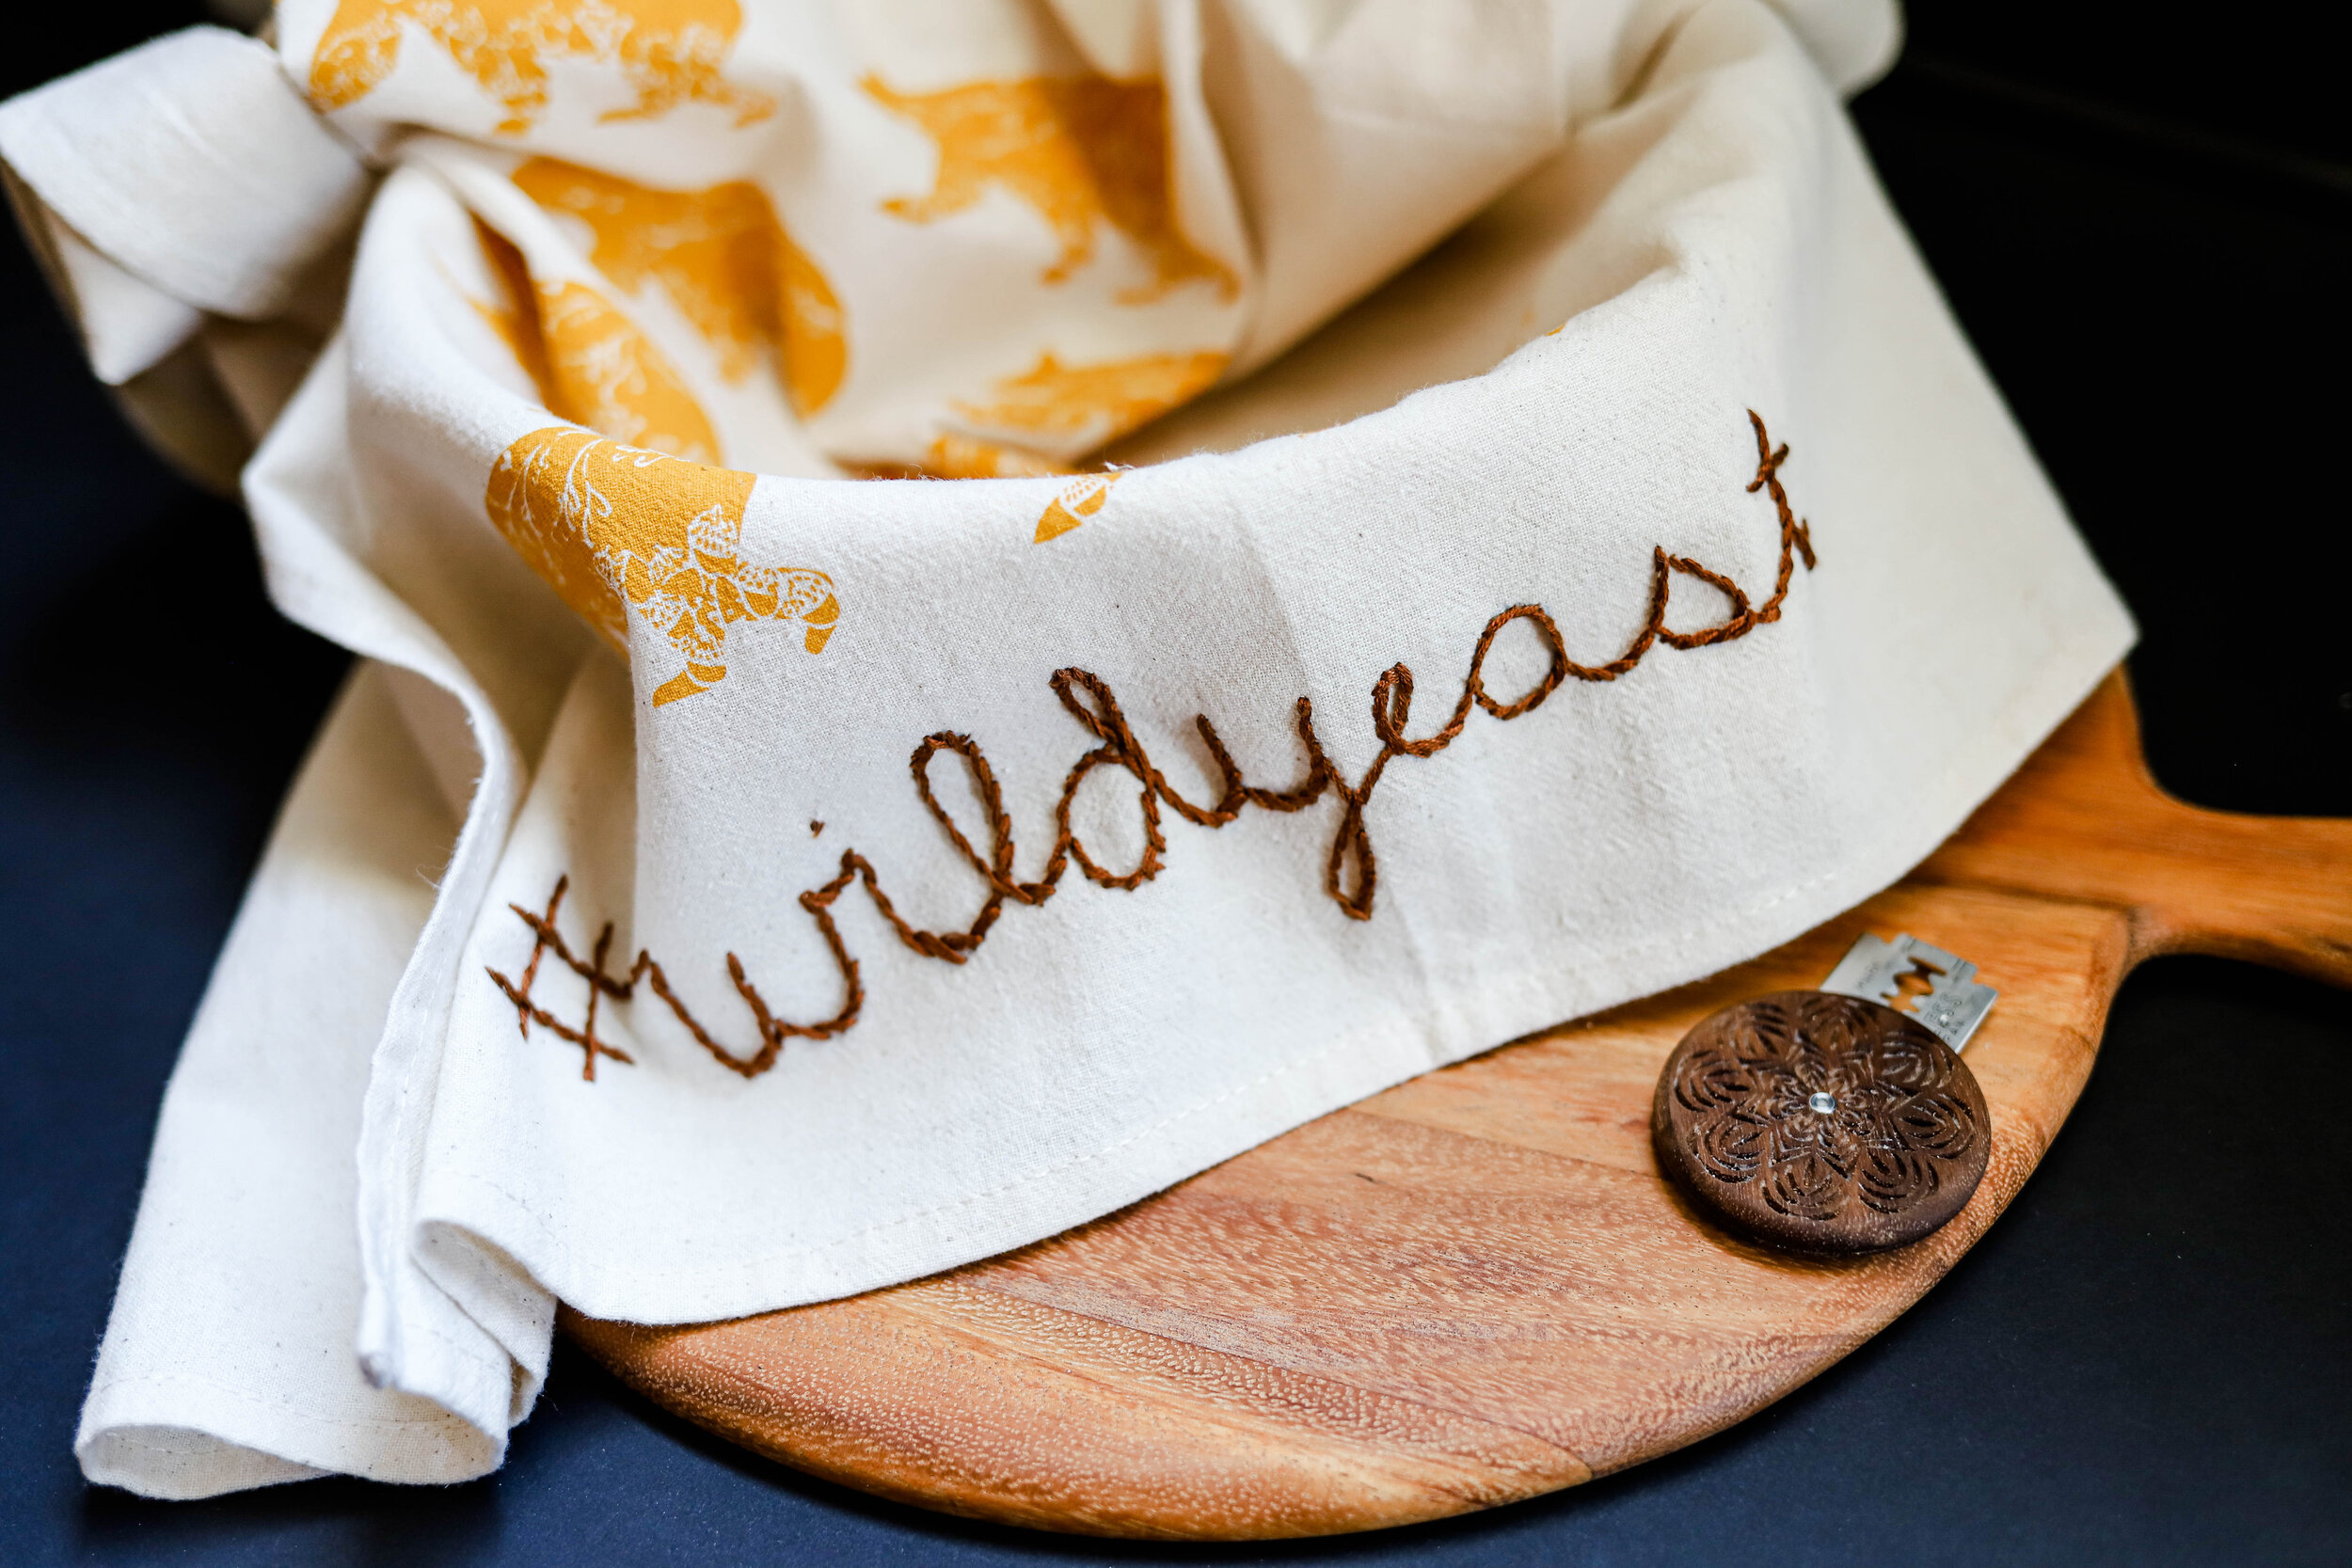
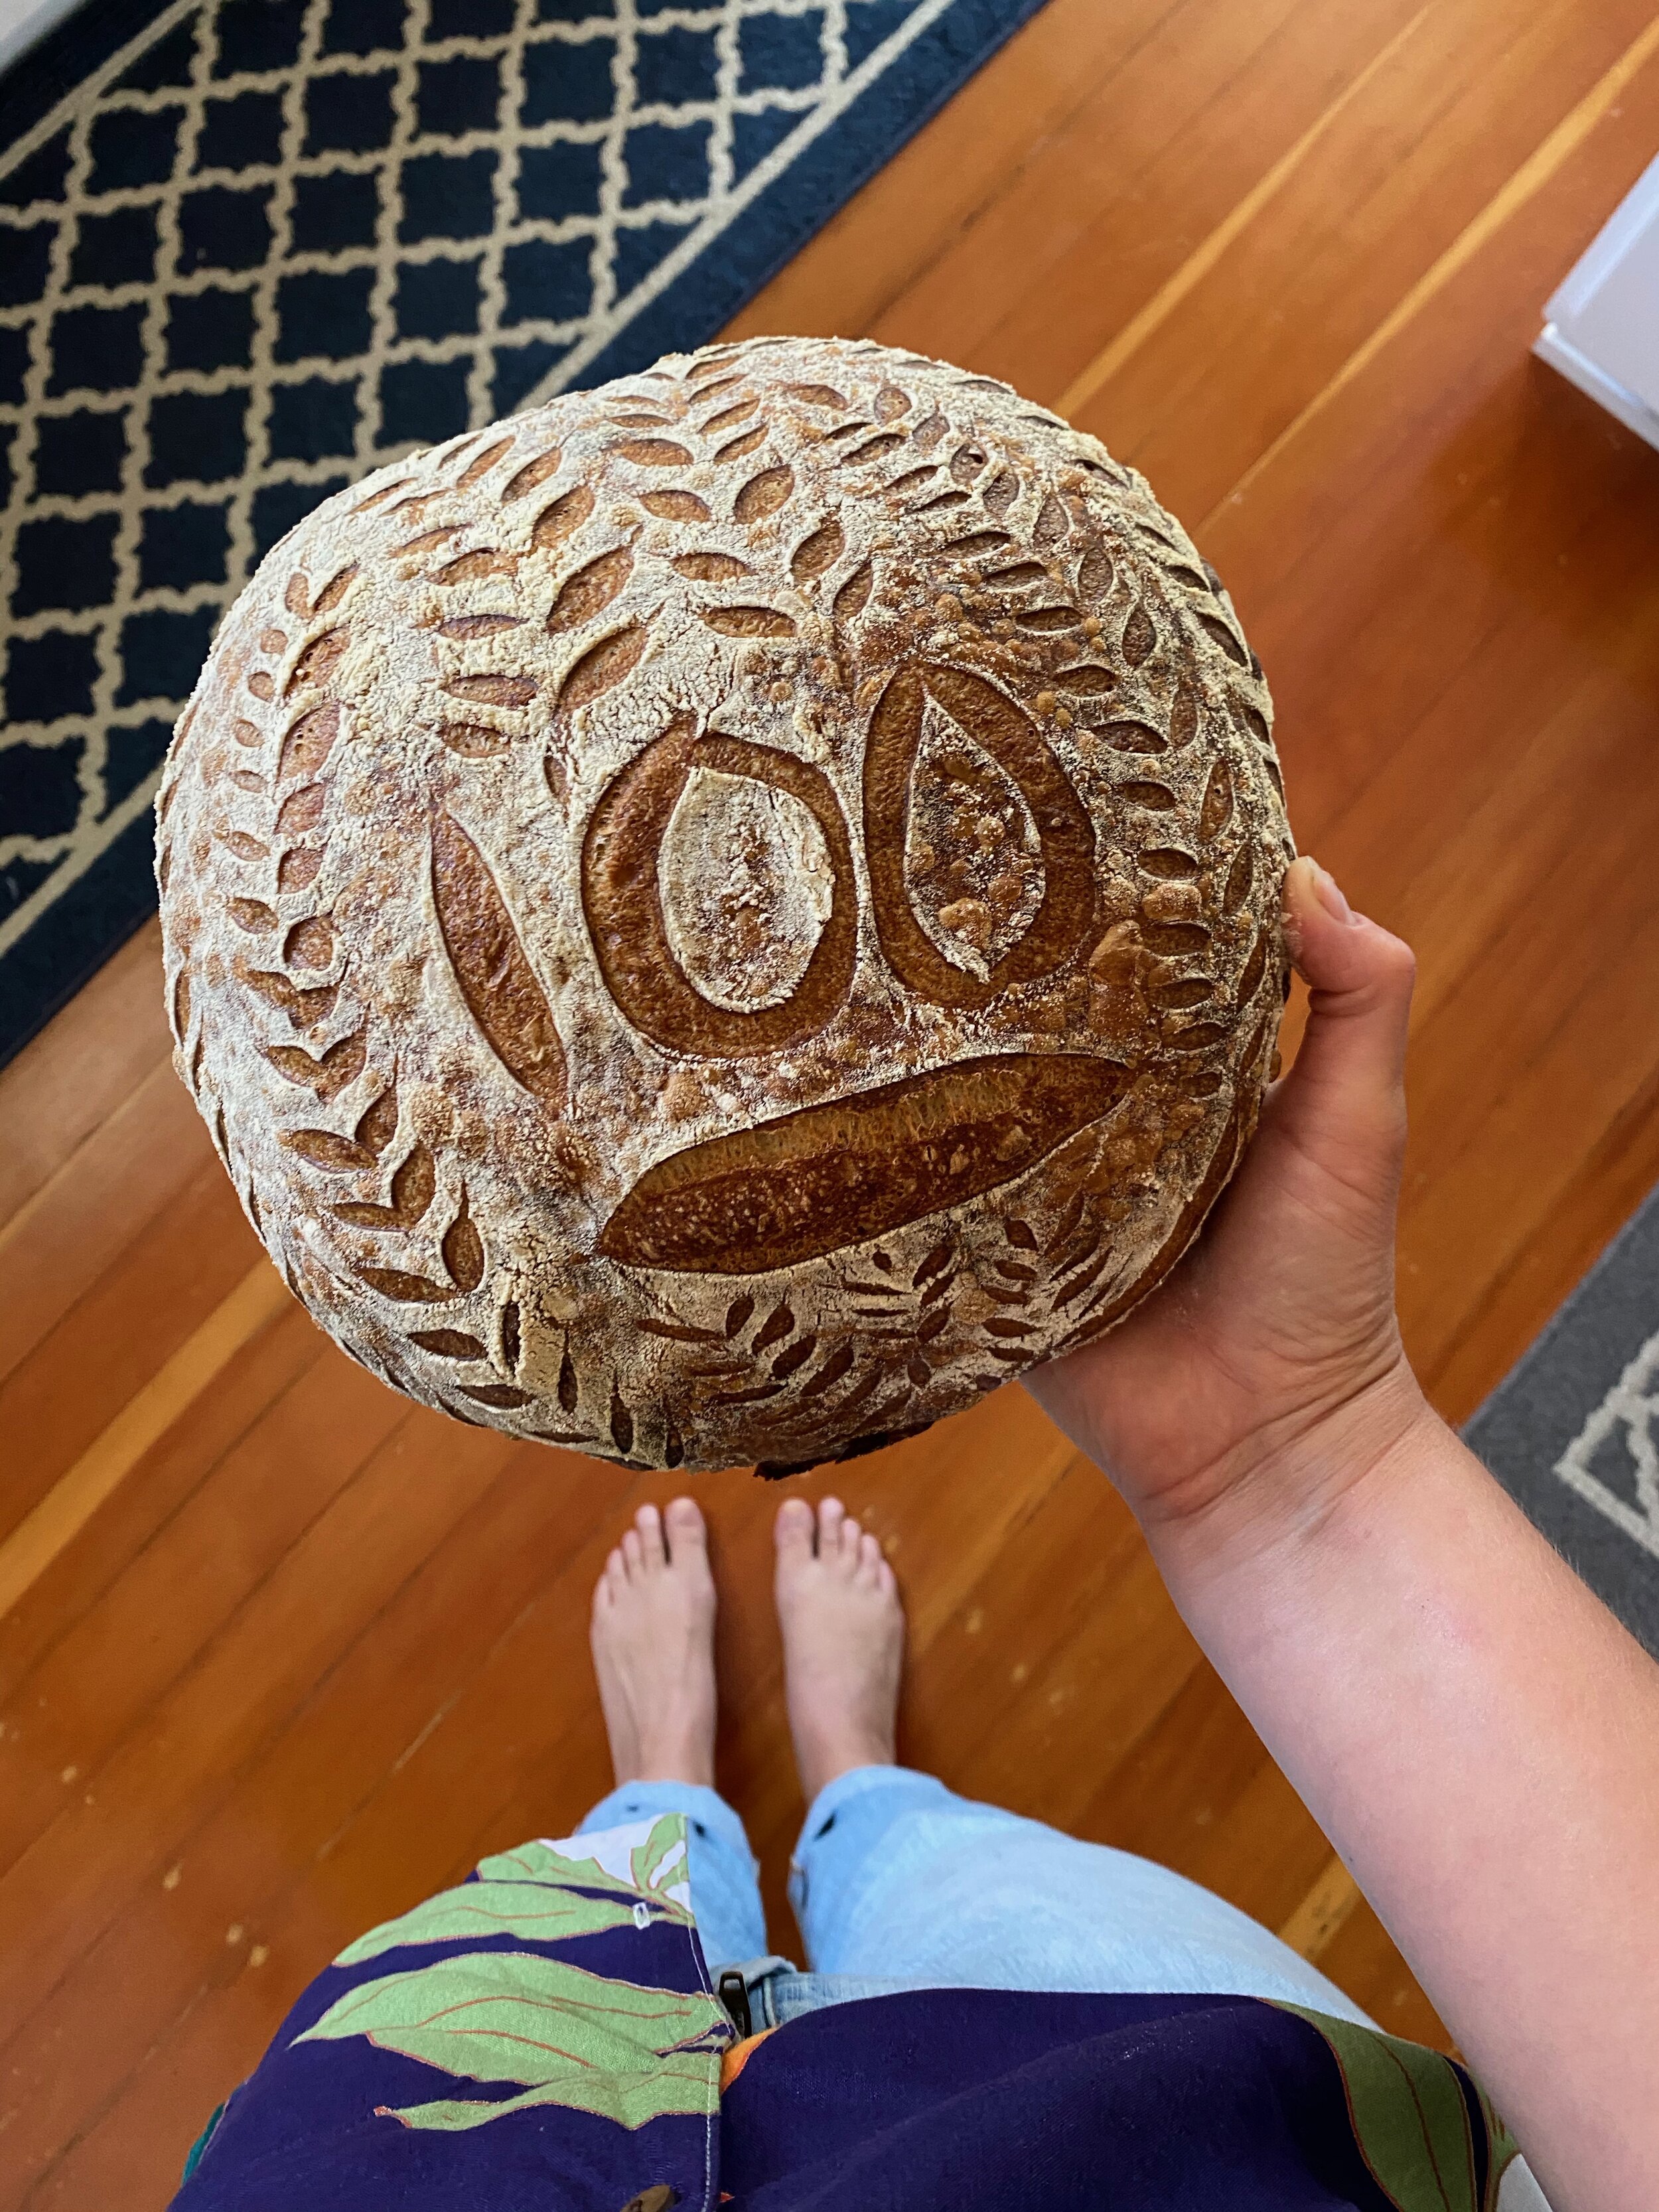
one hundred loaves
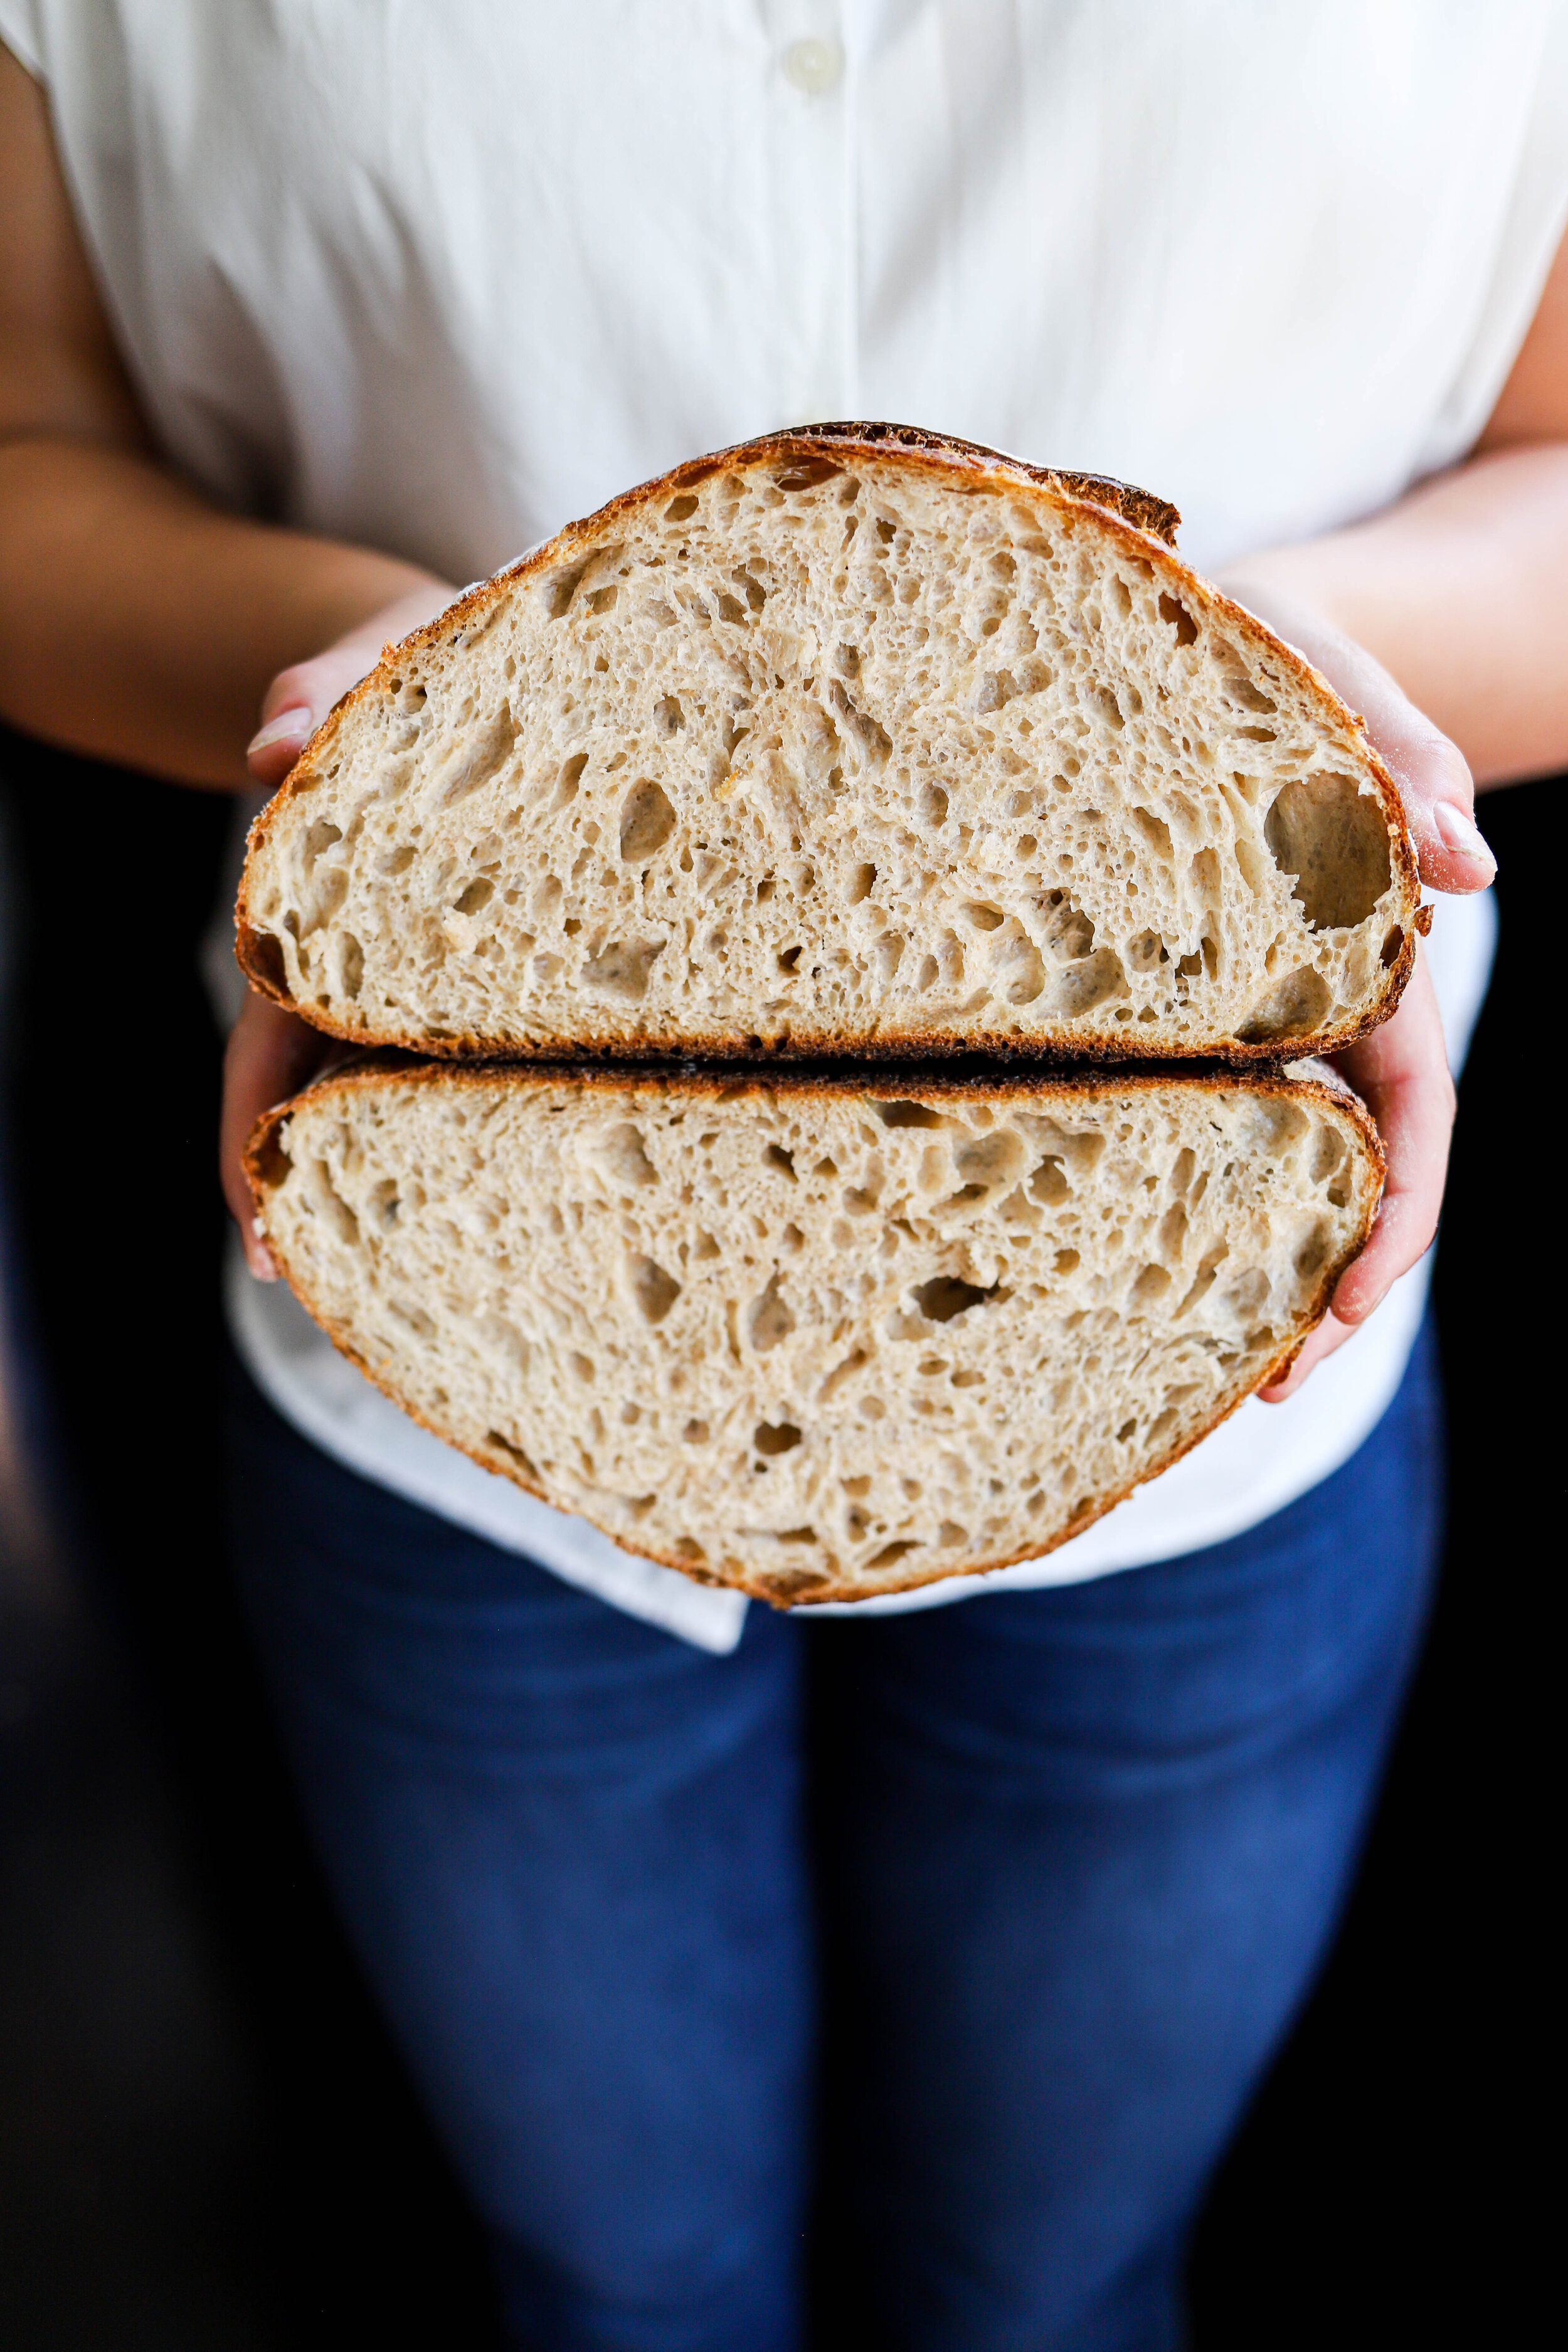
Well, I did it. I baked 100 loaves of sourdough bread (well, actually I’m up to #114 at the time of posting this, but that seems like a less monumental accomplishment). Since I started baking several months ago I have learned a lot, so I took the time to look back through my notes and distill it down to the most important knowledge for you. I’m also including the recipe I’ve been using now for about 20 + loaves that is working quite well, so scroll down a bit if you’re here for that. As always, comment or message me if you have questions! I’ve become a bread doctor of sorts for my friends, diagnosing problems and suggesting solutions, so I’m always happy to help!

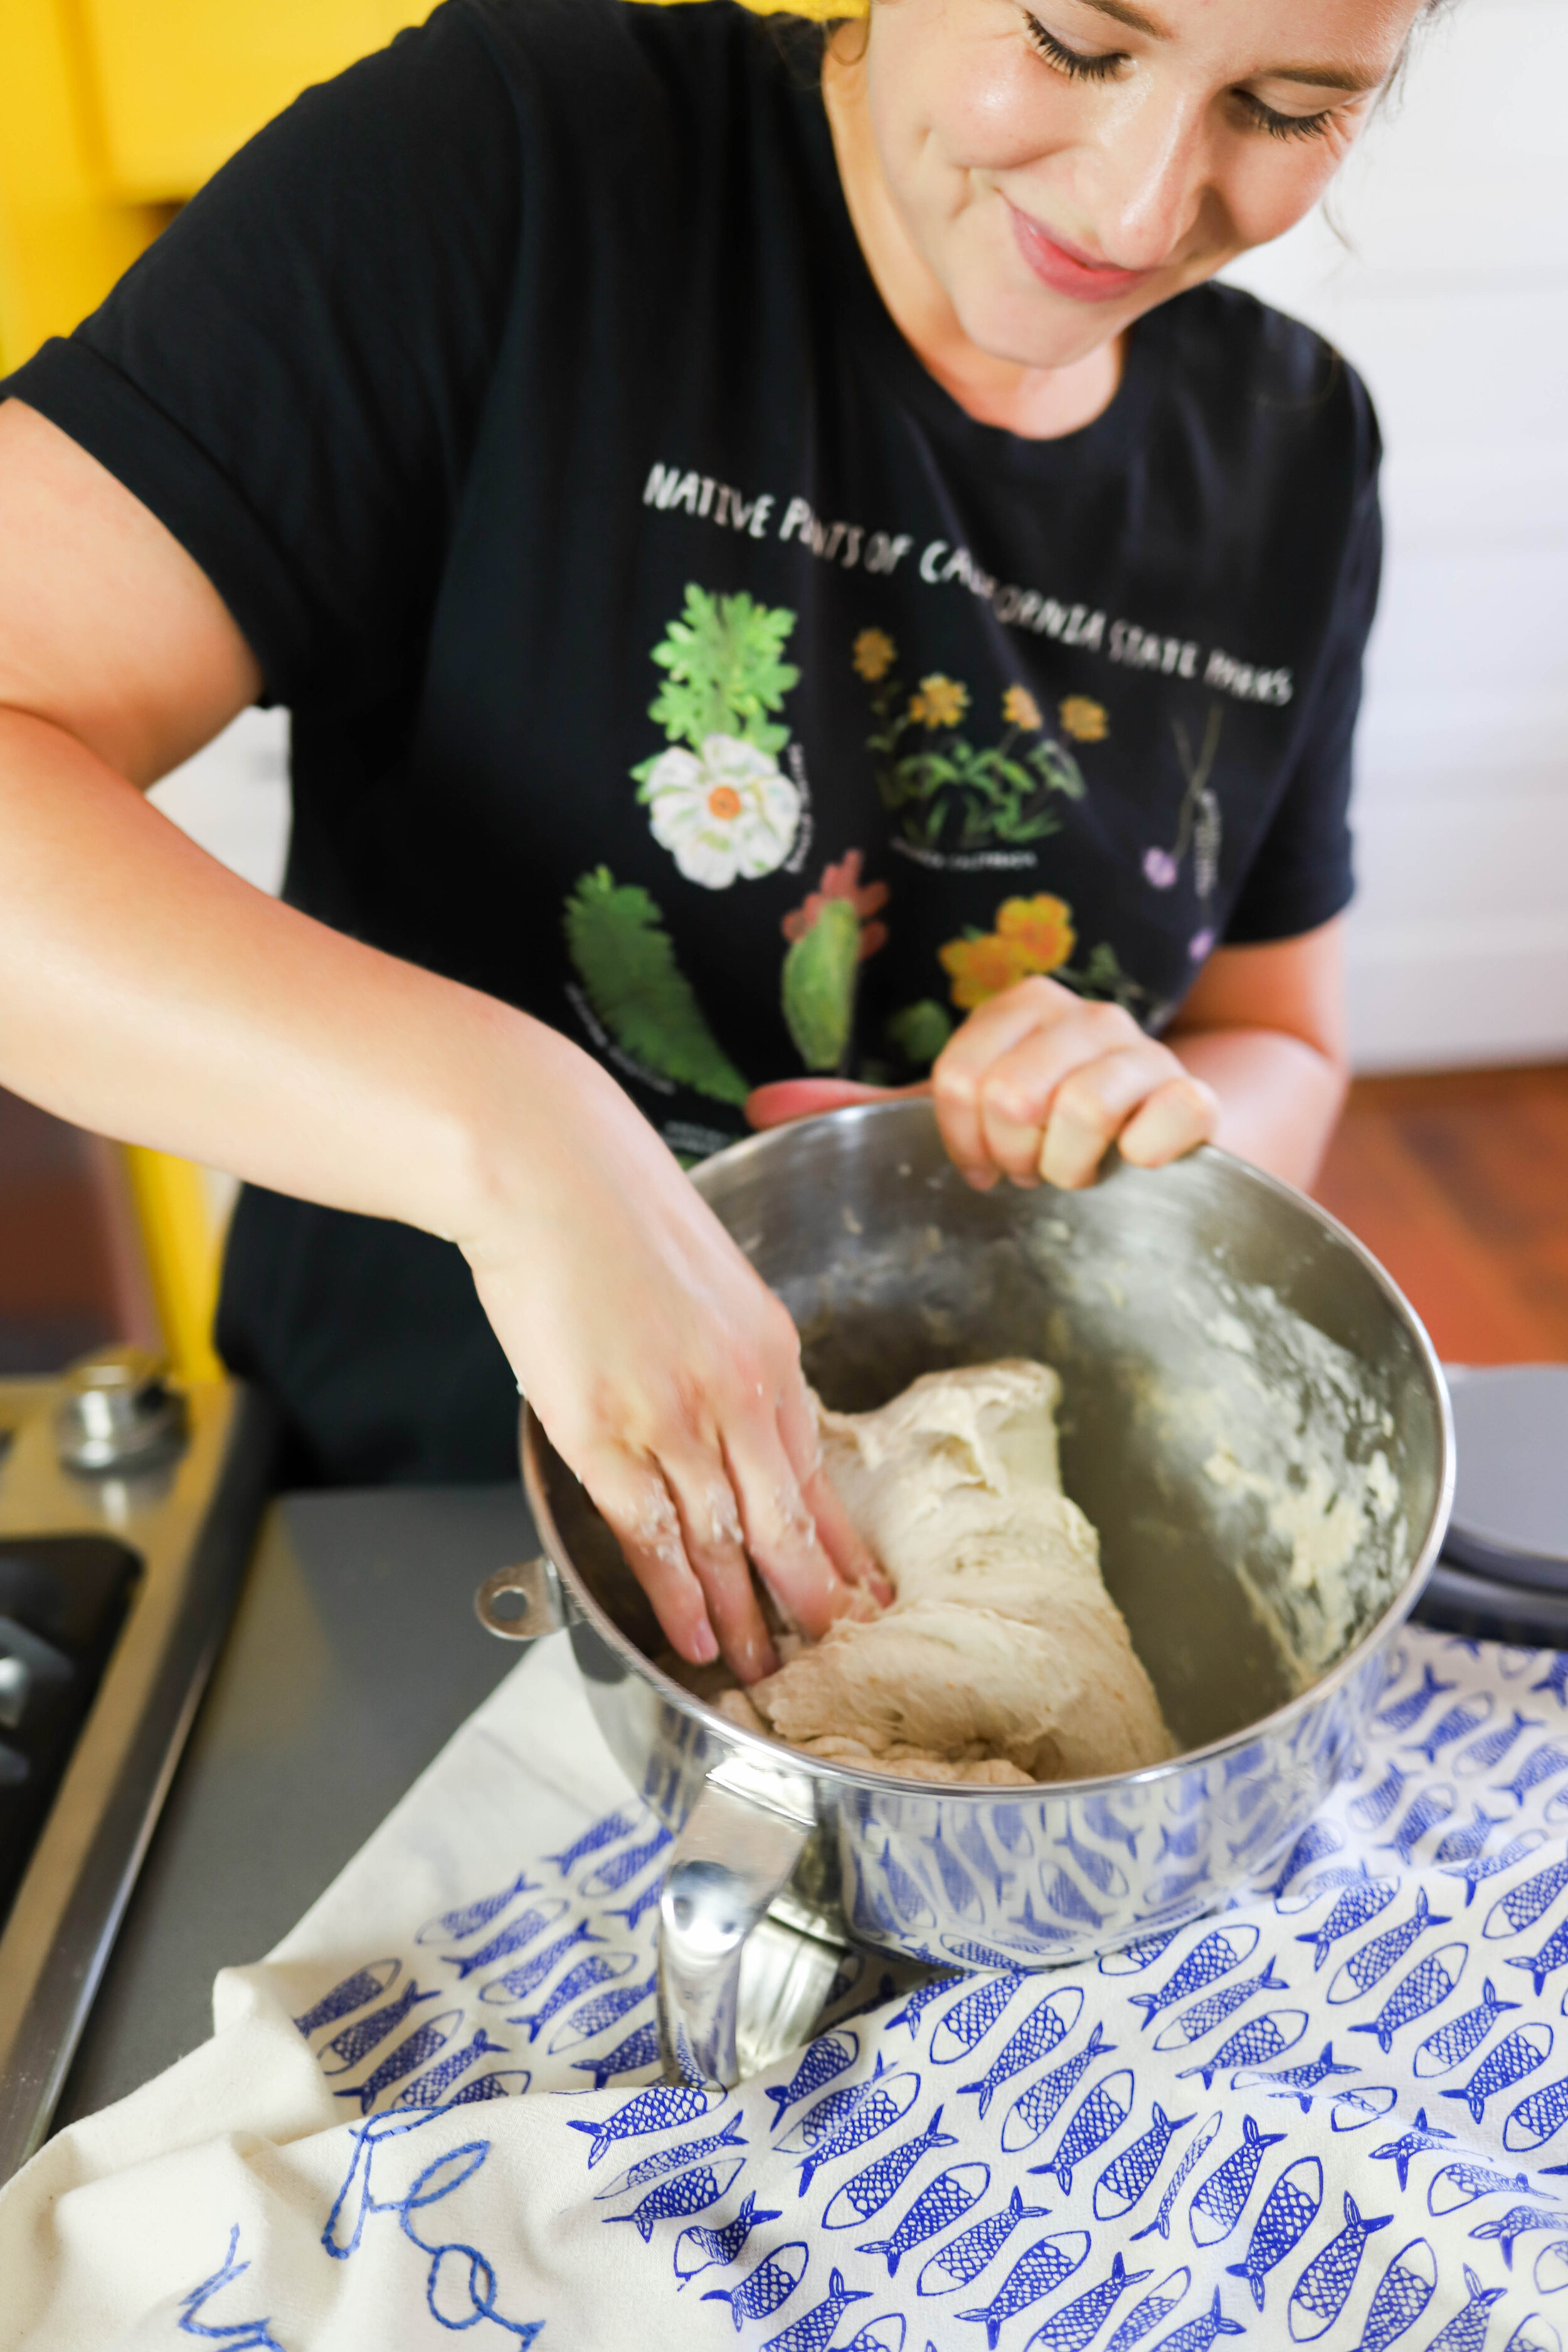
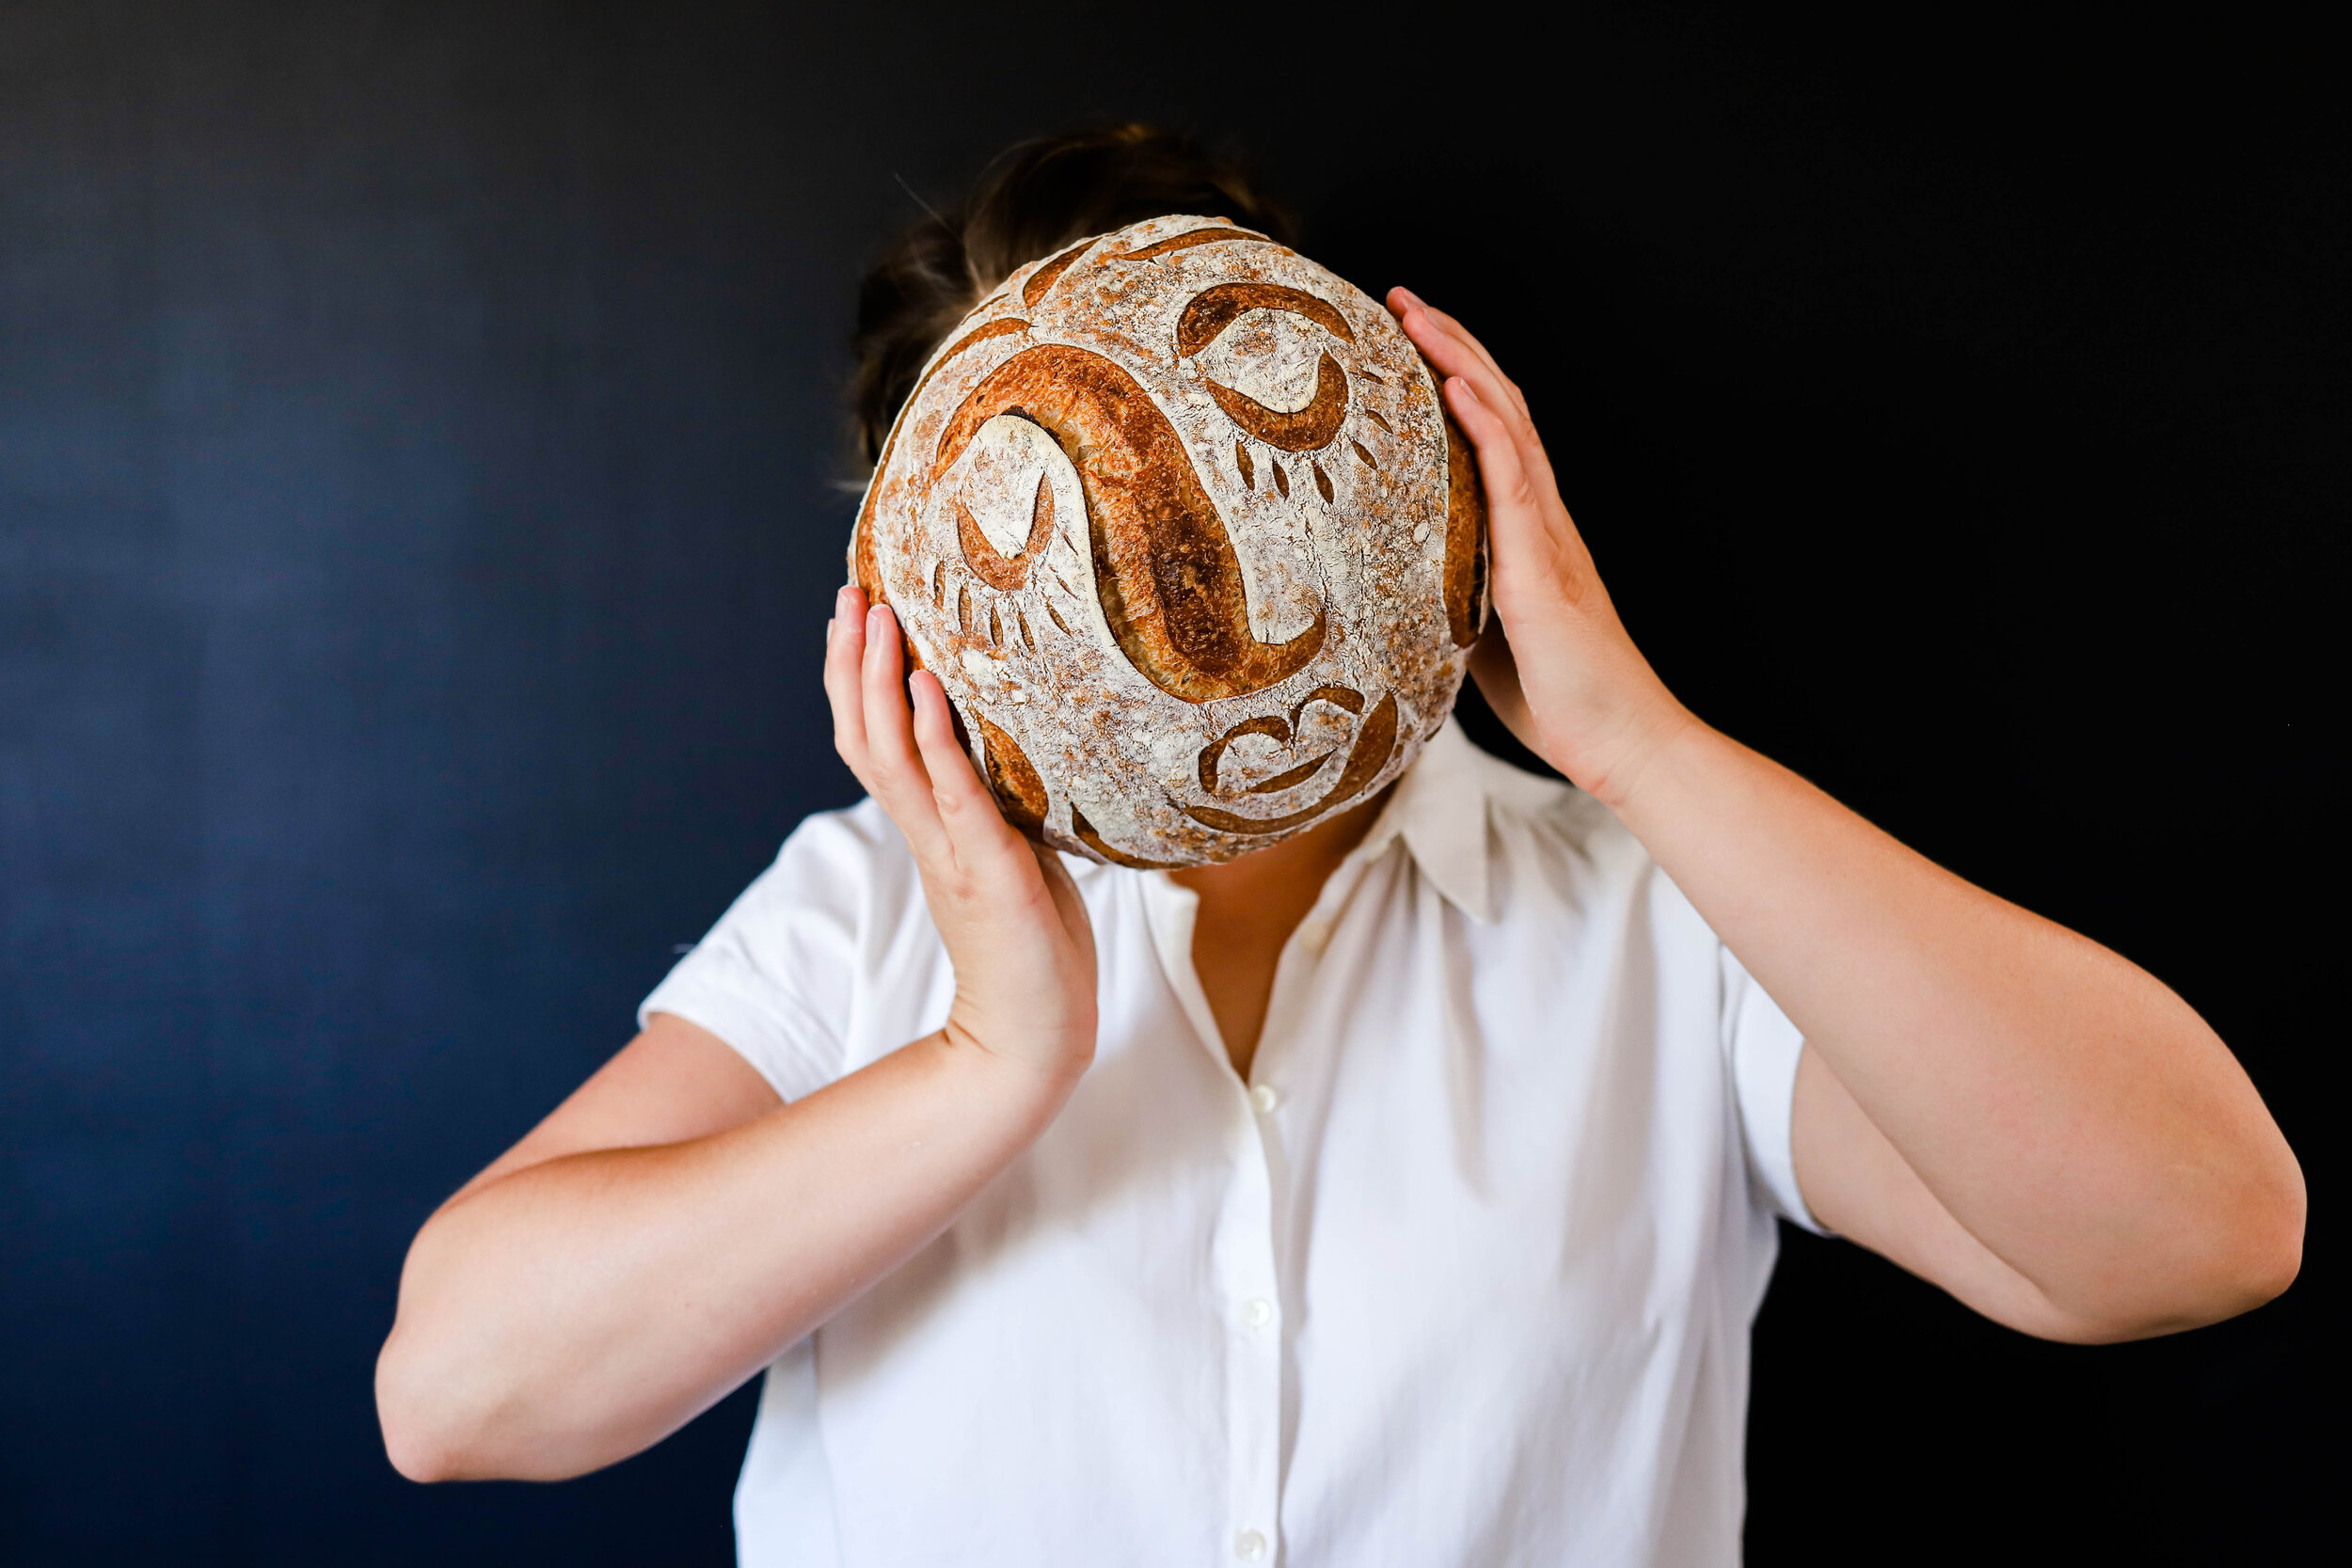
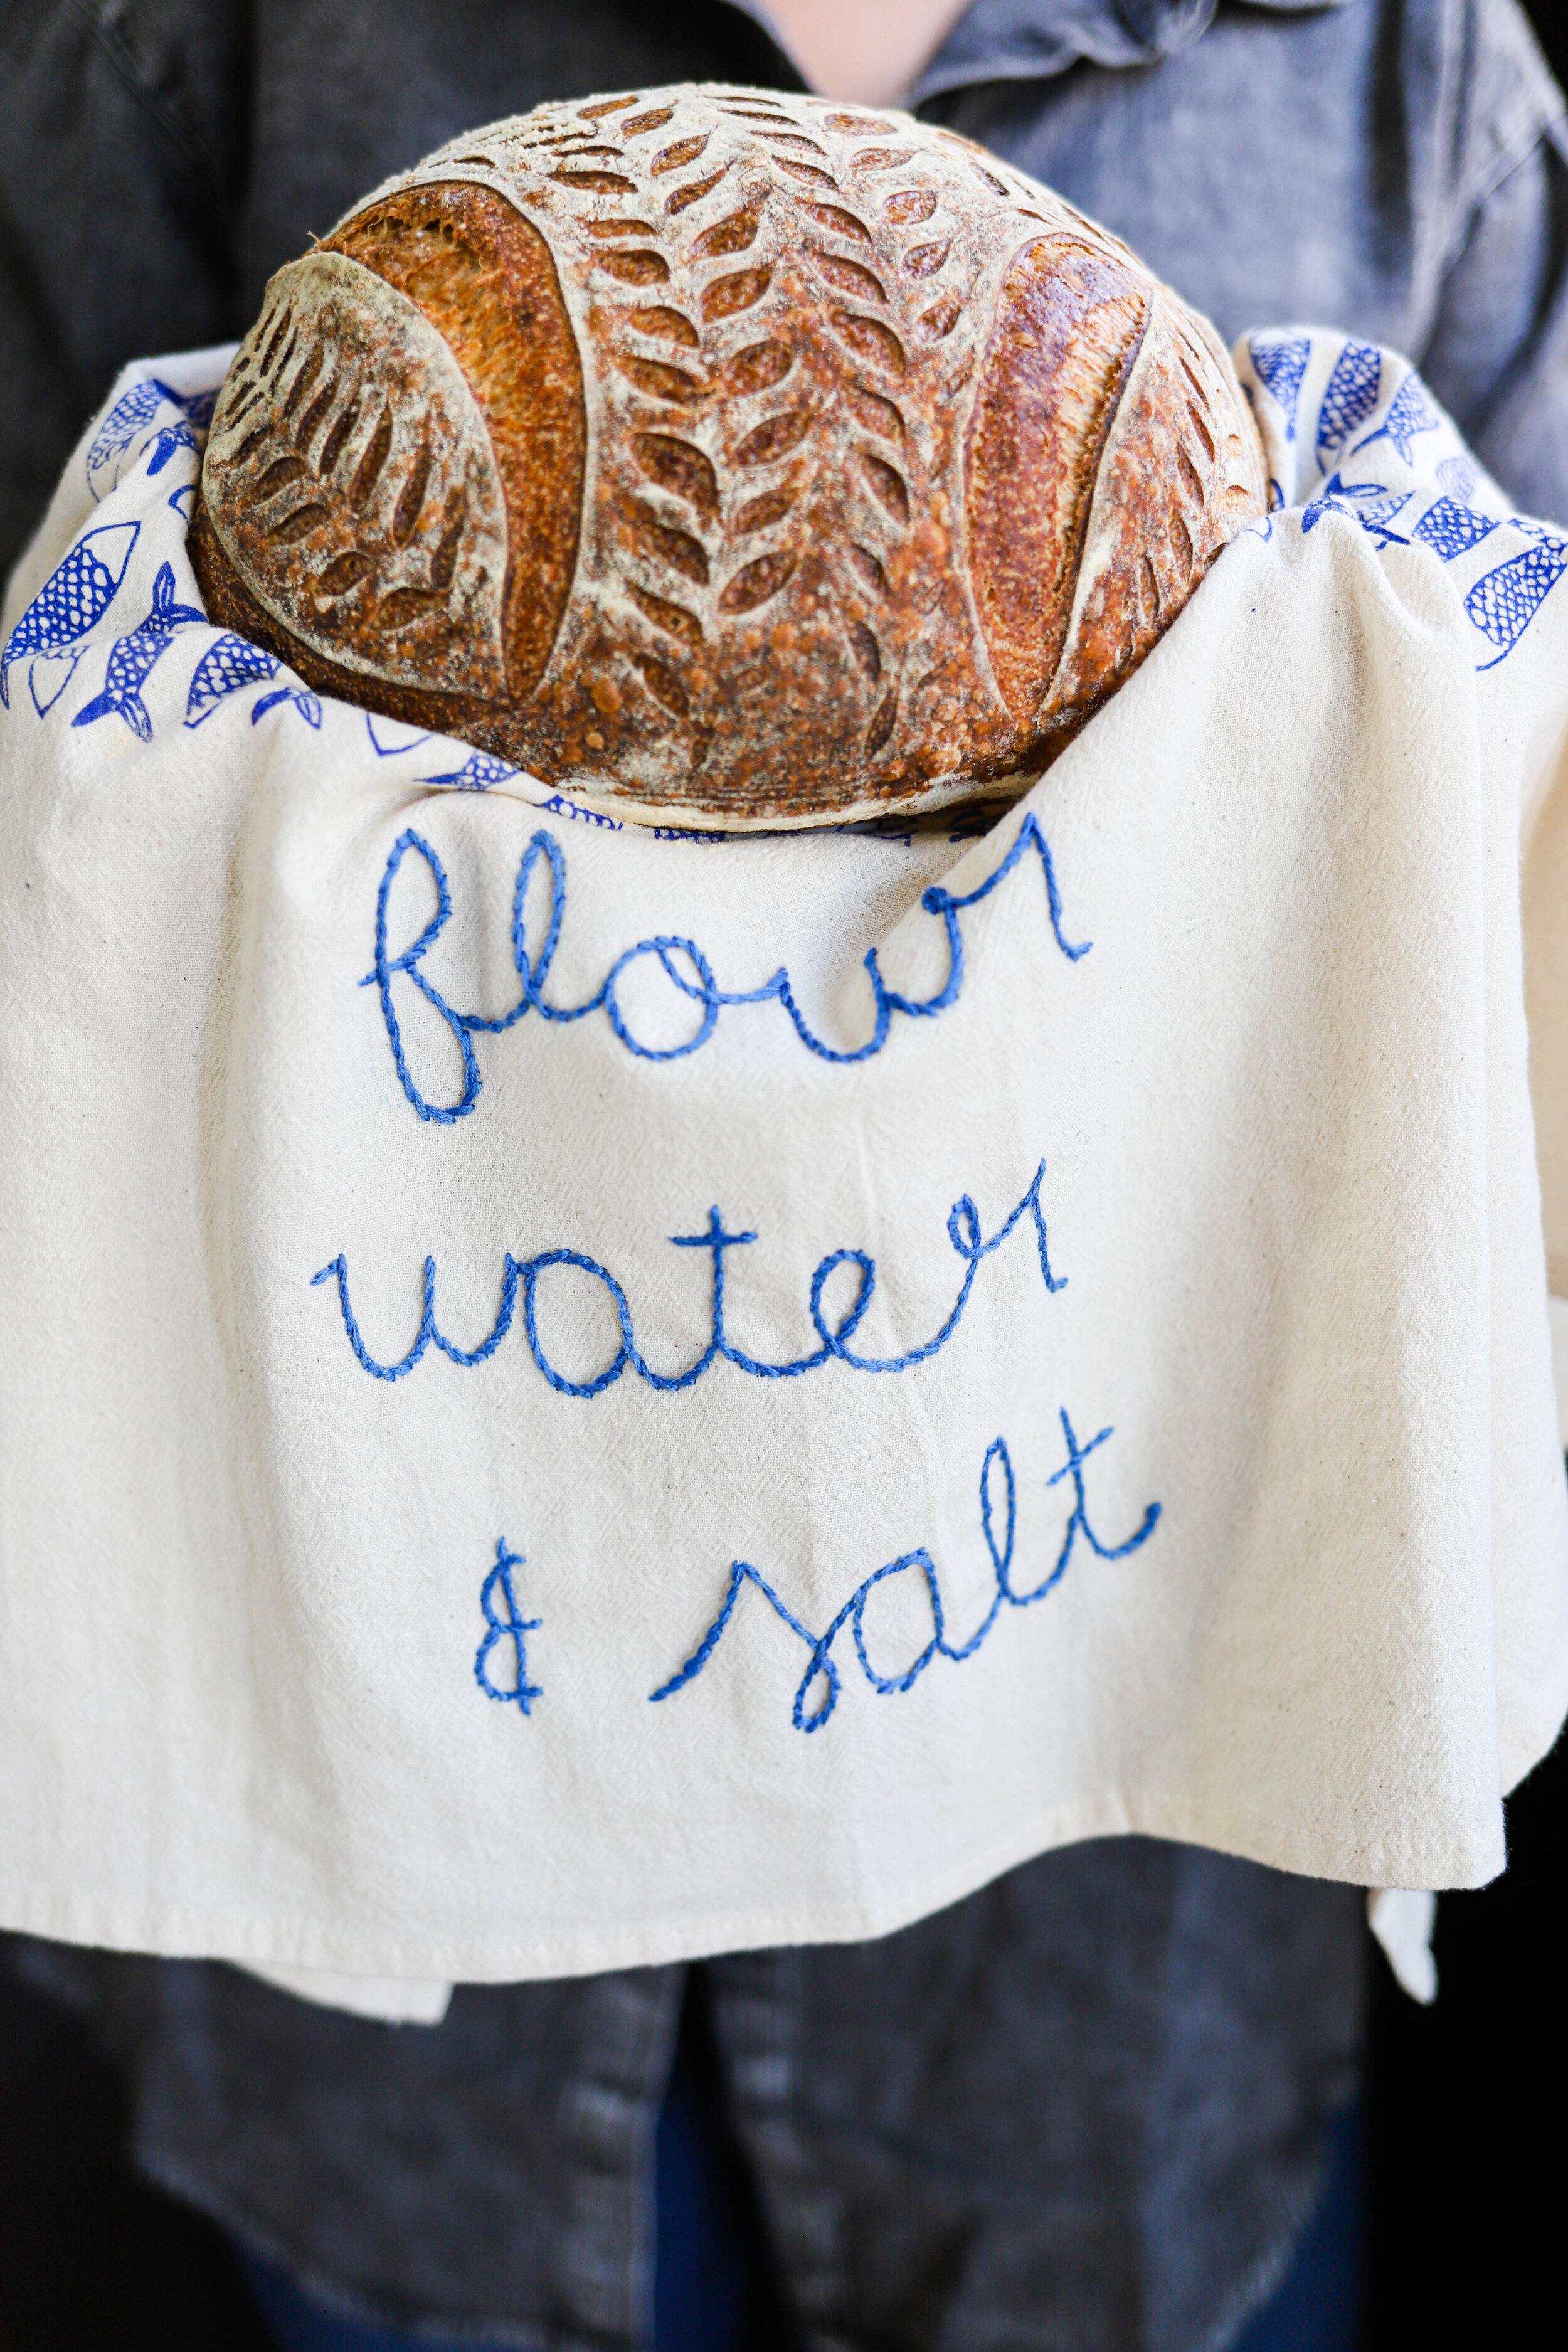
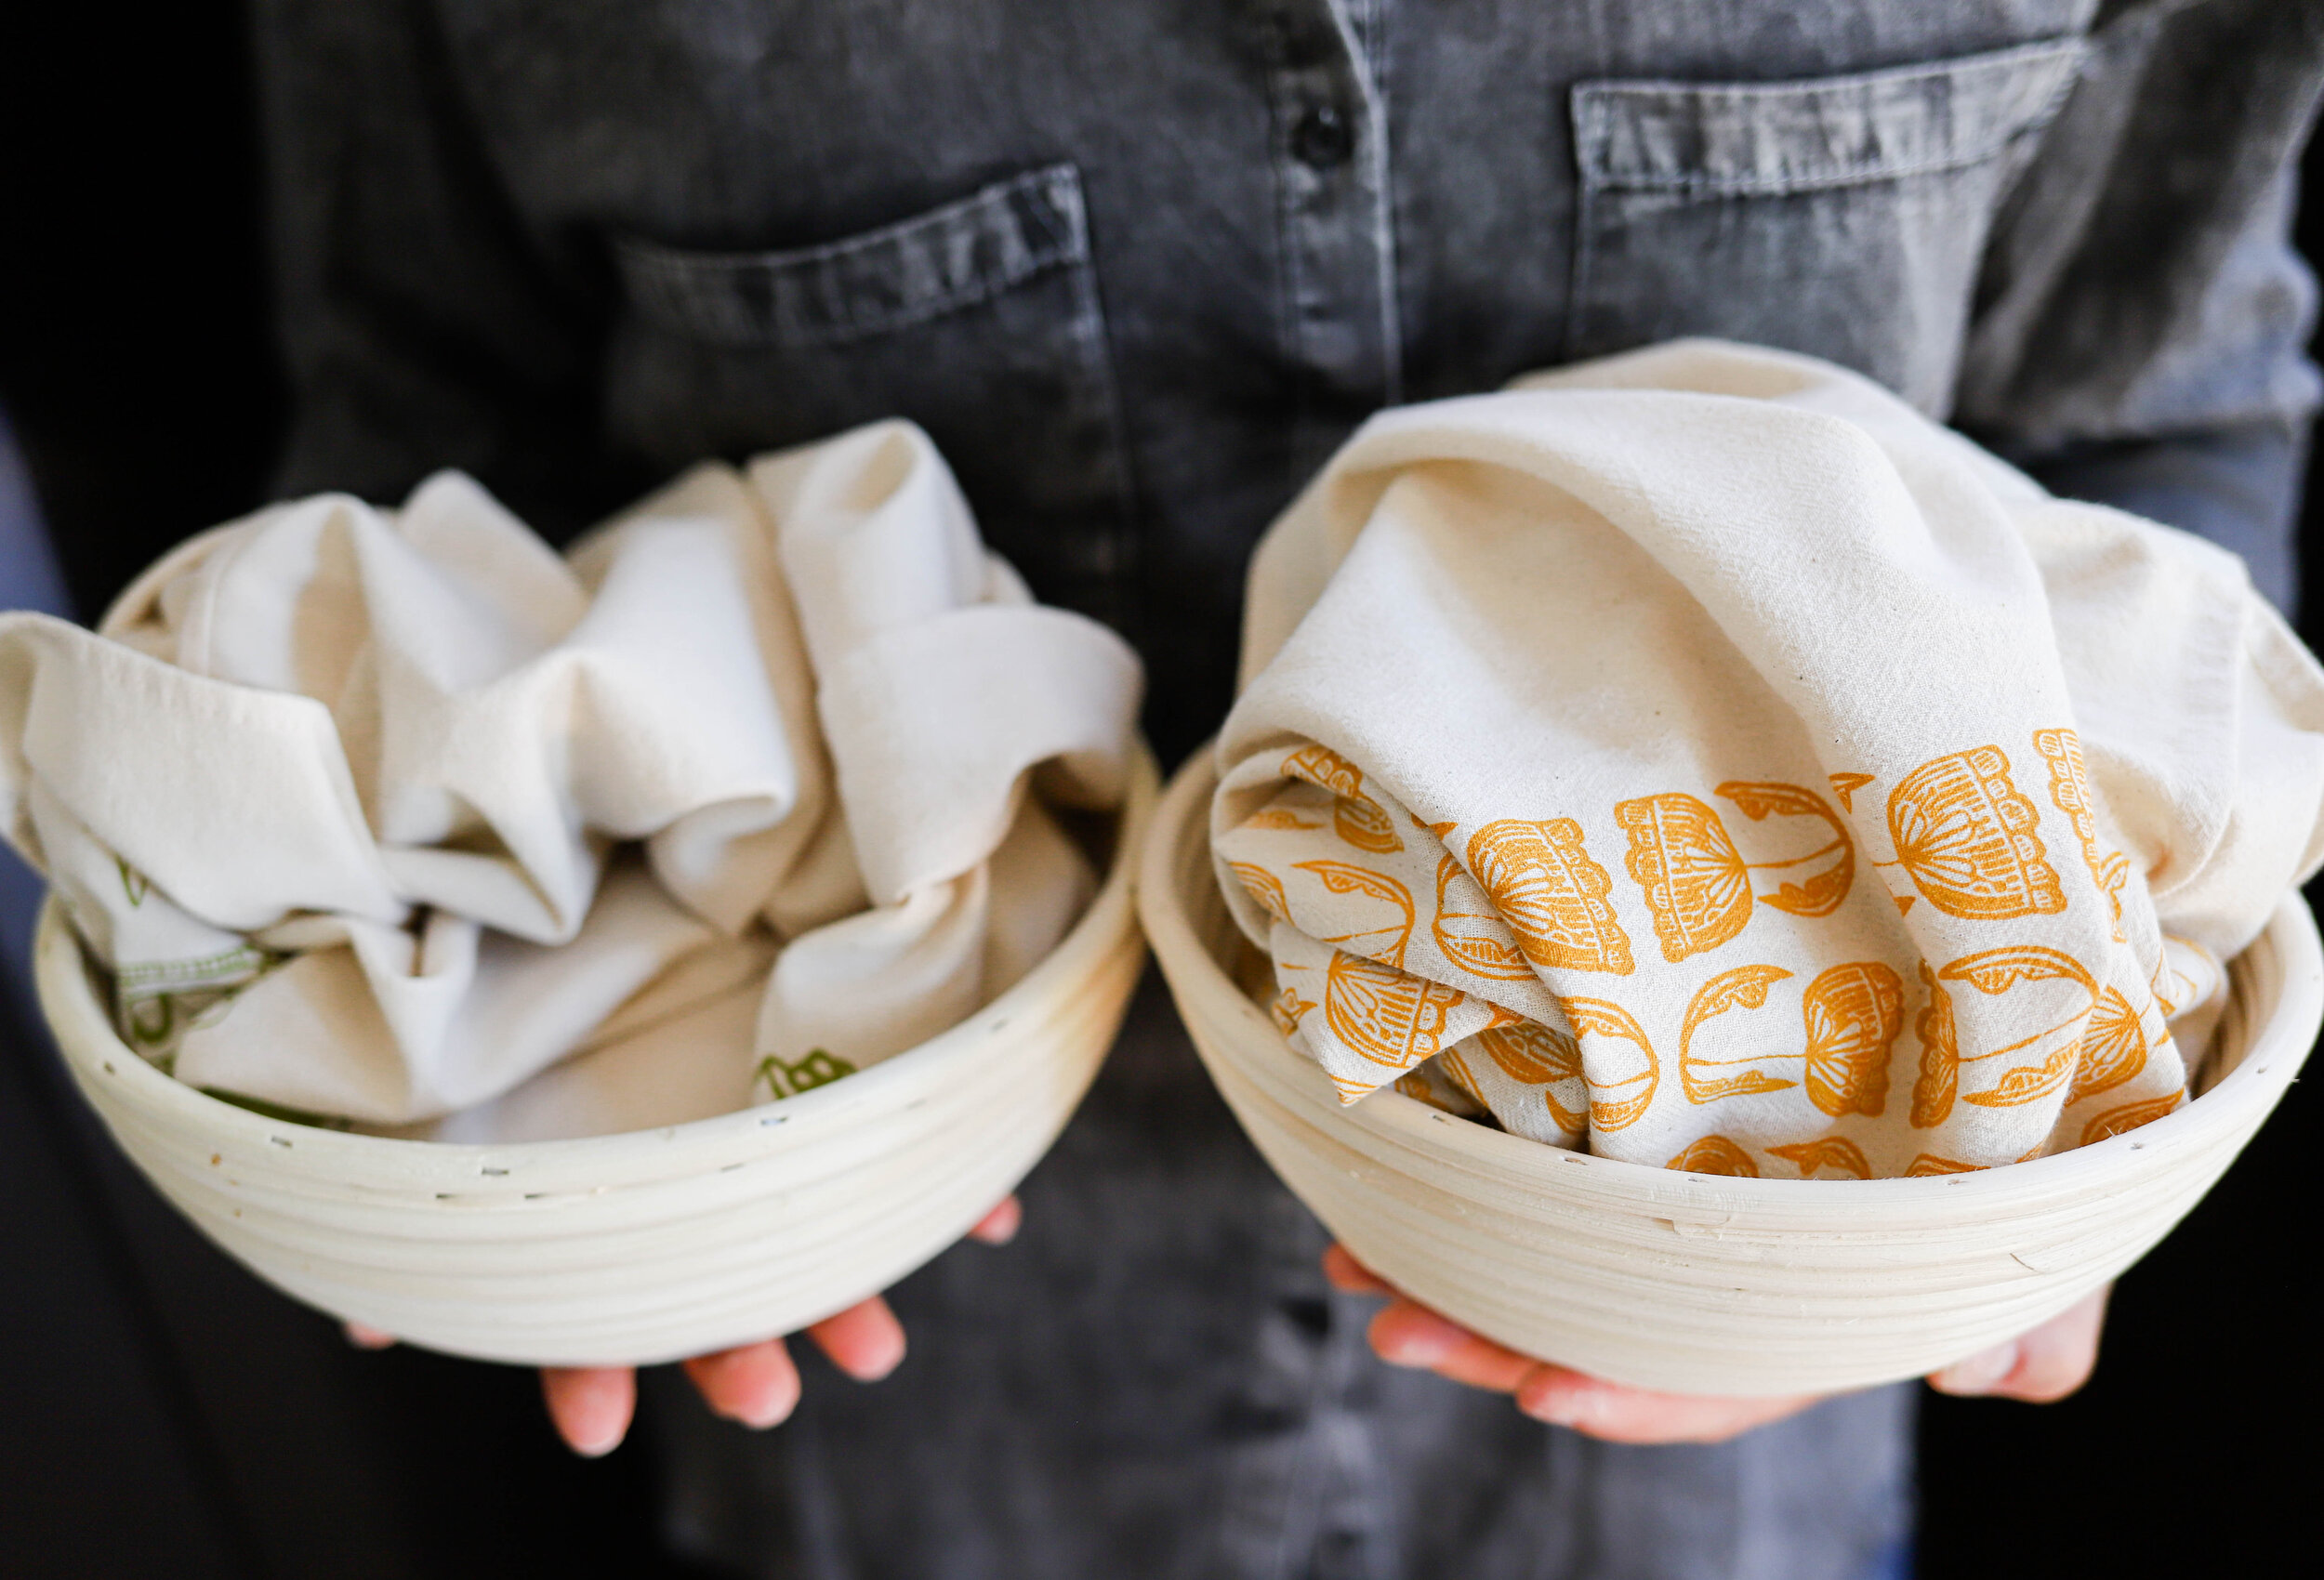
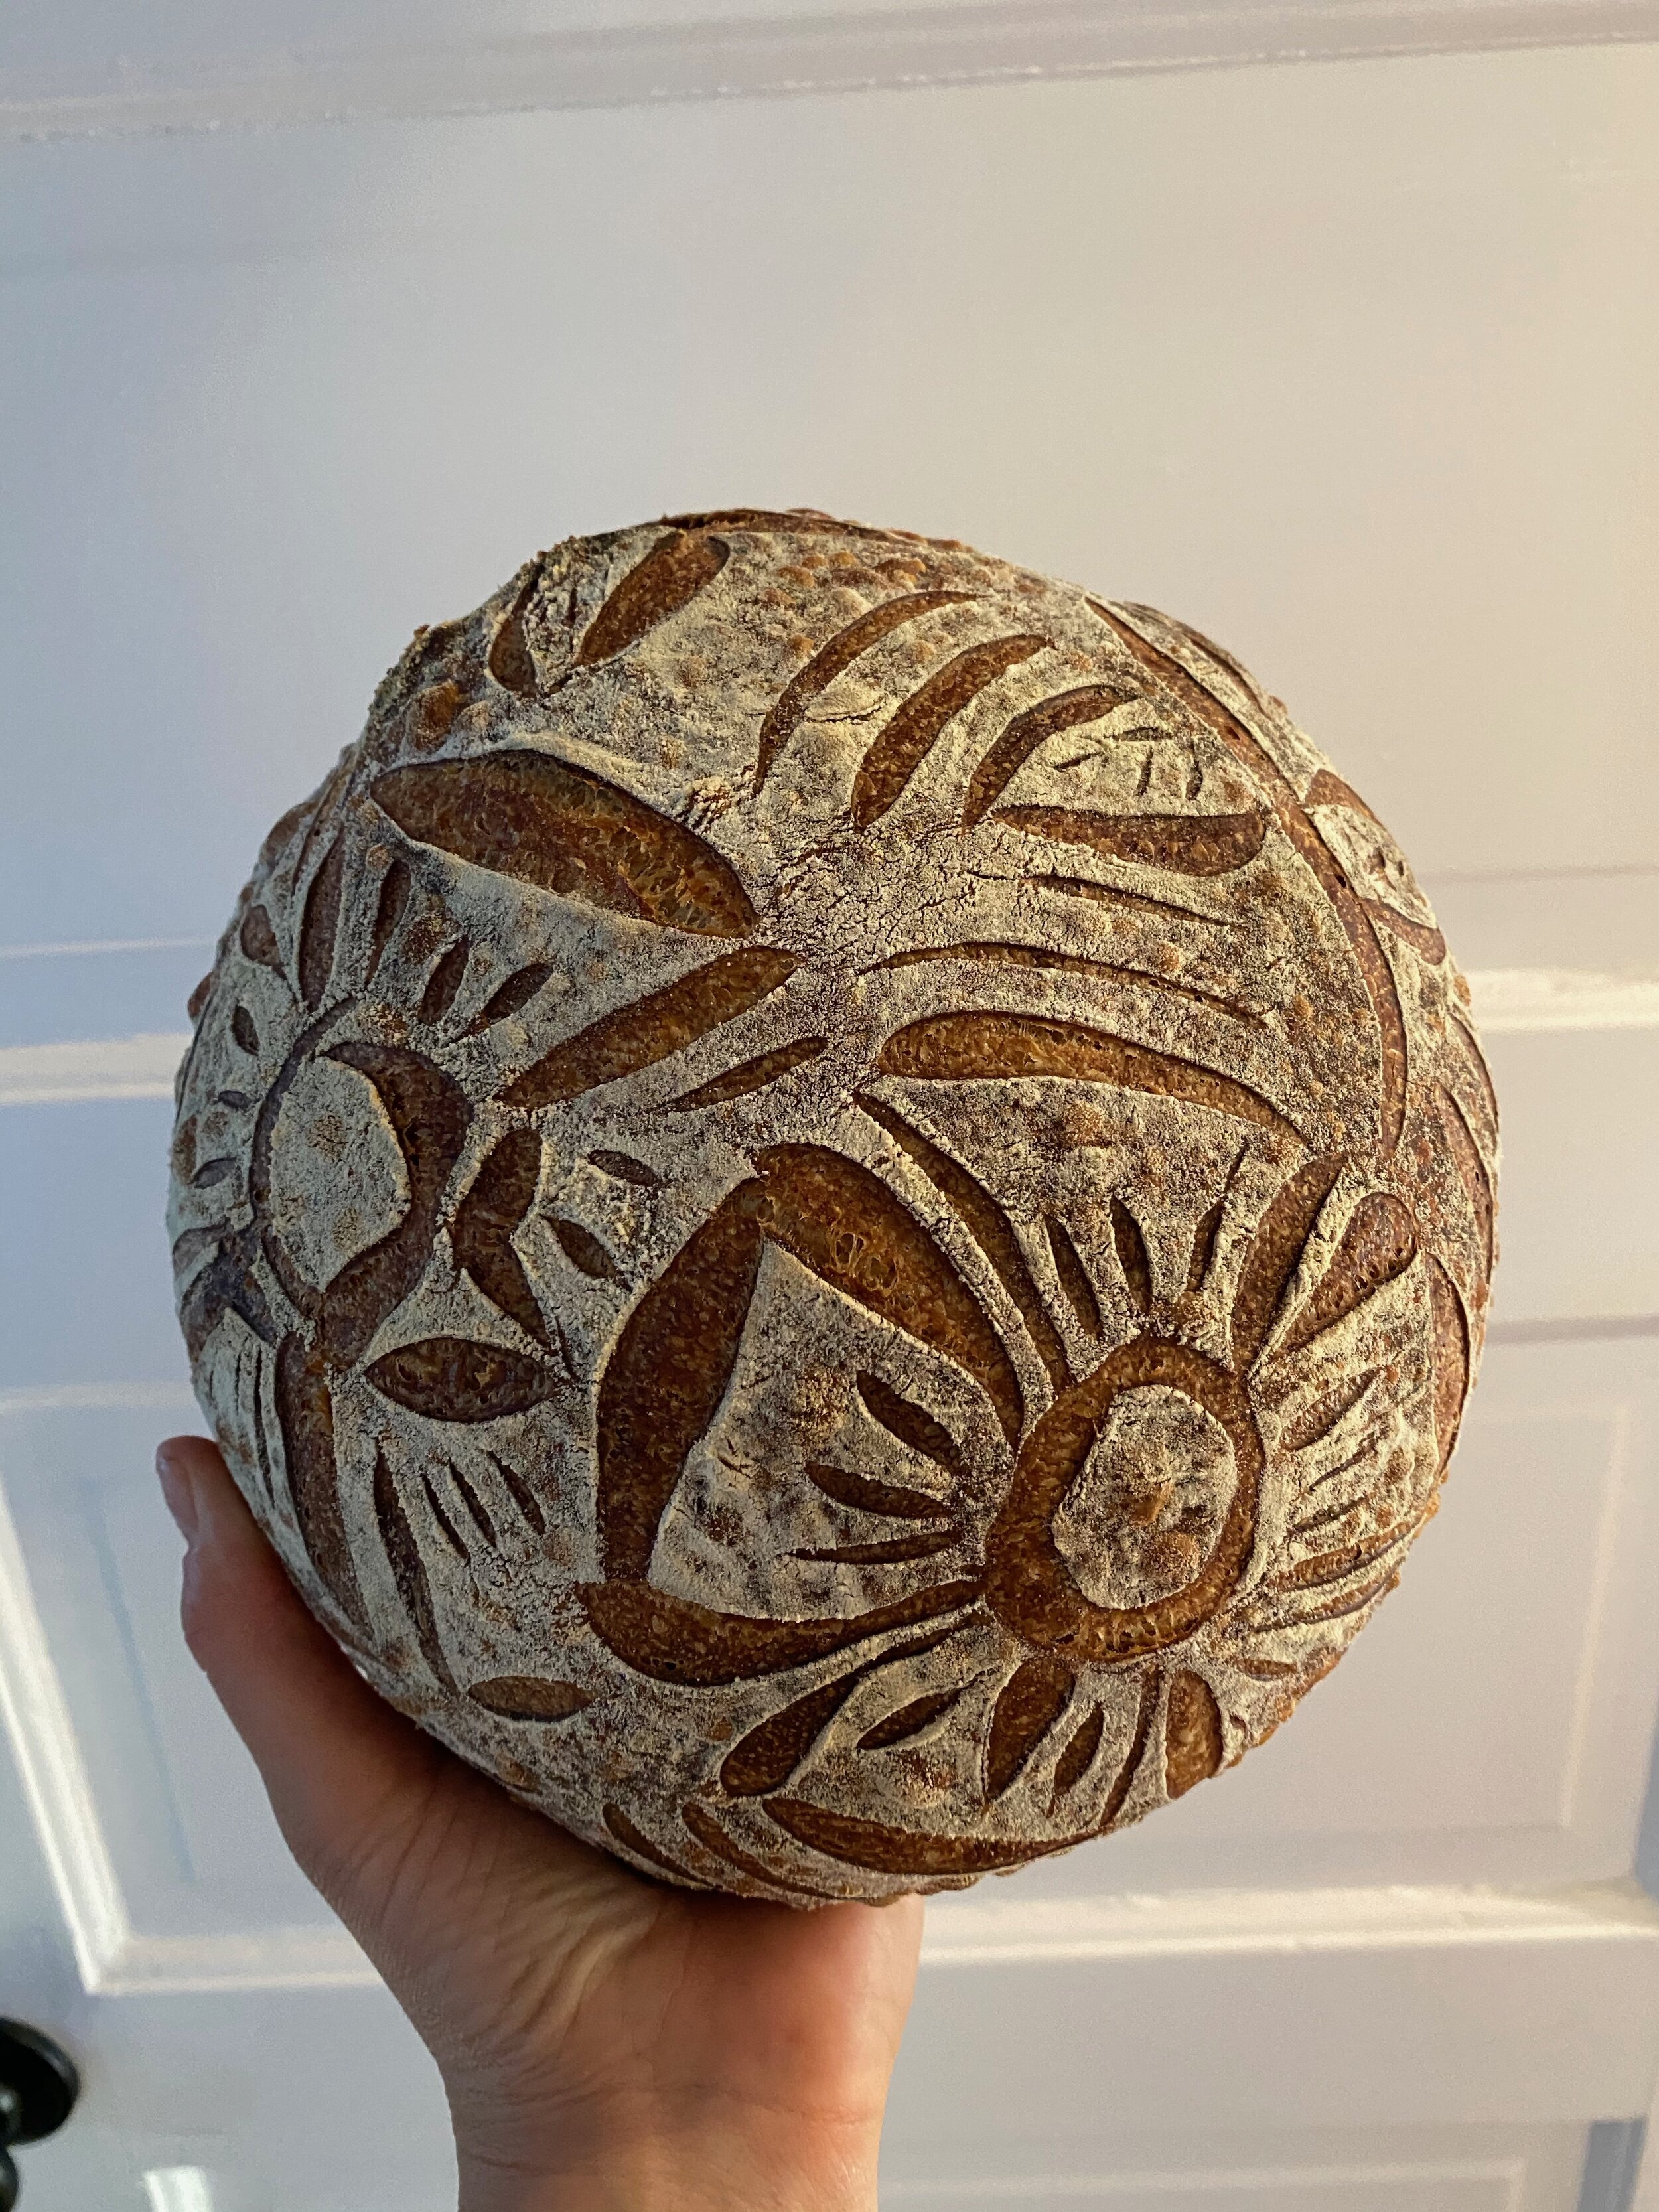
photo by Juliana Slemenda
When I was poring over my notes from the first hundred loaves, I realized I had a big takeaway every ten loaves or so. Here they are.
Loaves 1 - 10

Just Getting Started
This was the biggest learning curve. I went from having a total mess (that turned into pizza dough) to actually making real bread. I am the kind of person who wants to do everything right immediately so this was tough. But I kept trying and I’m glad I did.
loaves 11 - 20

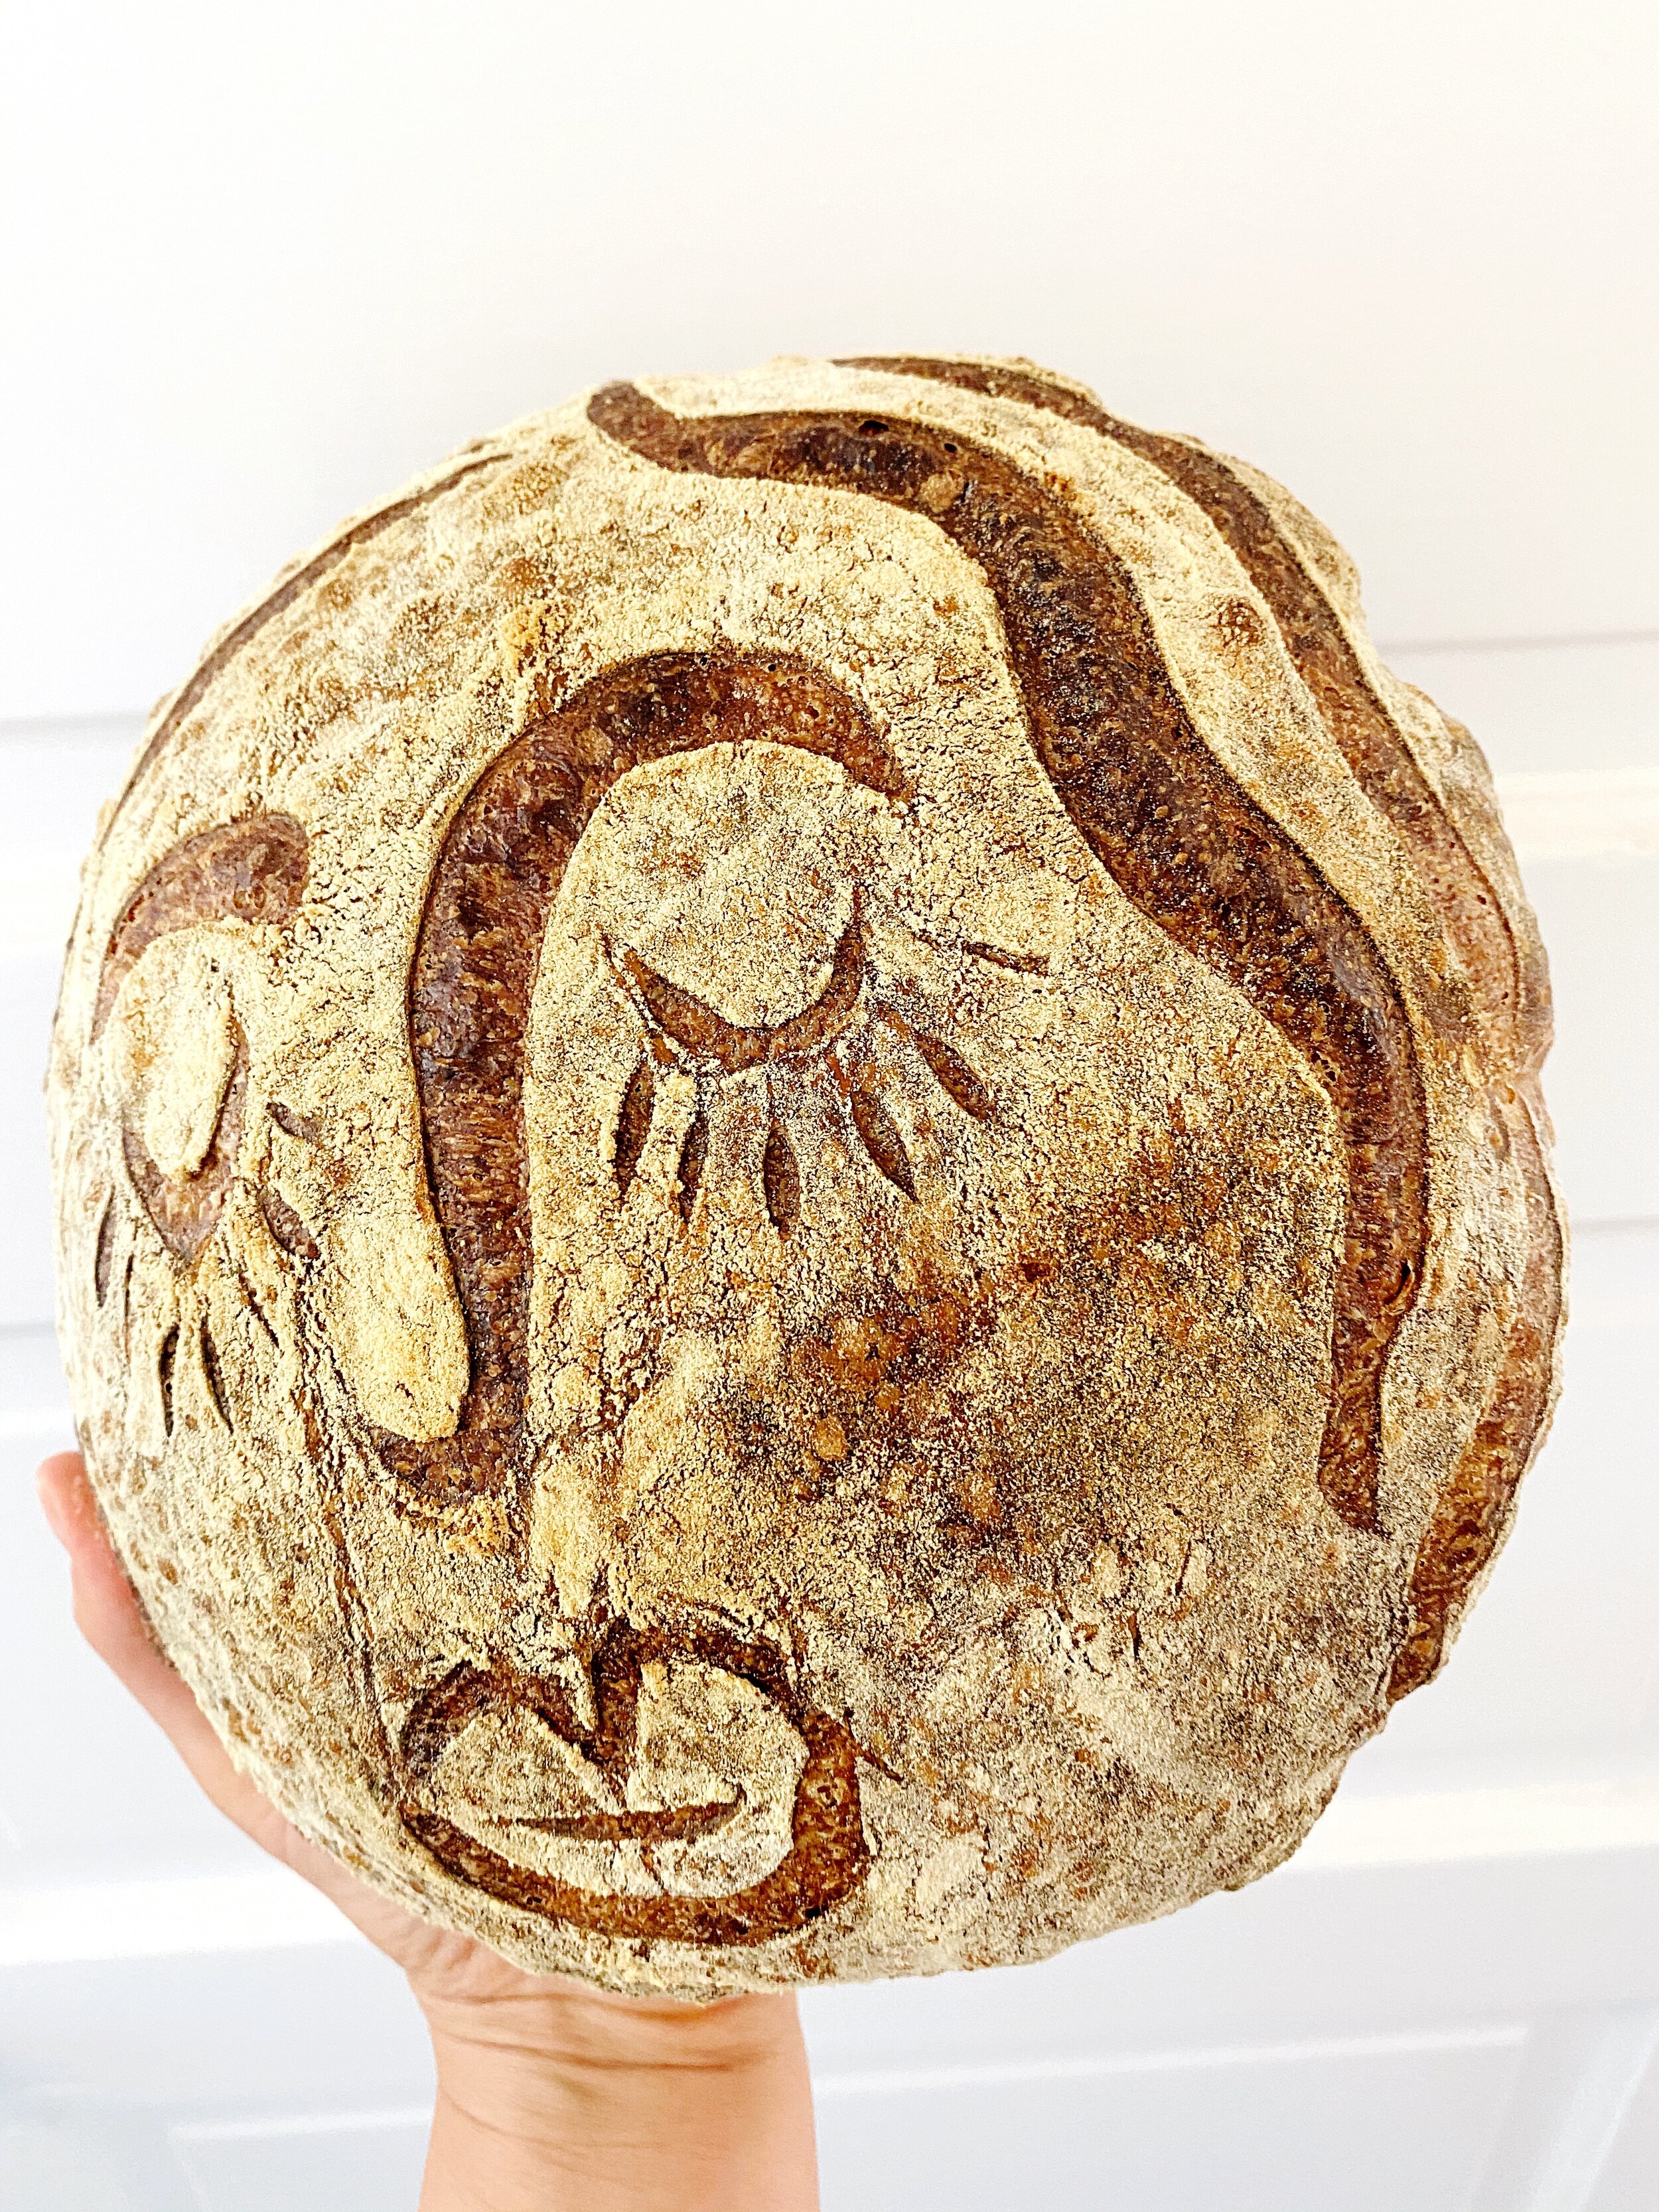
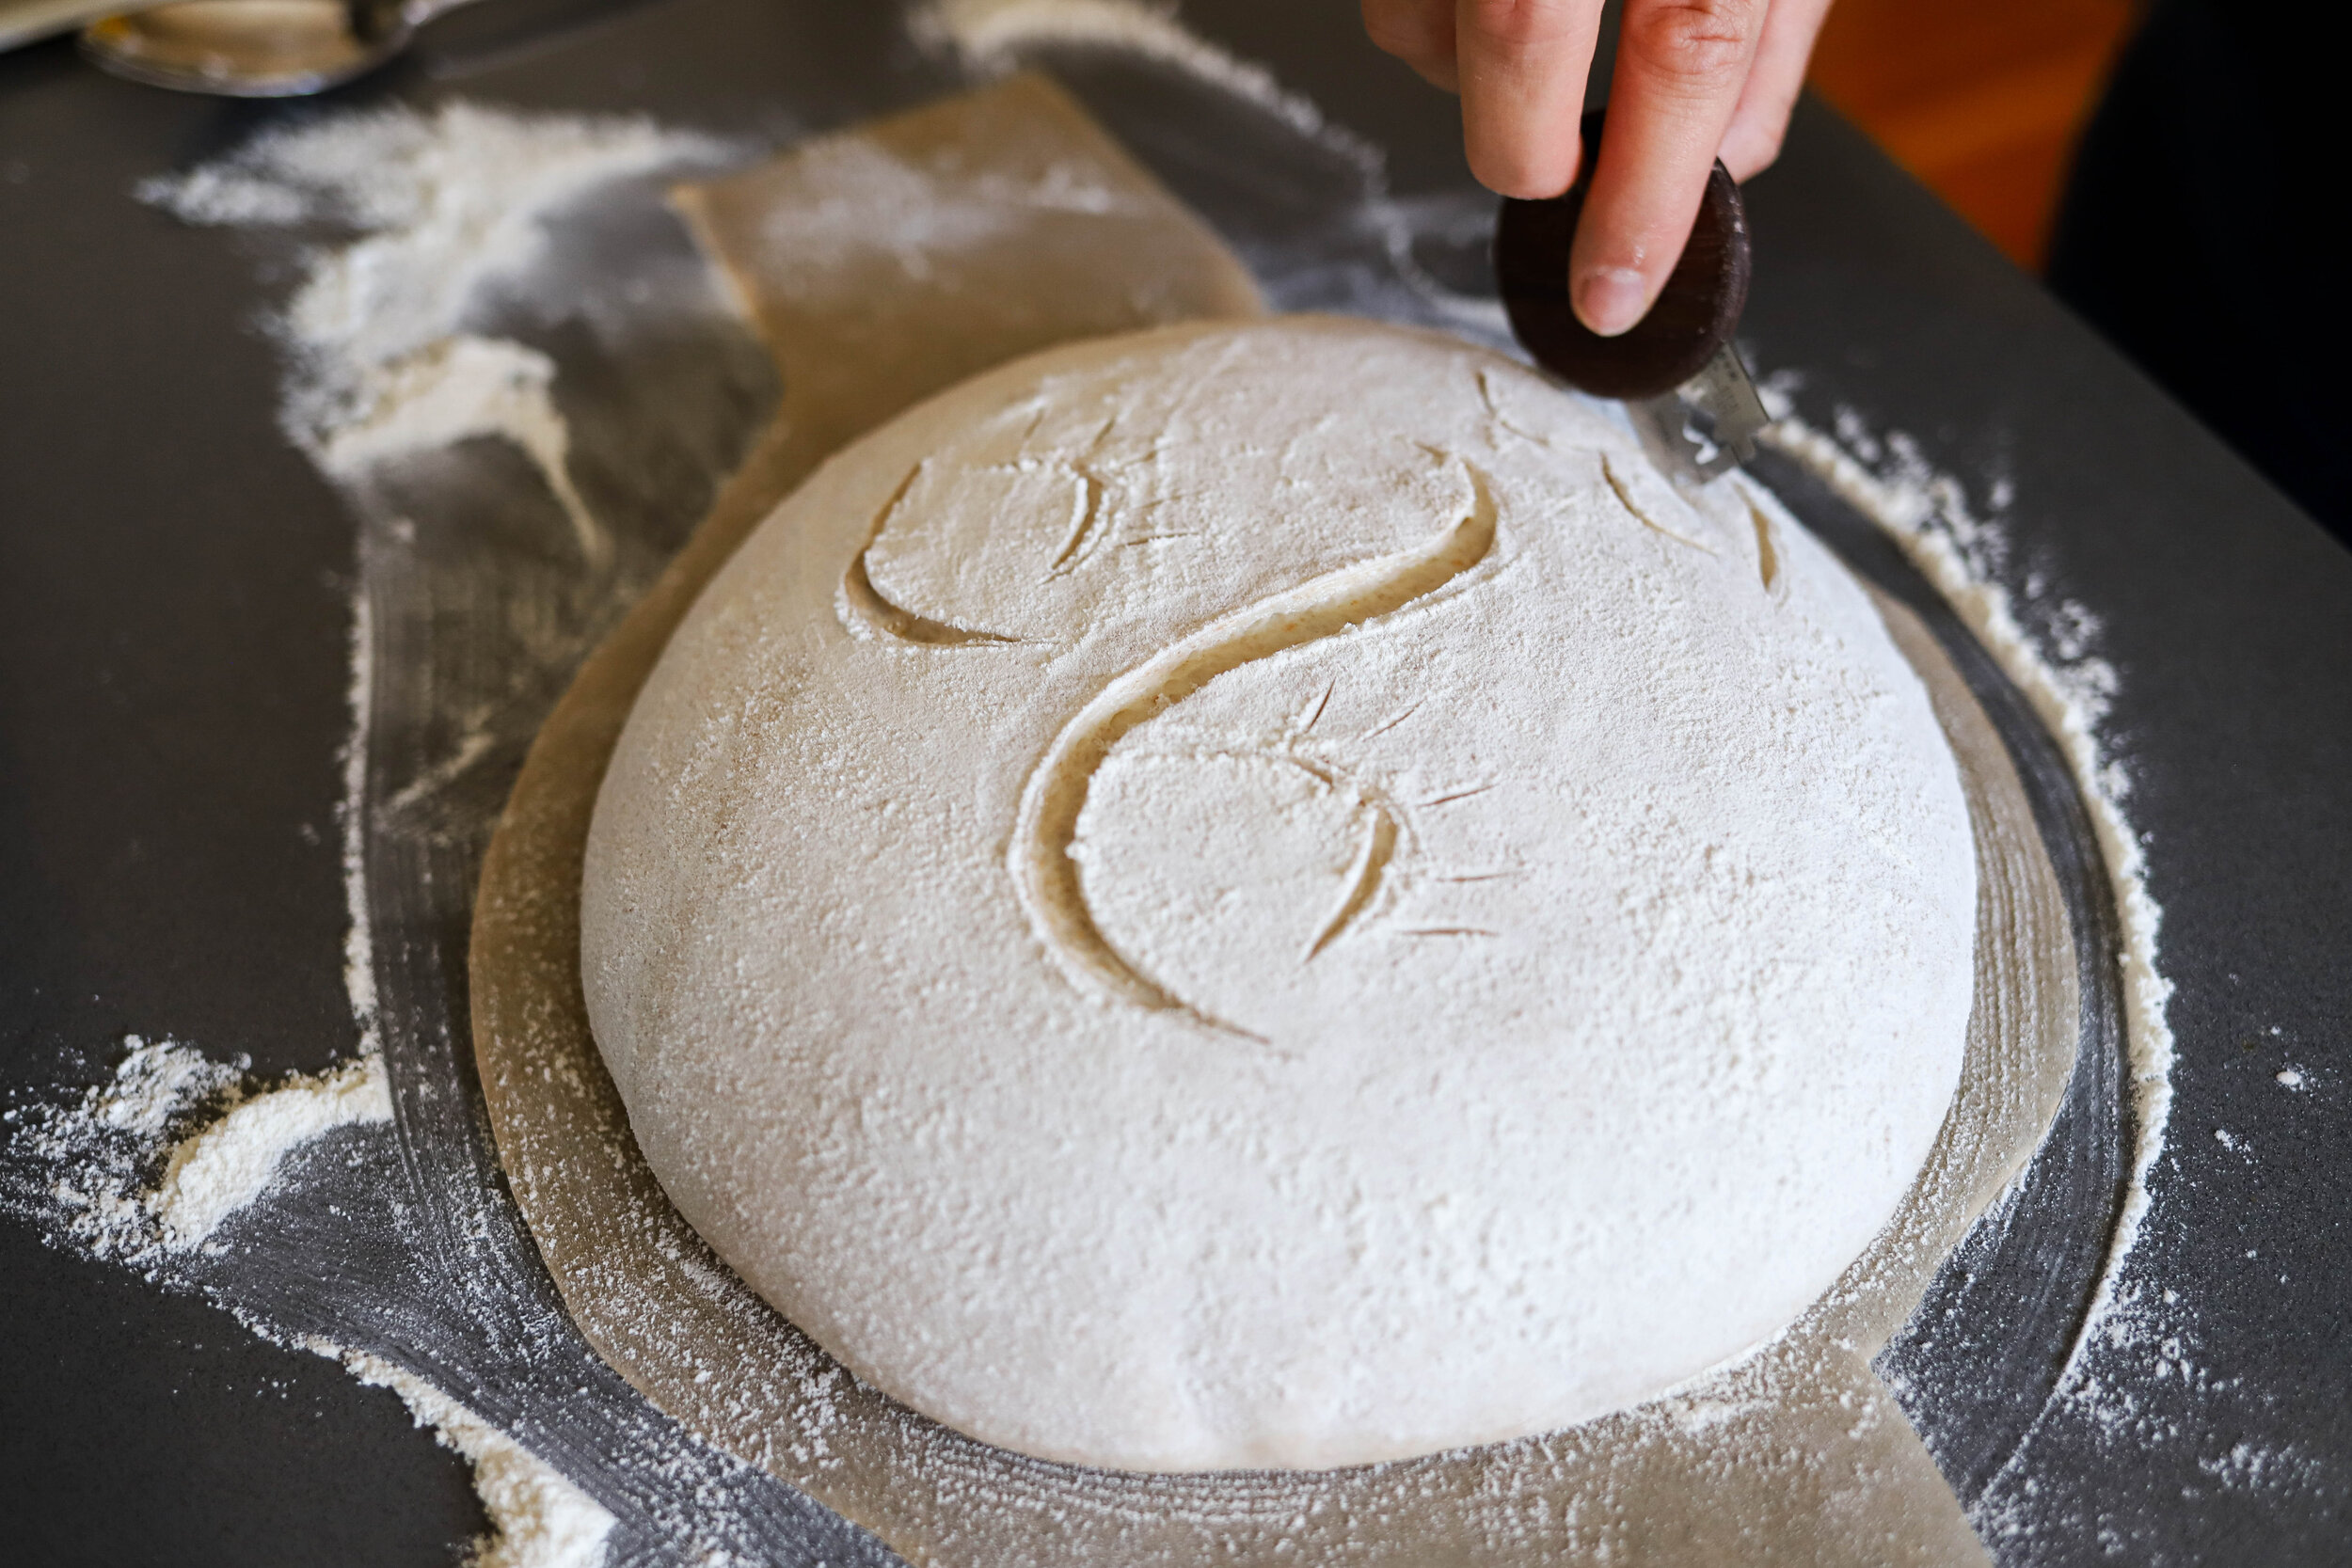
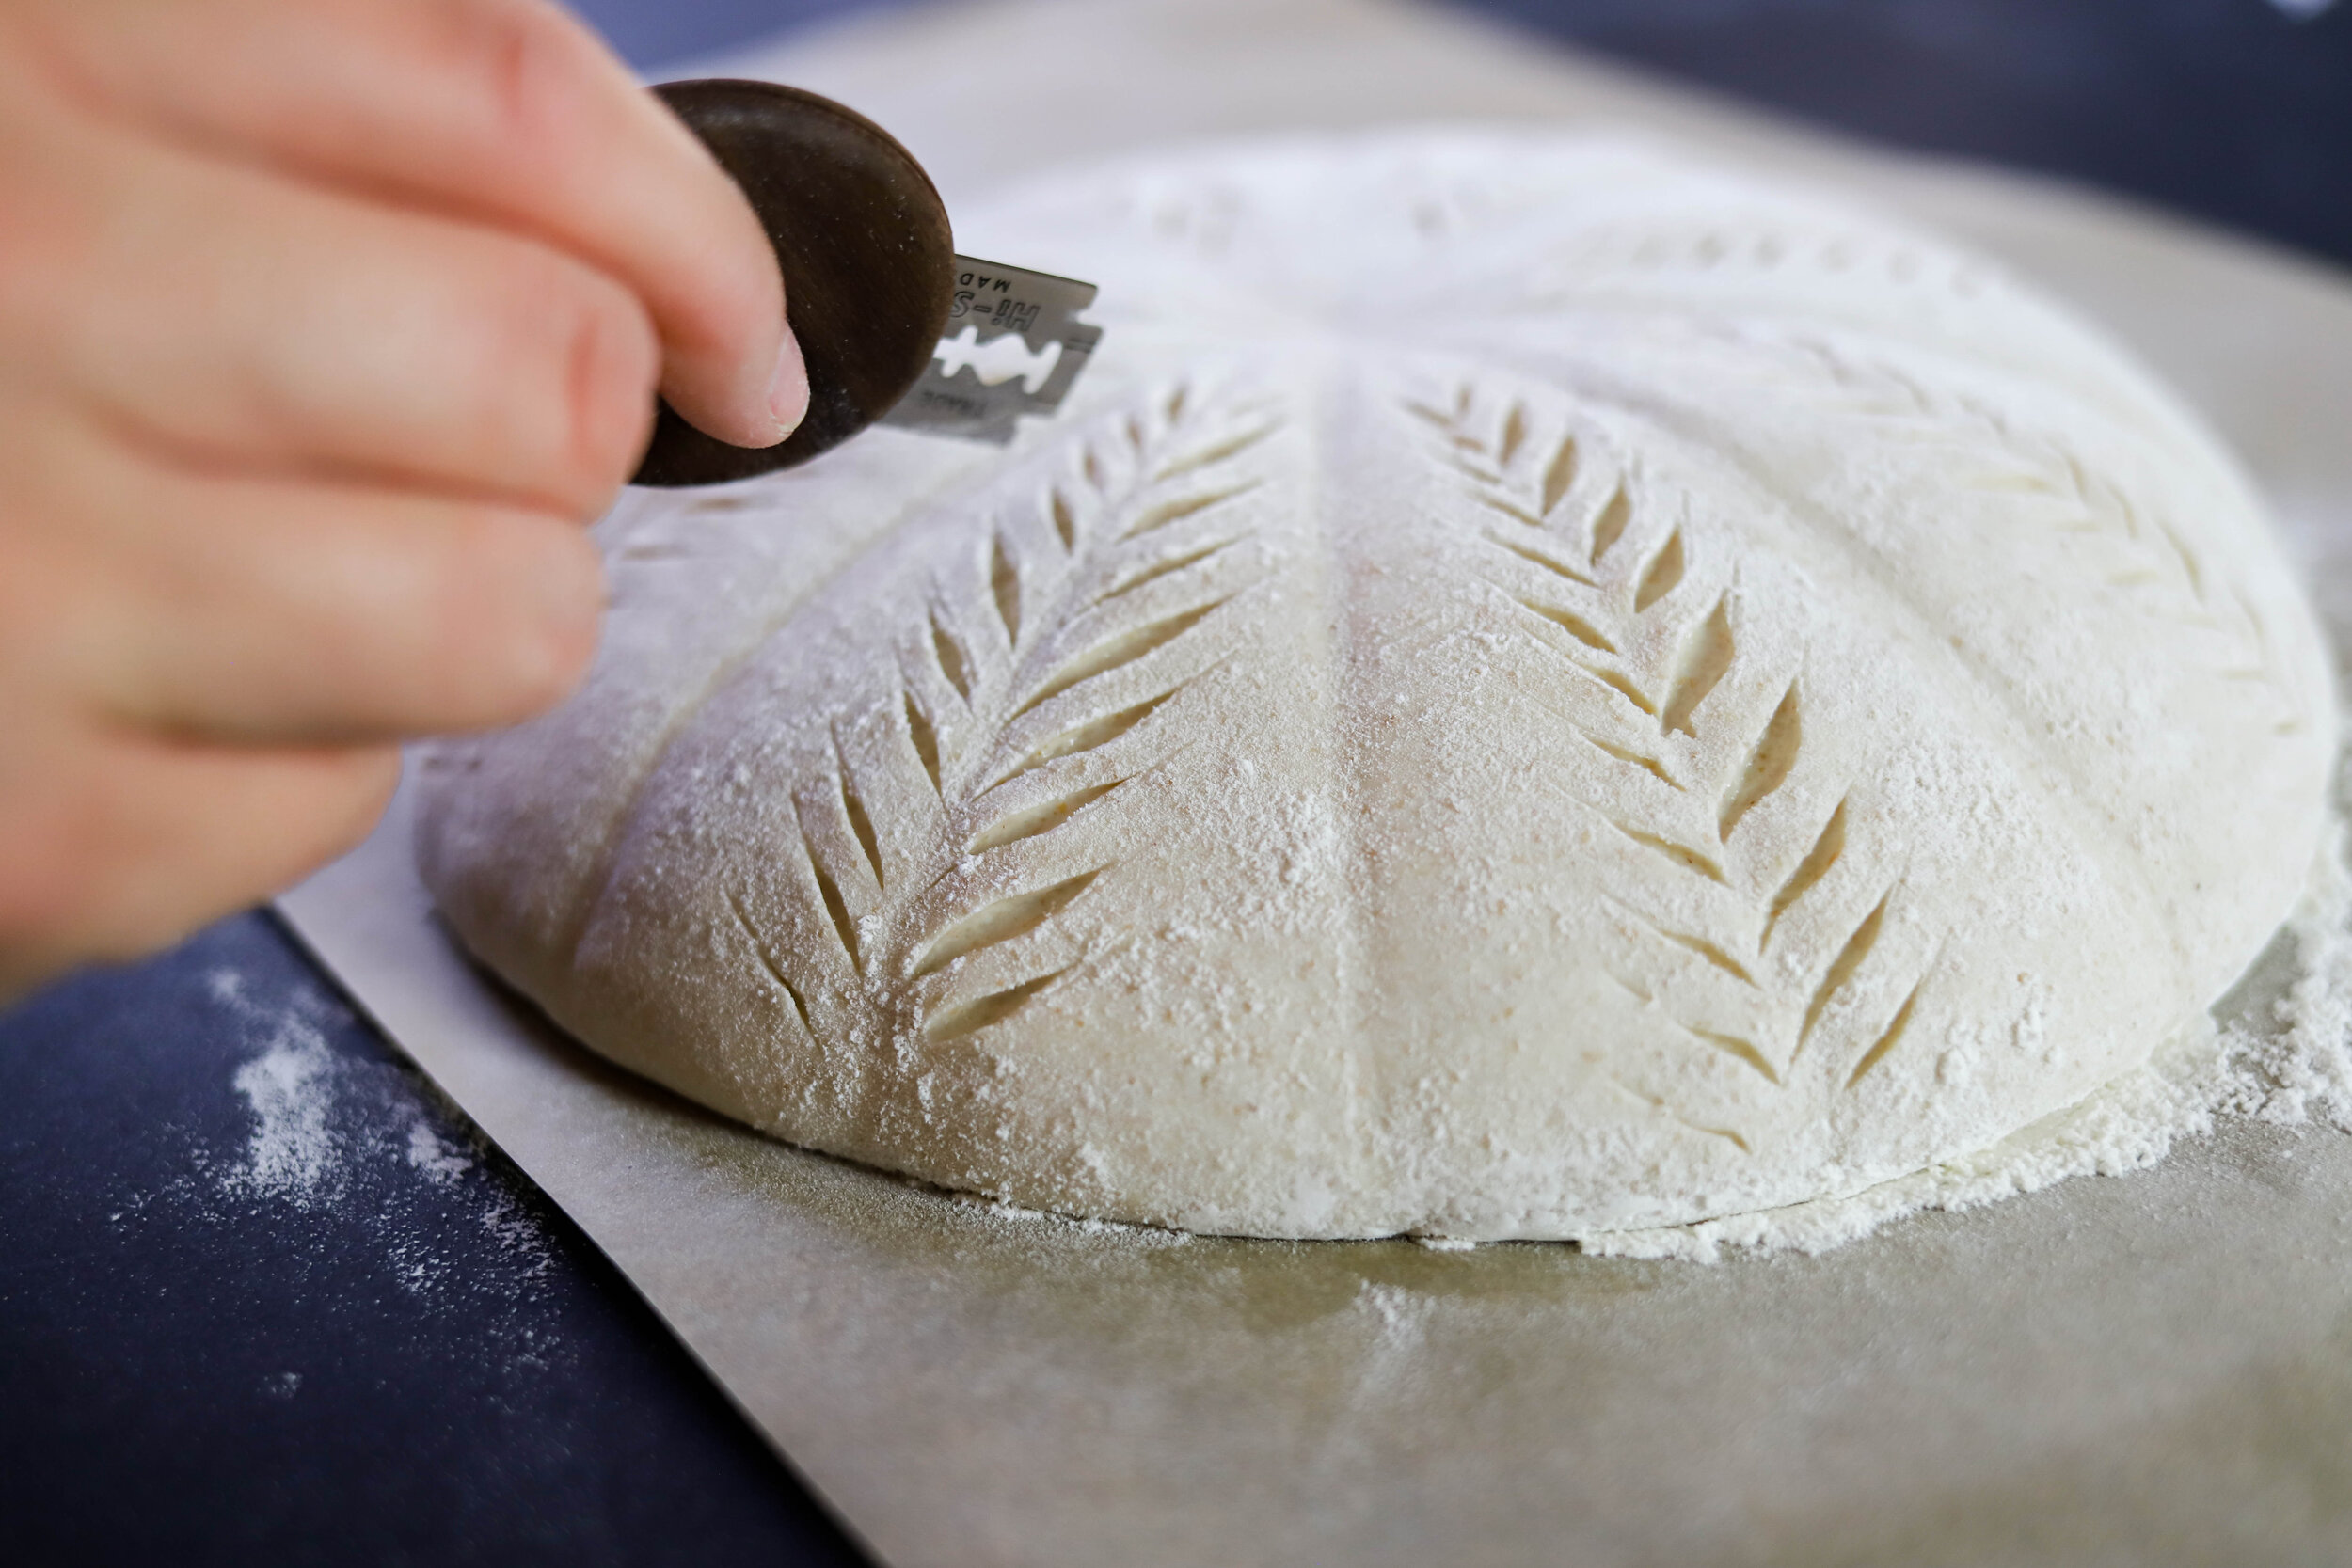
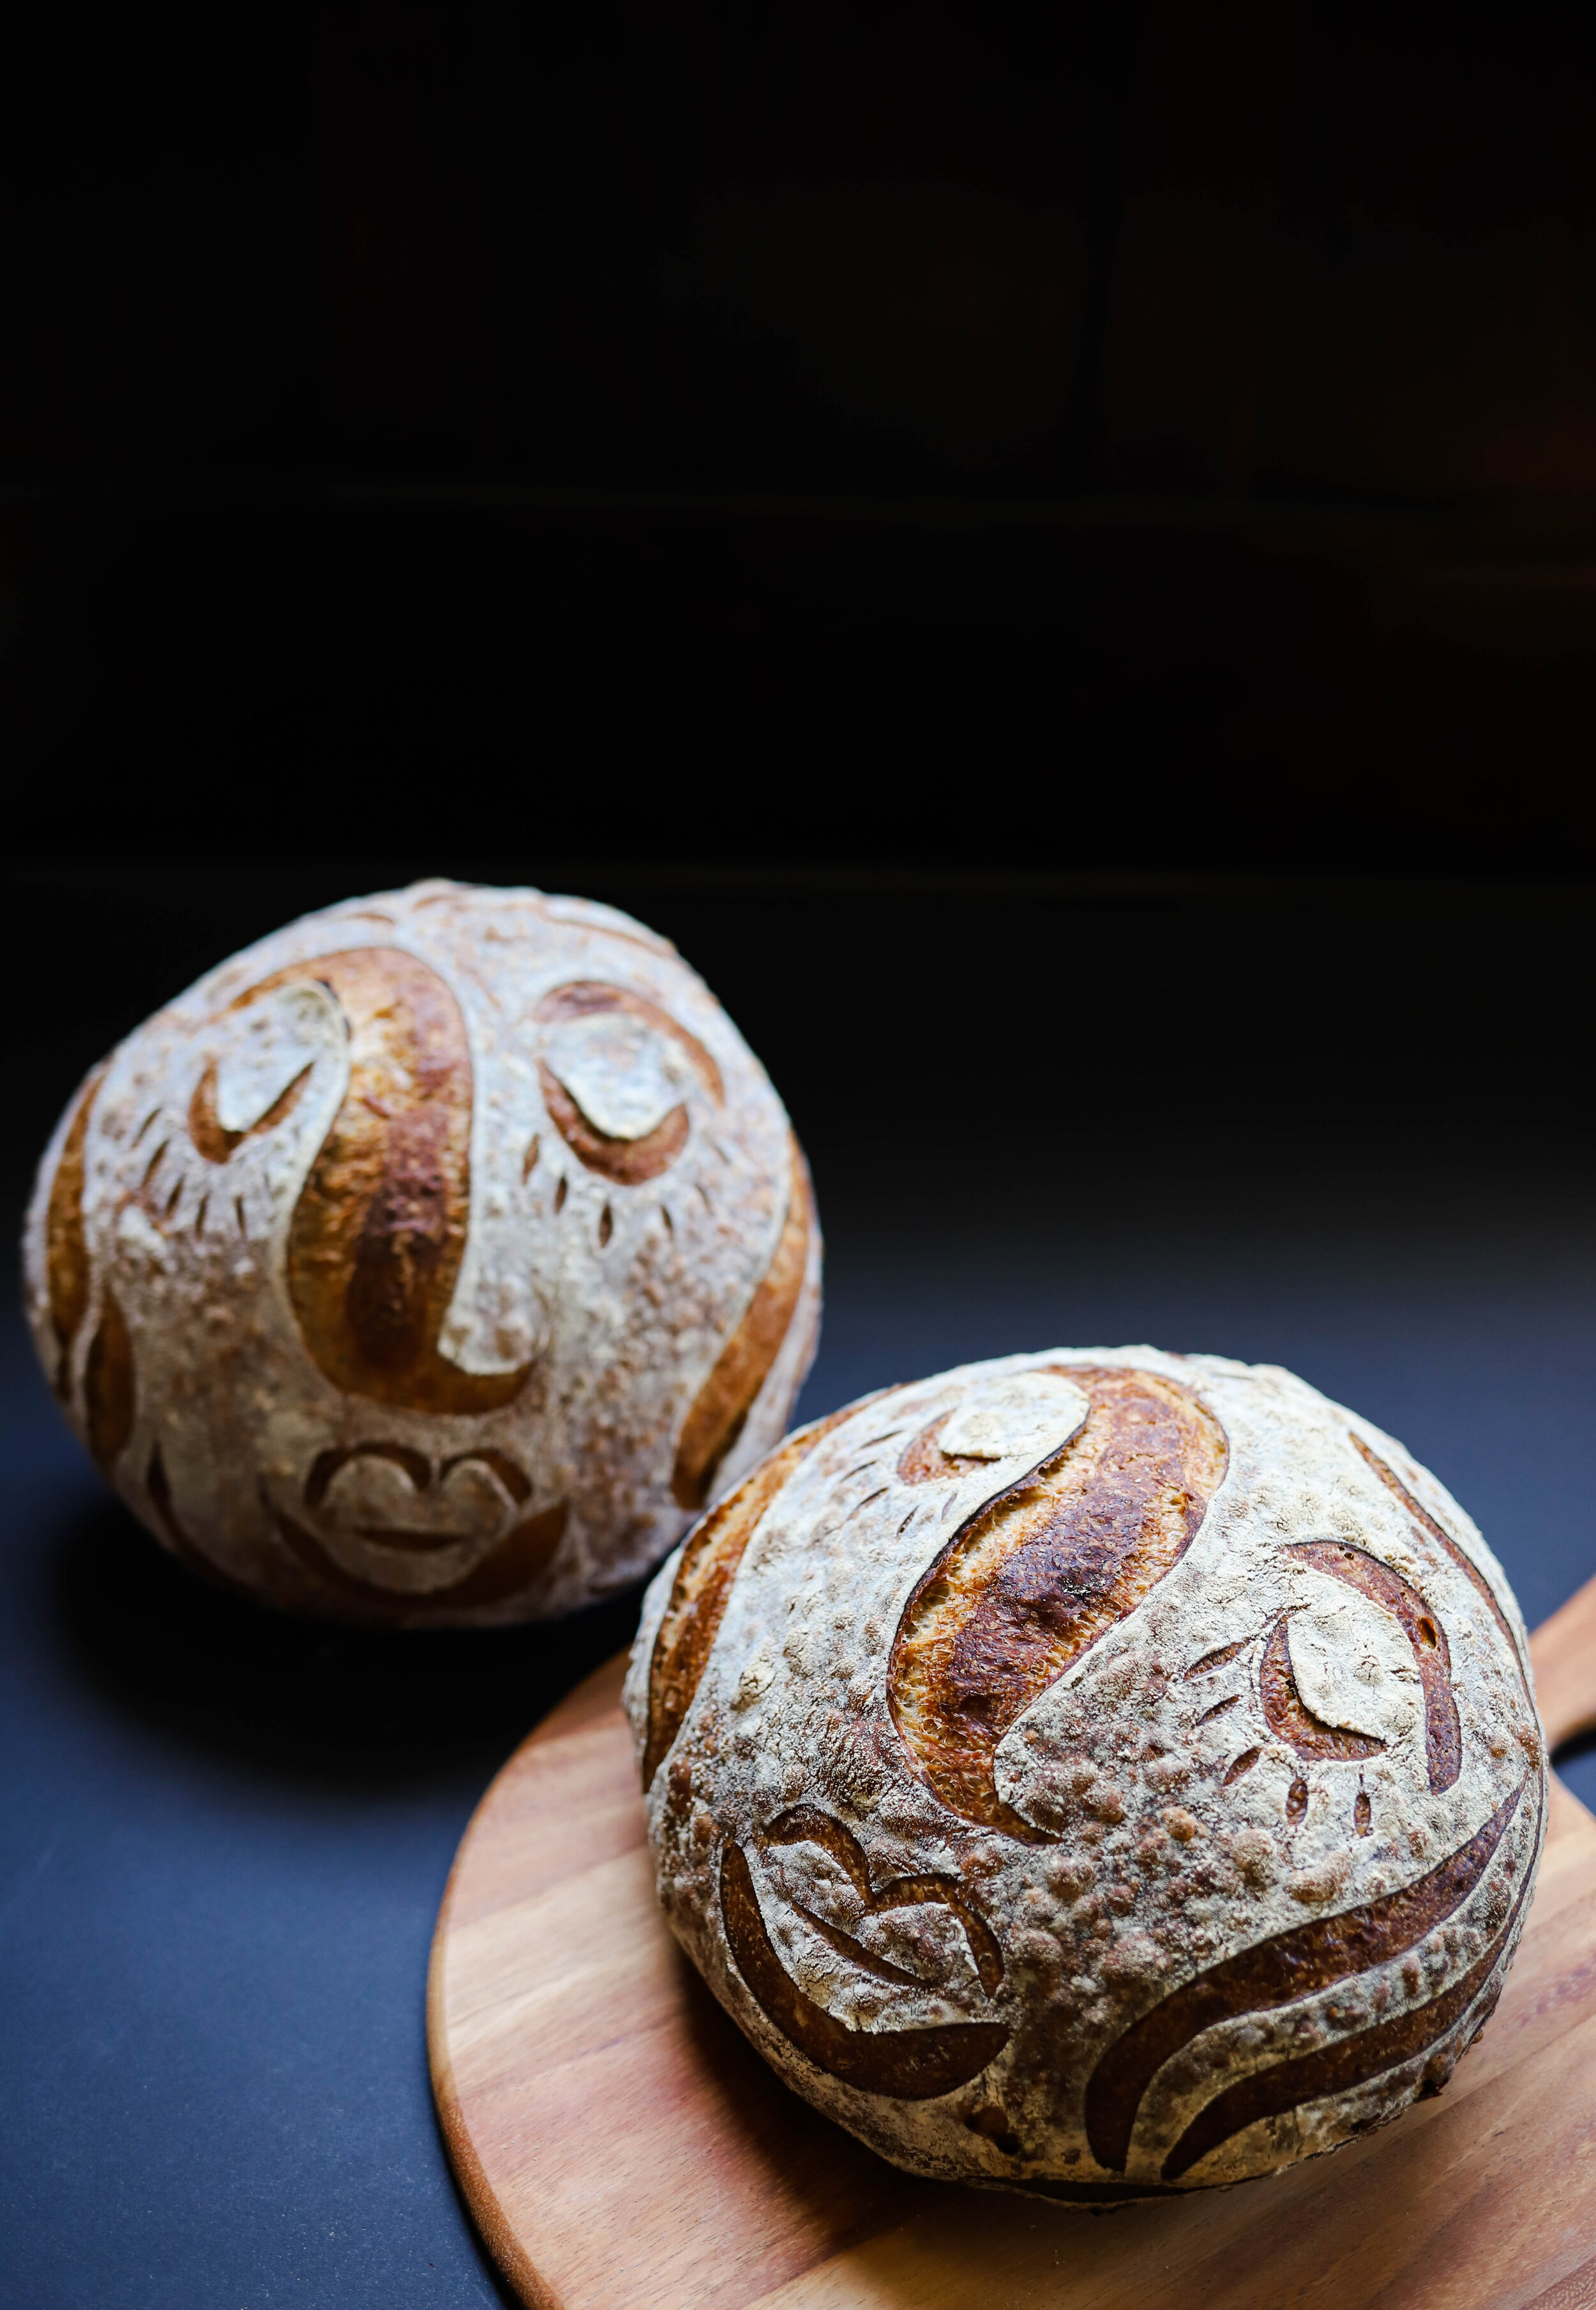
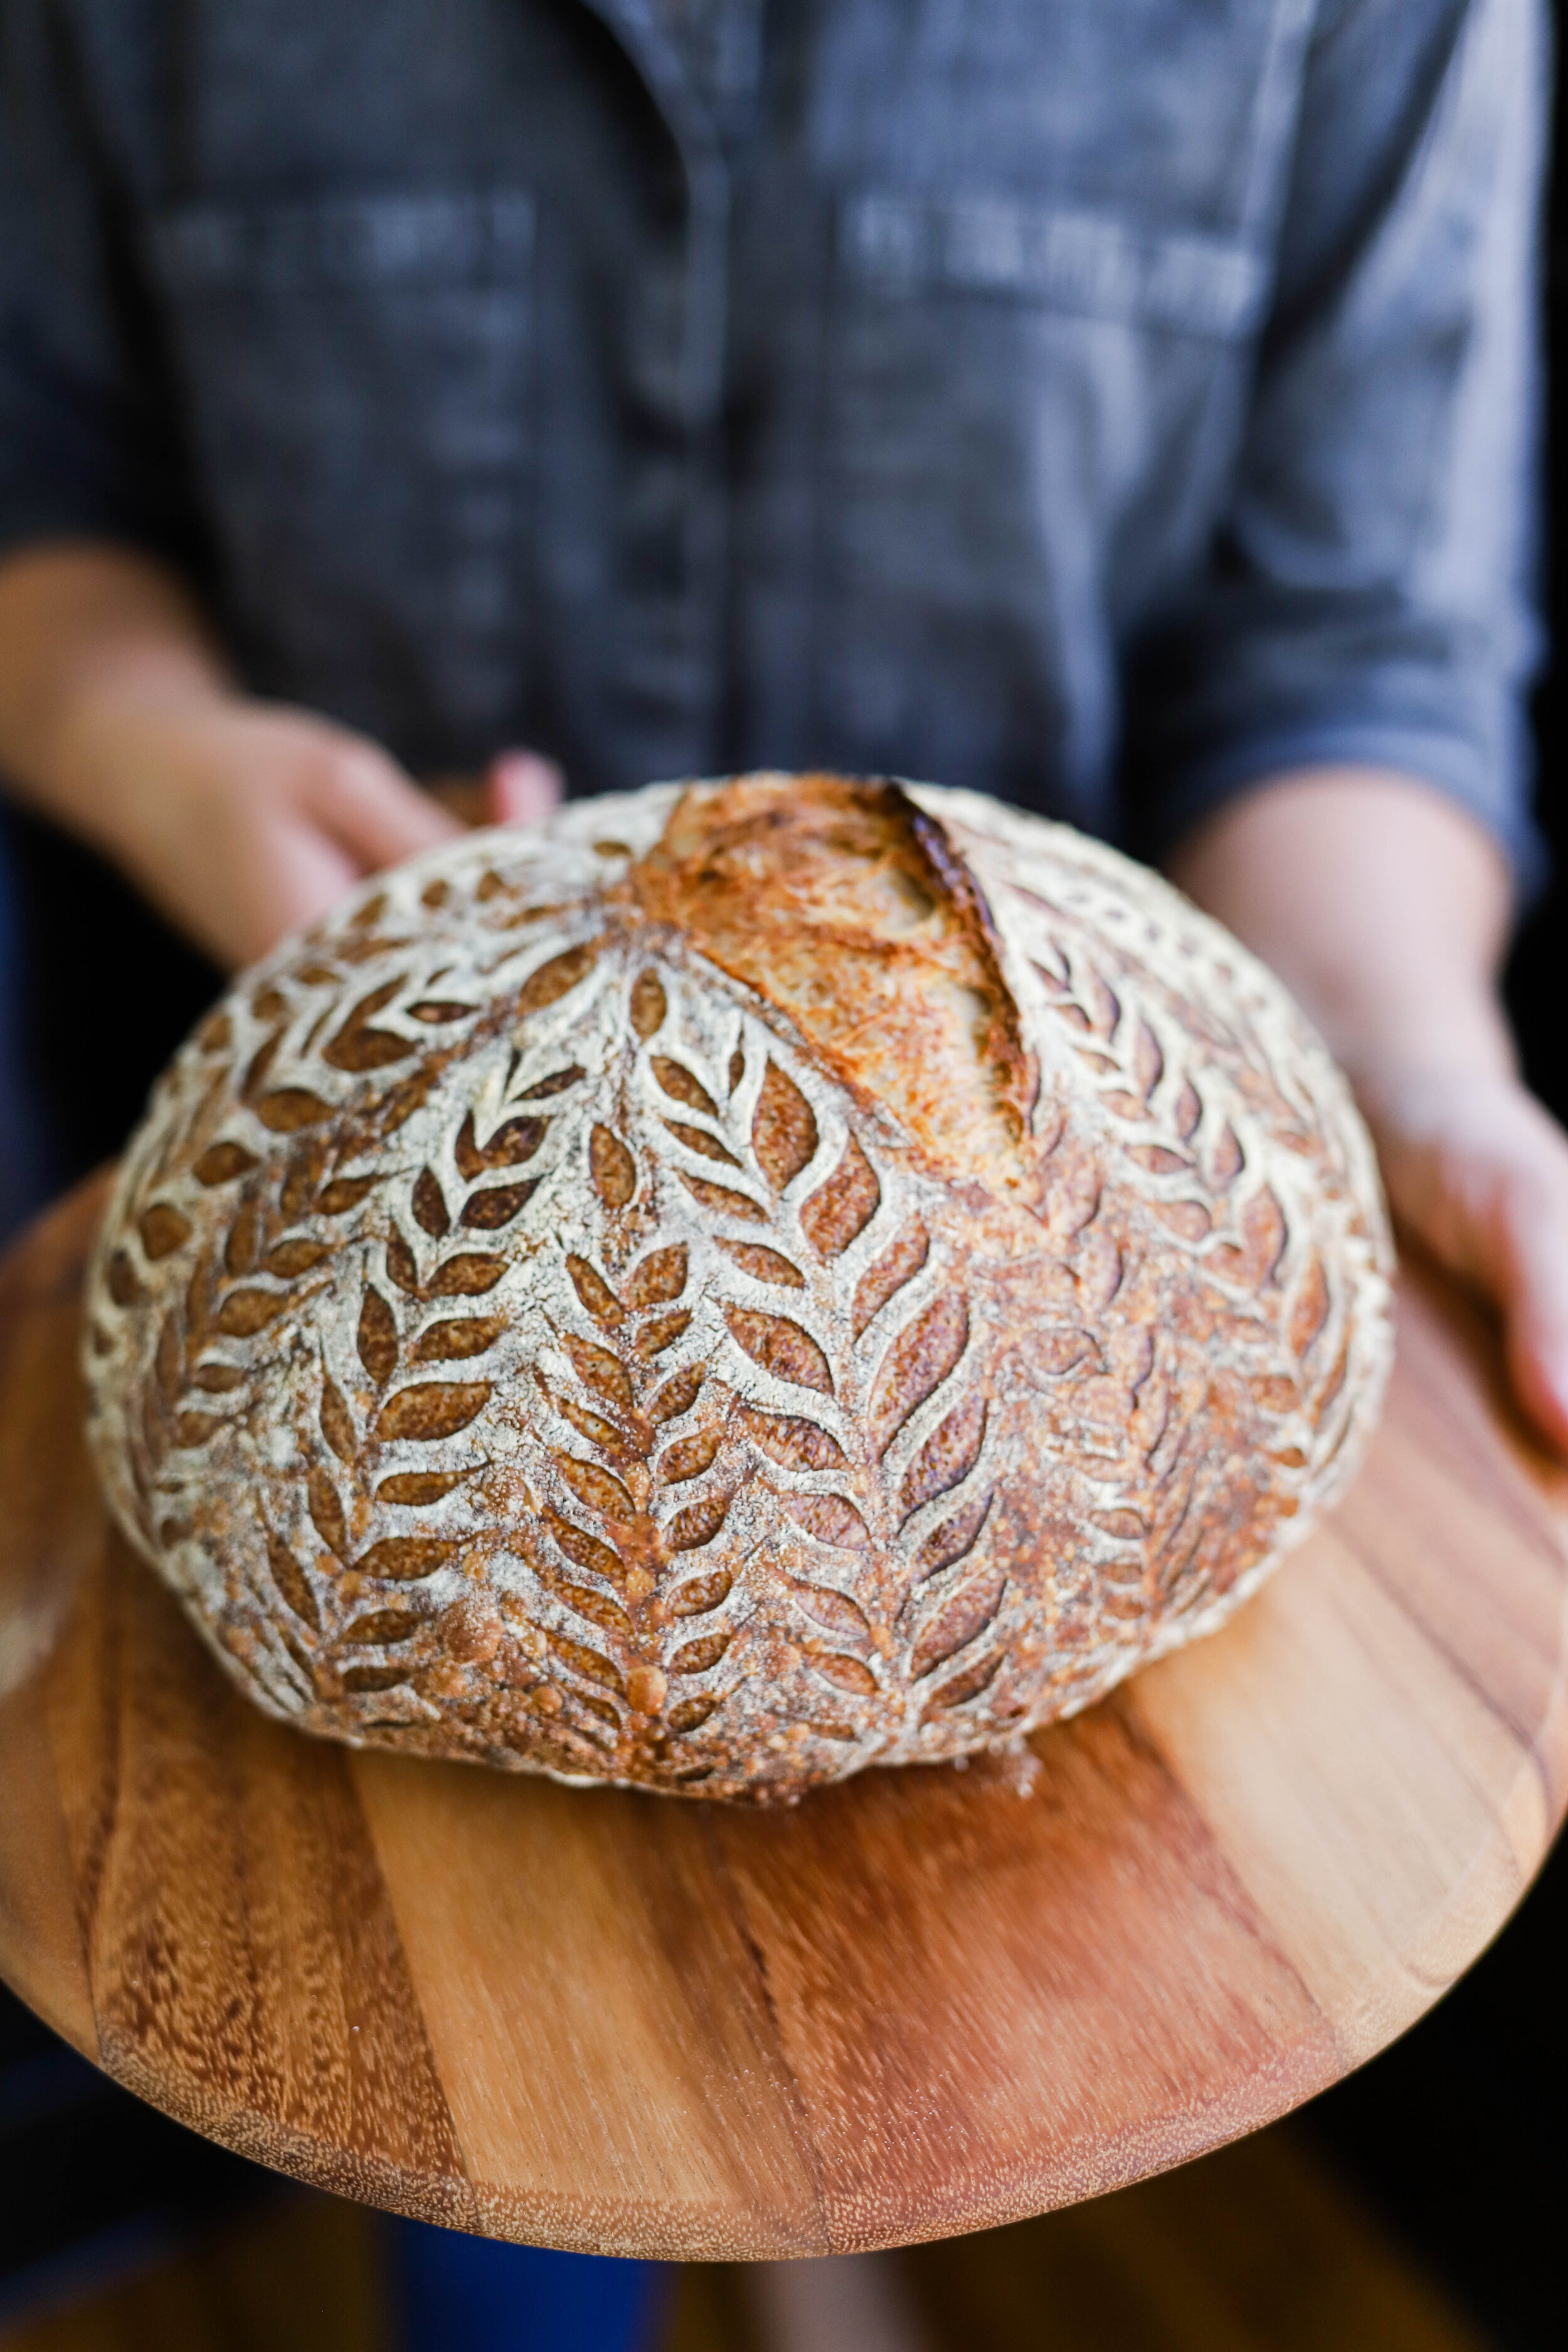
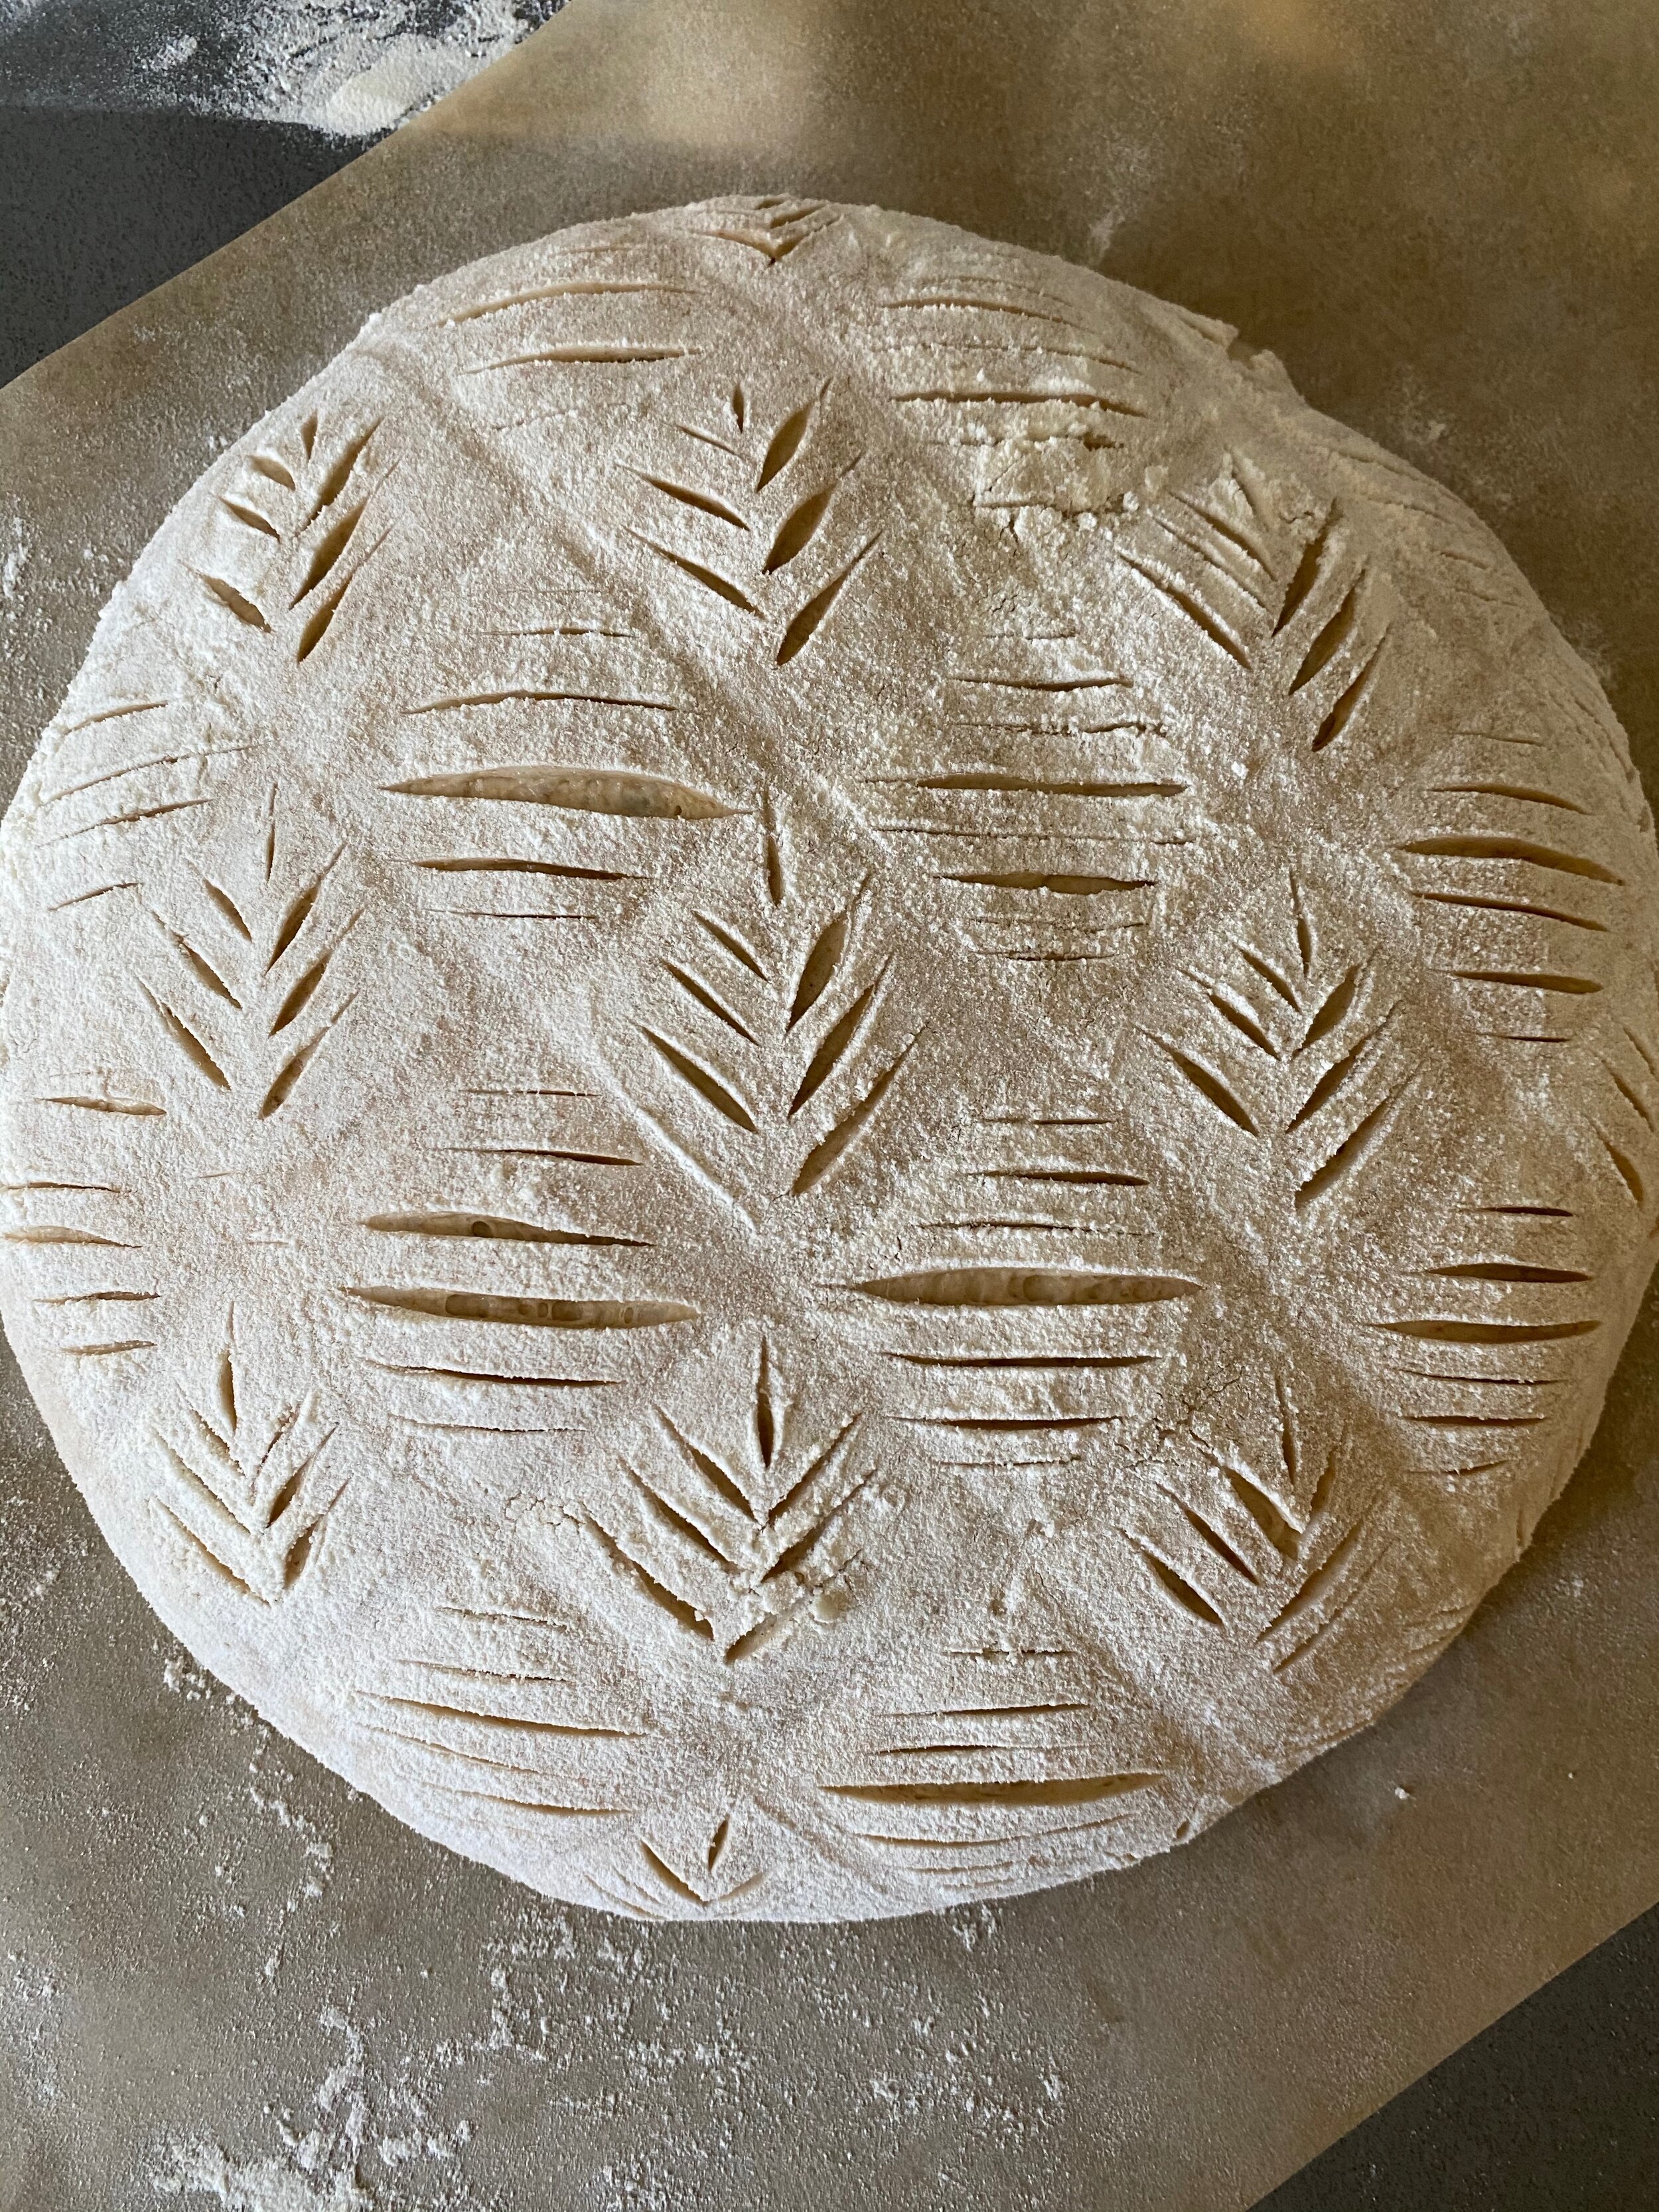
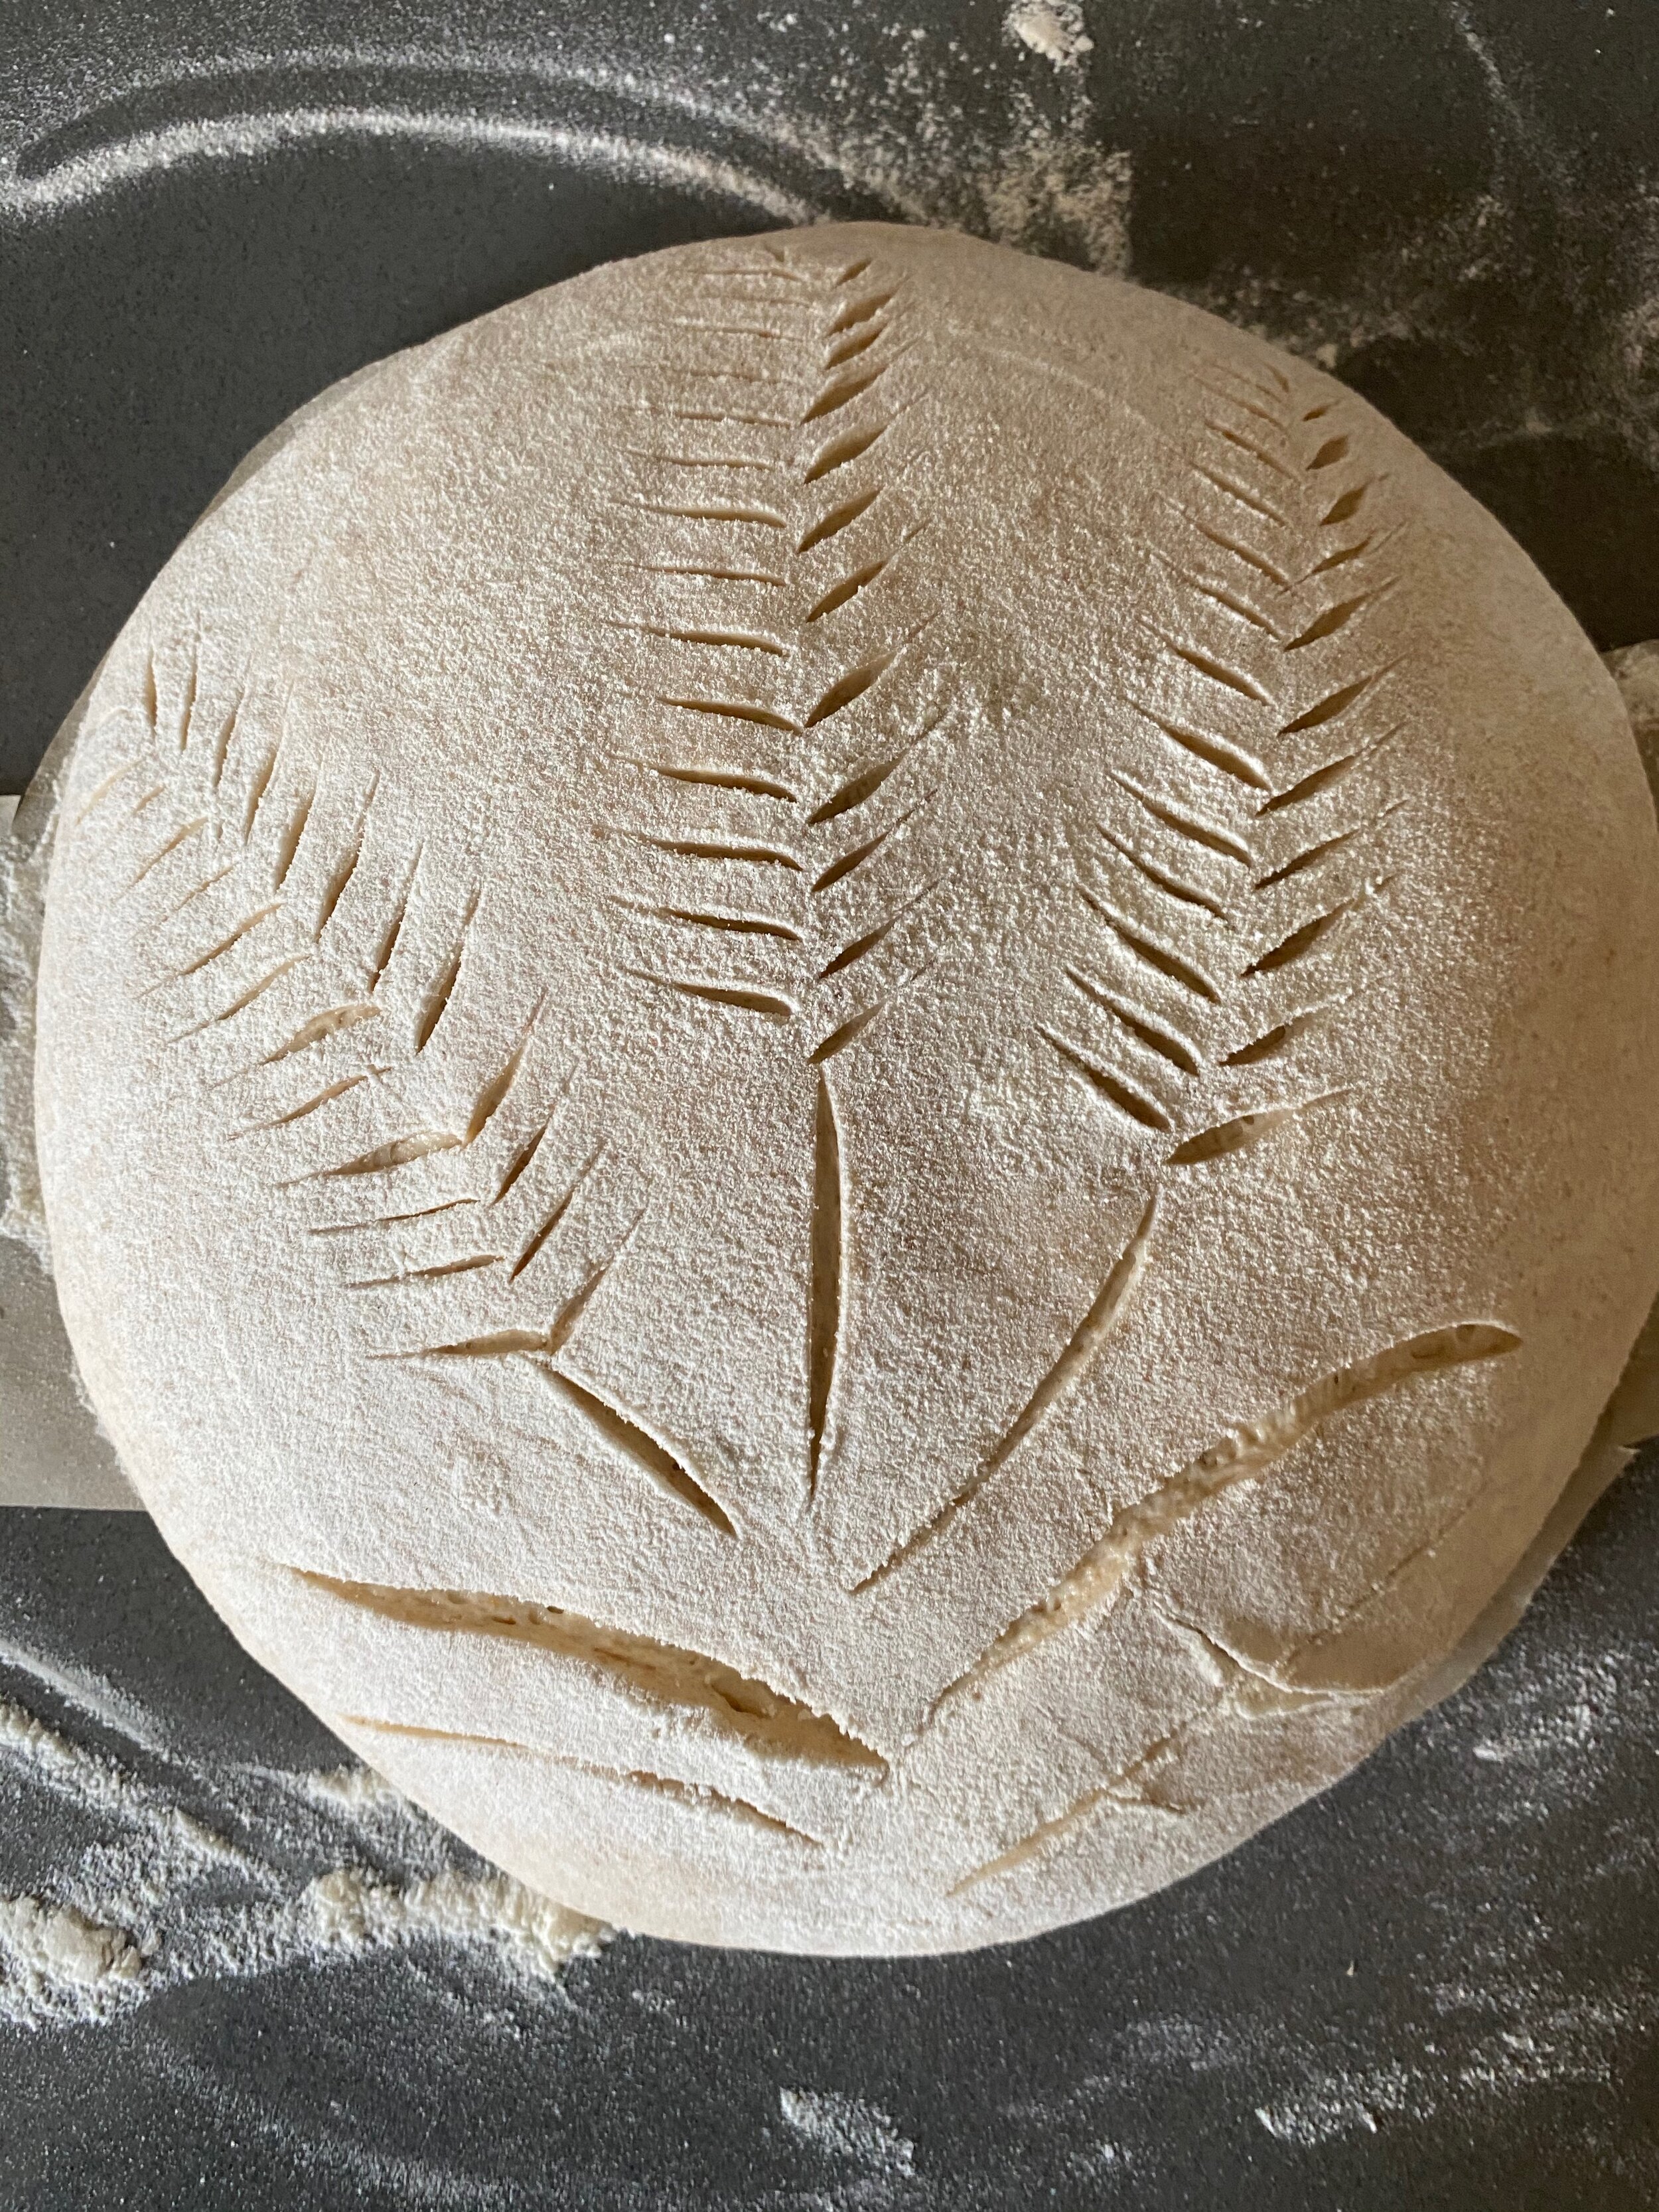
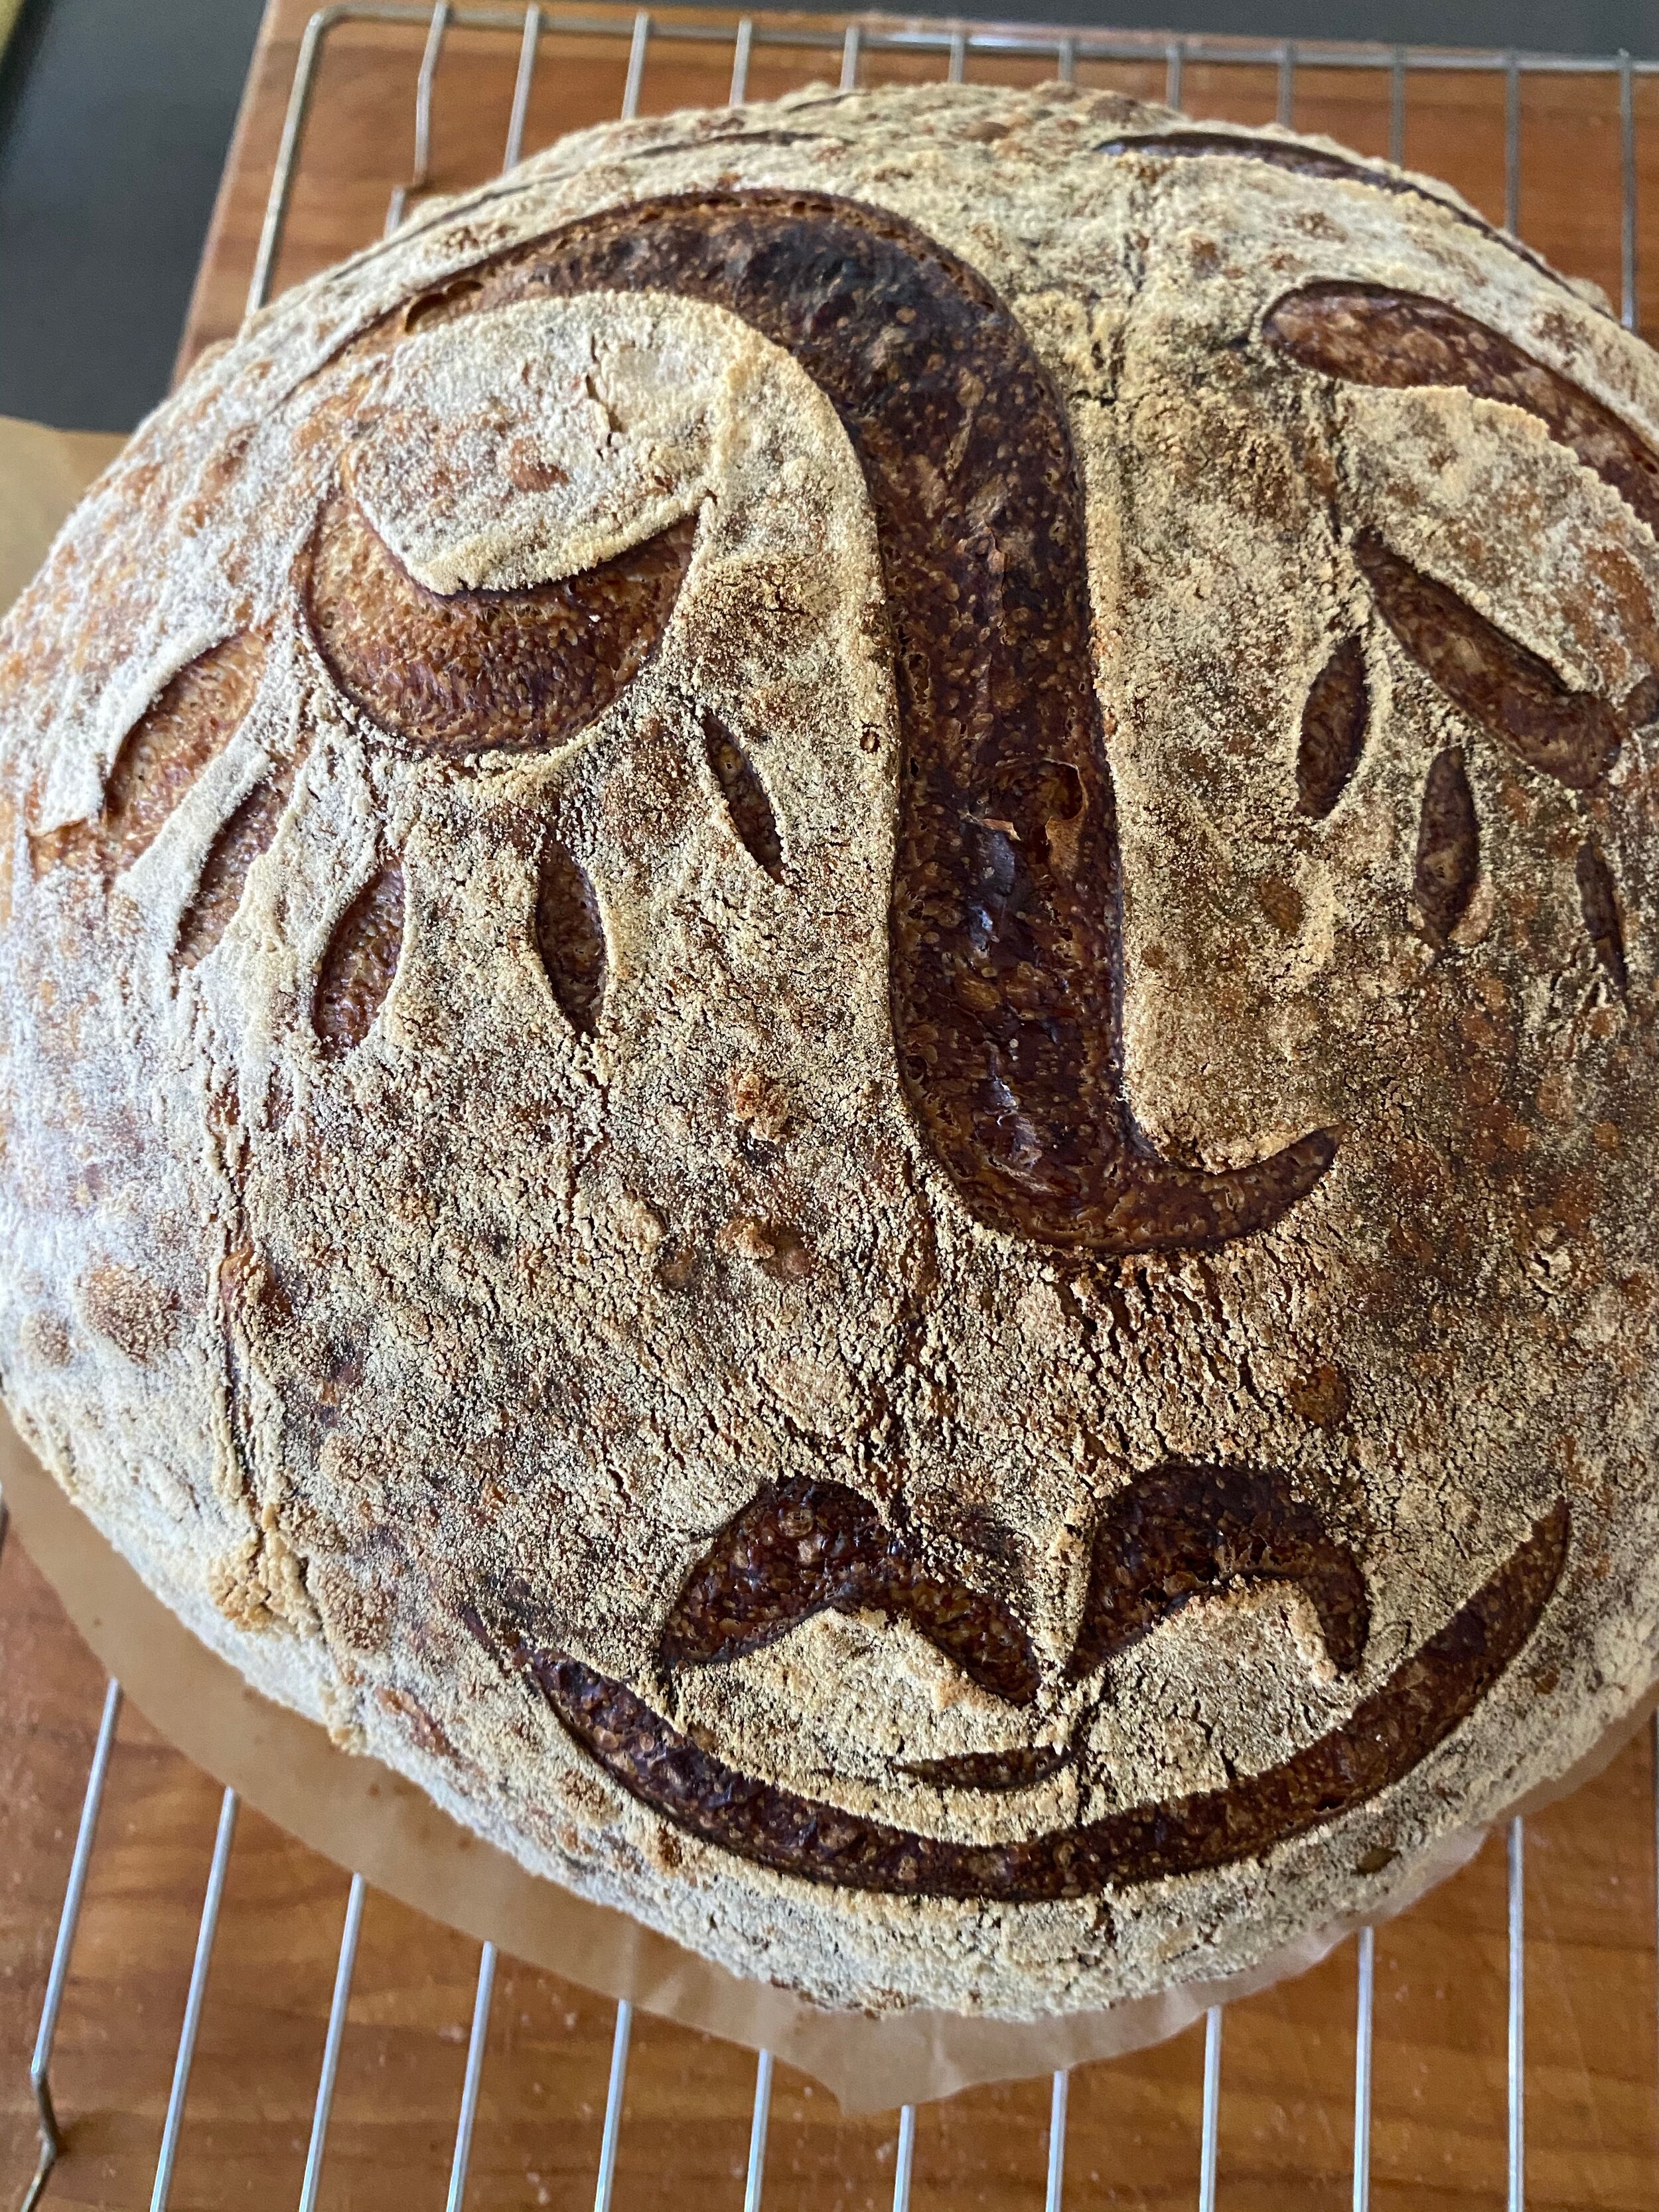
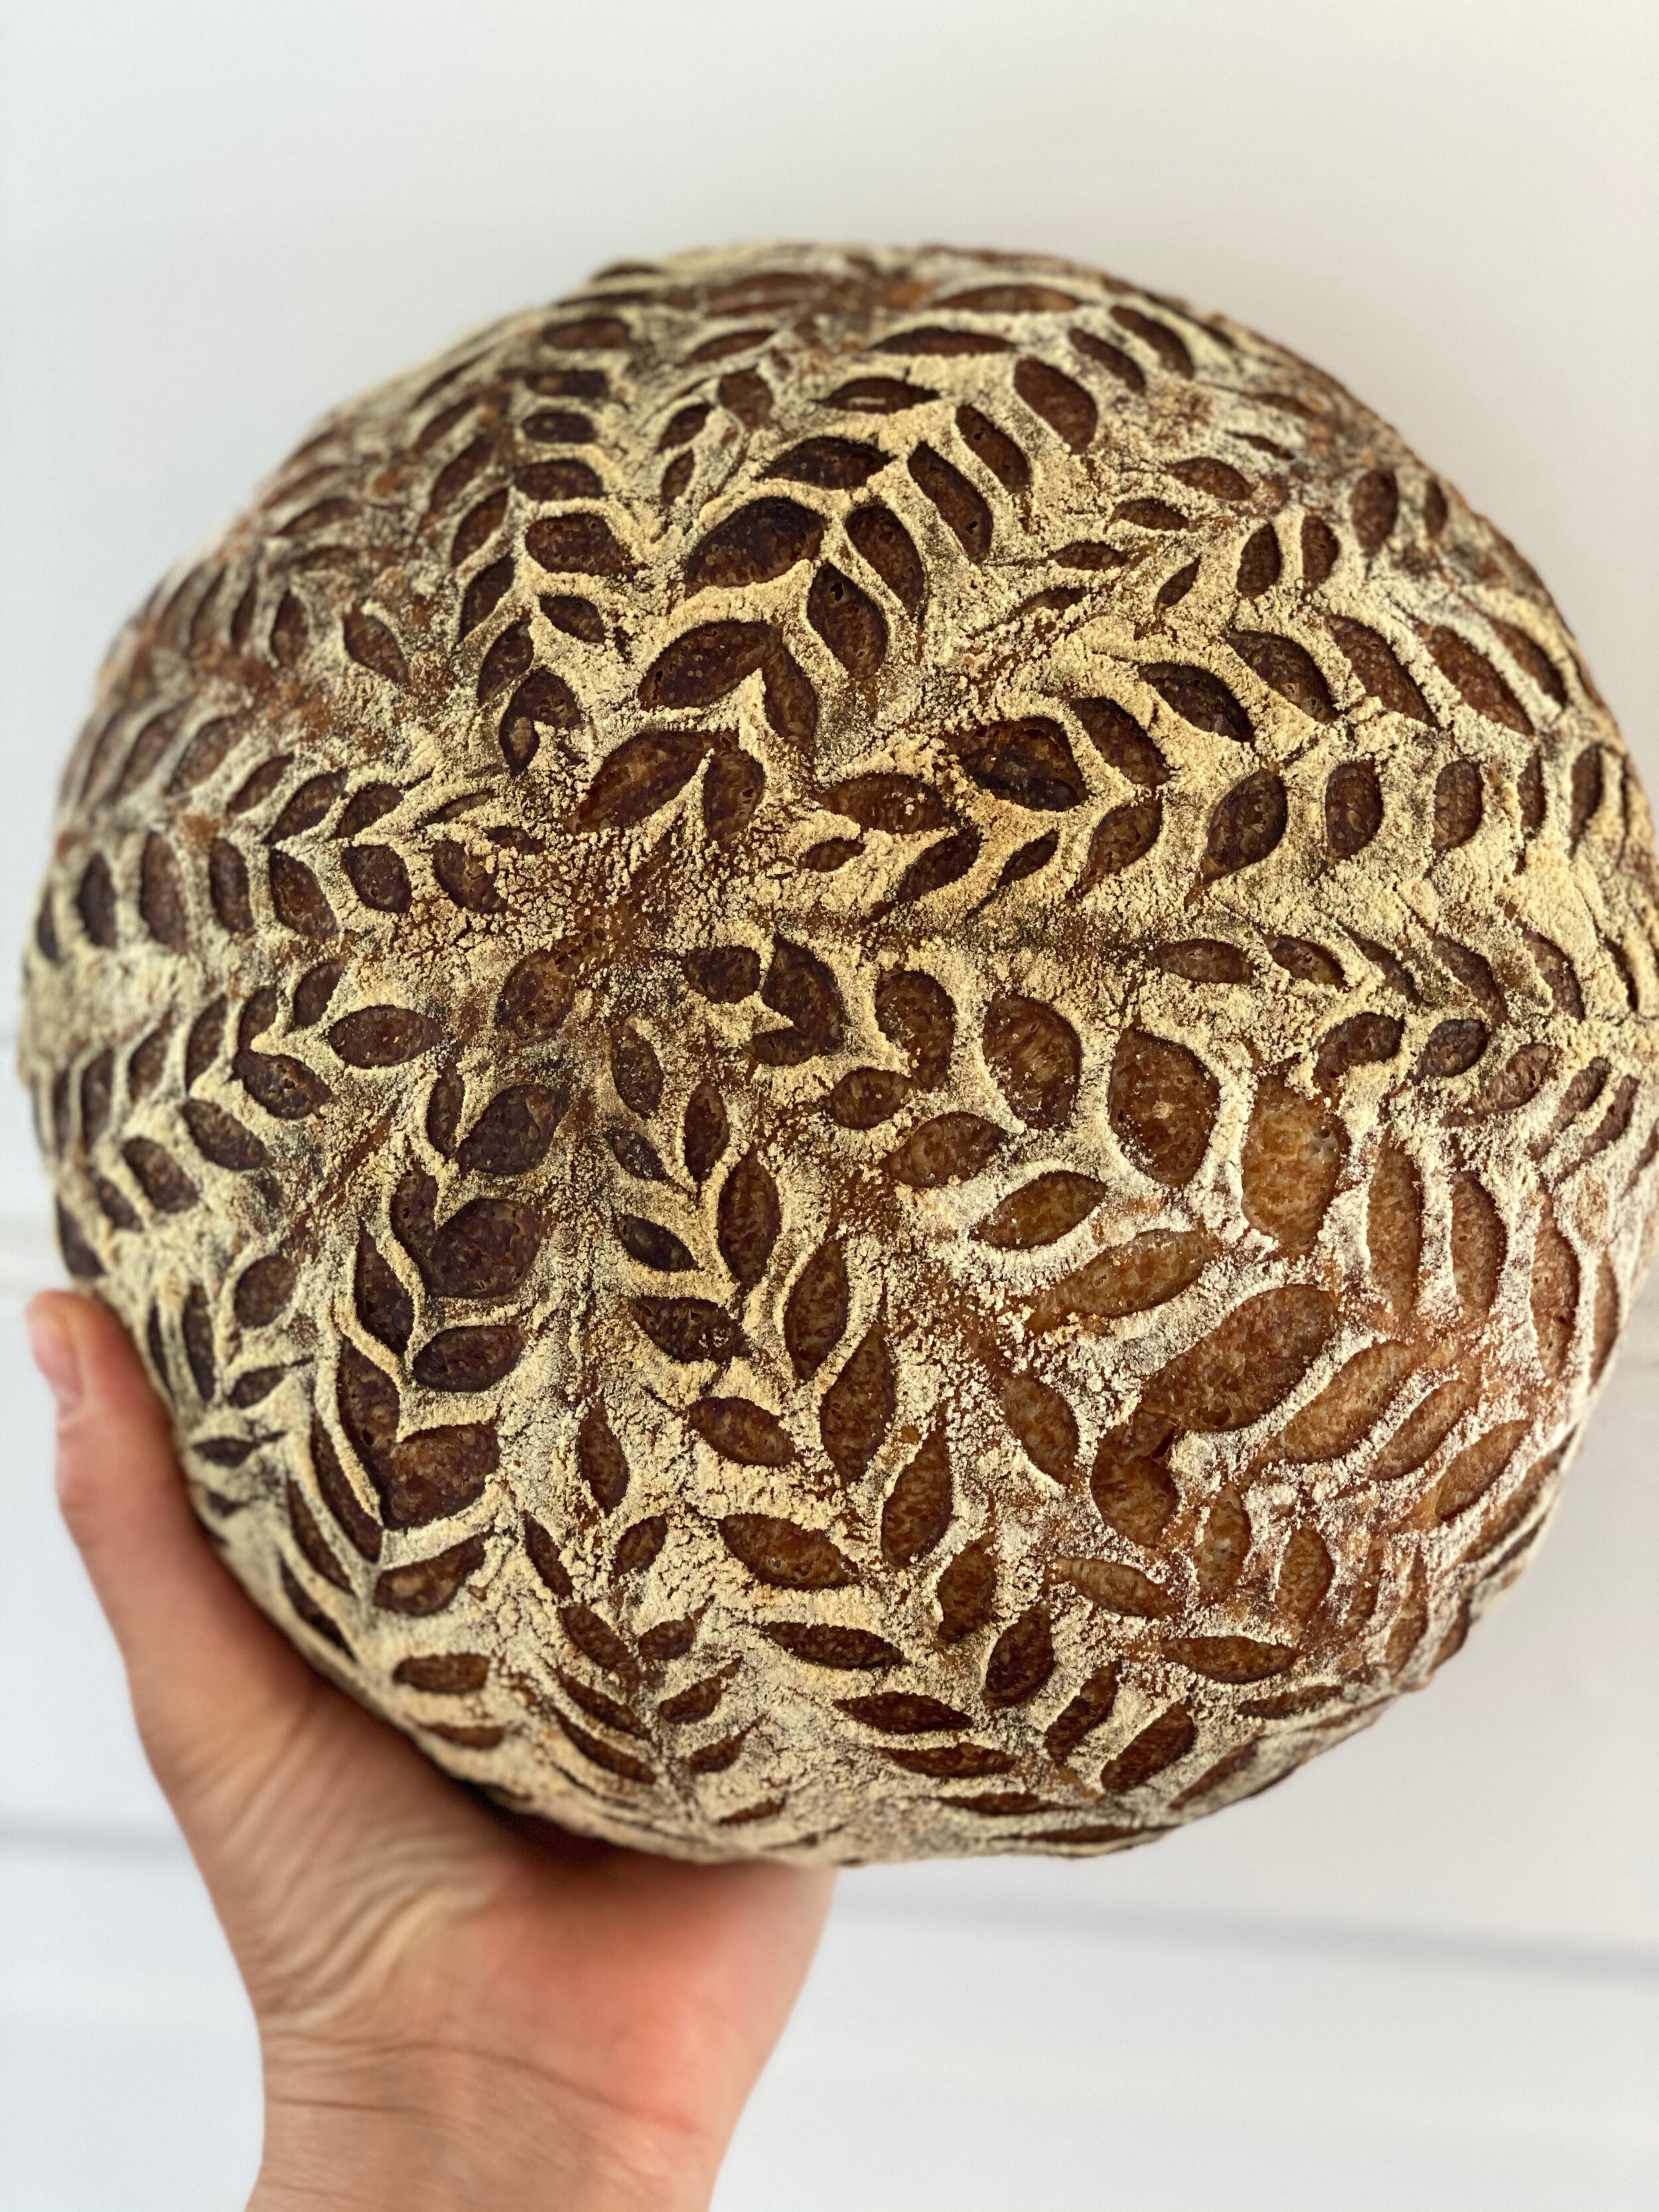
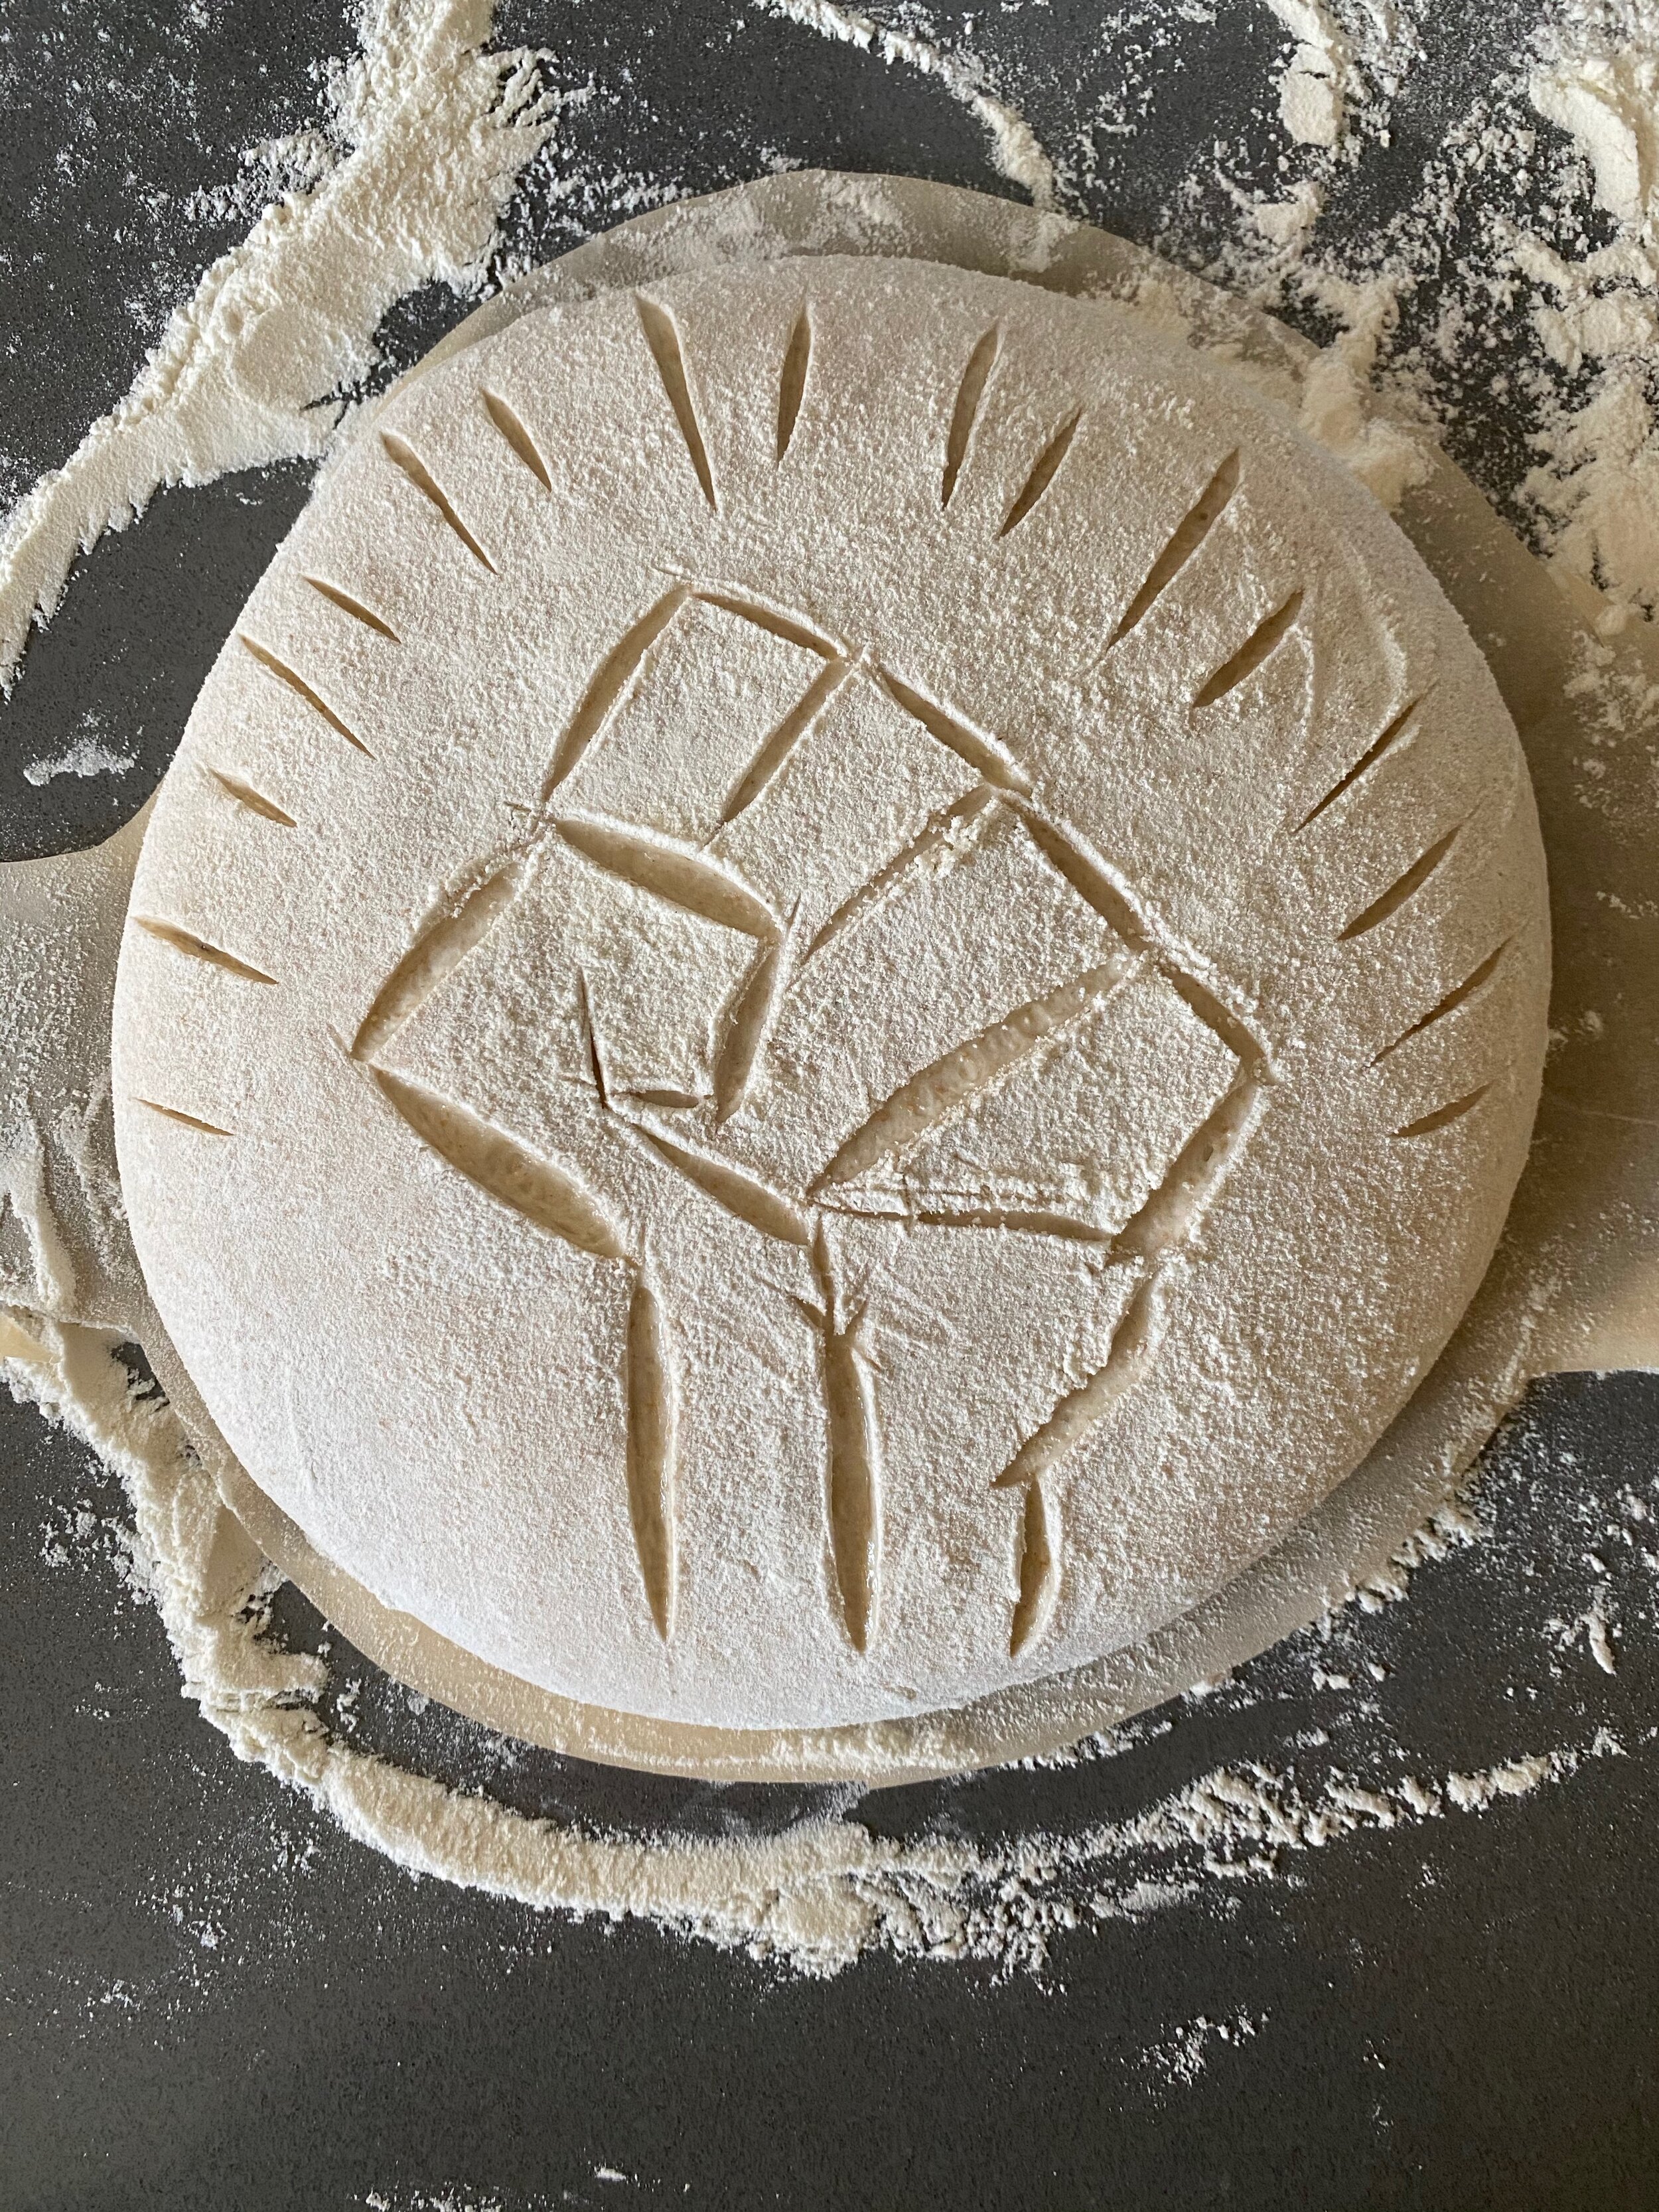
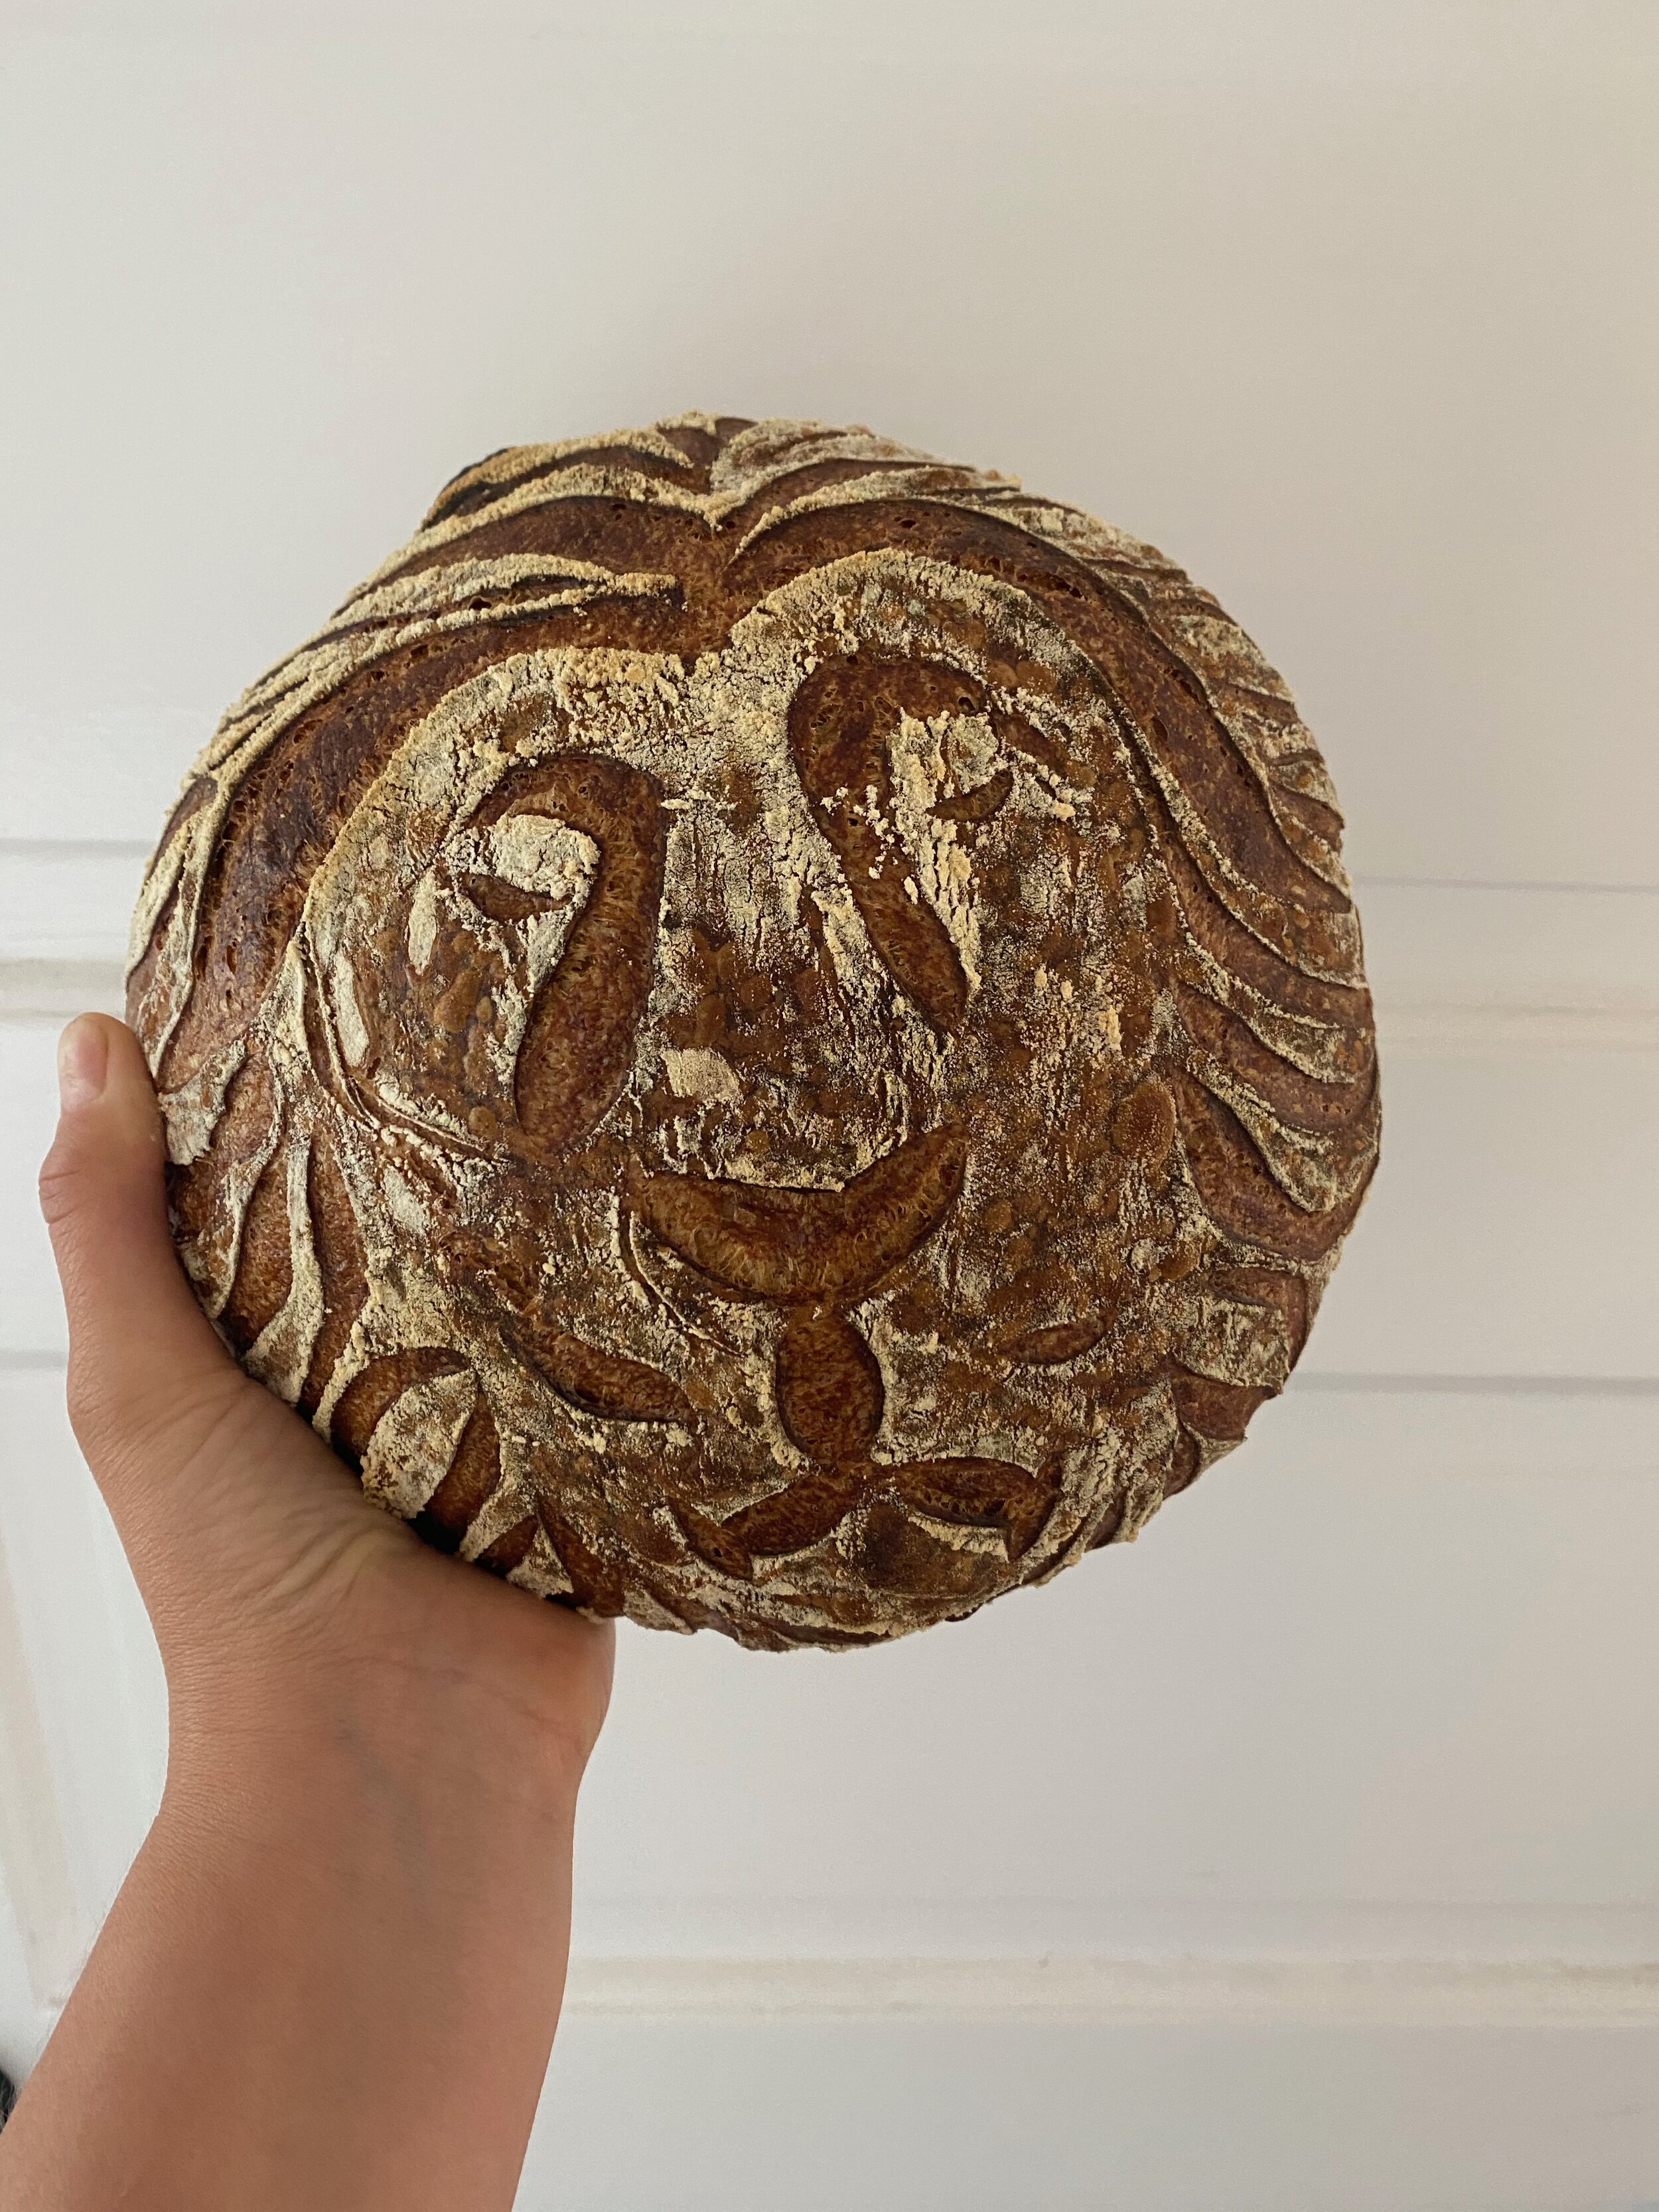
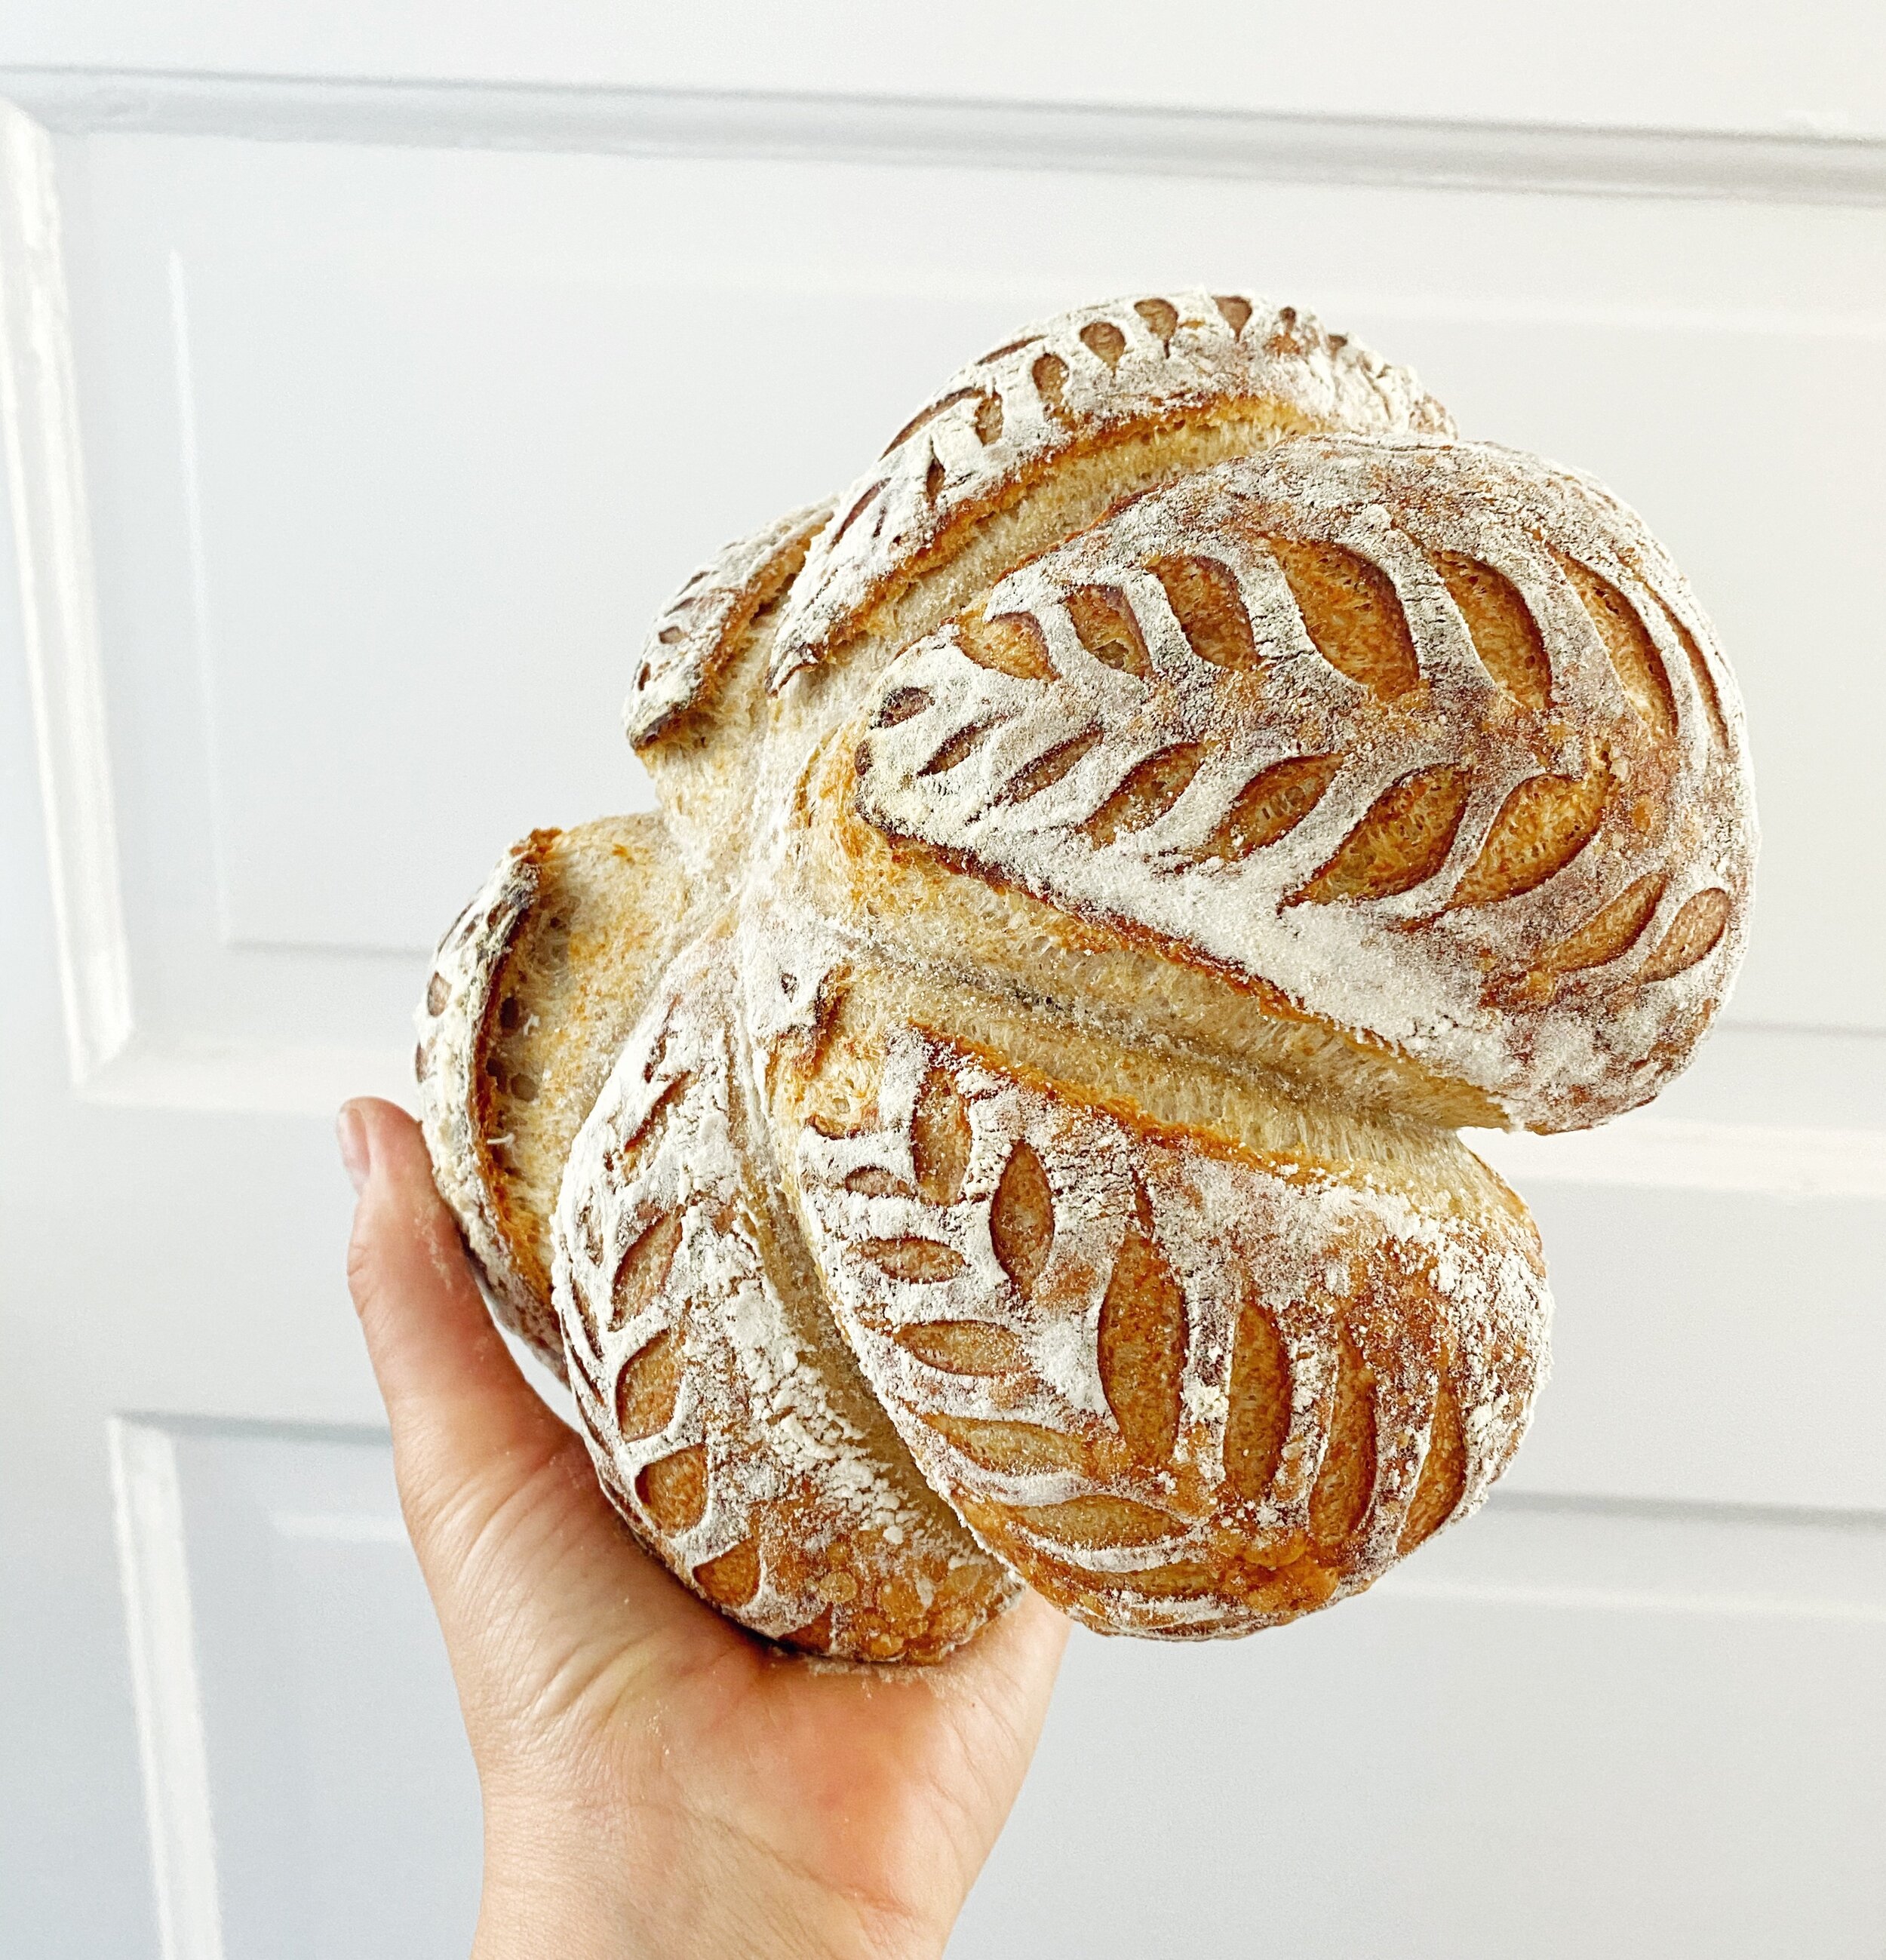
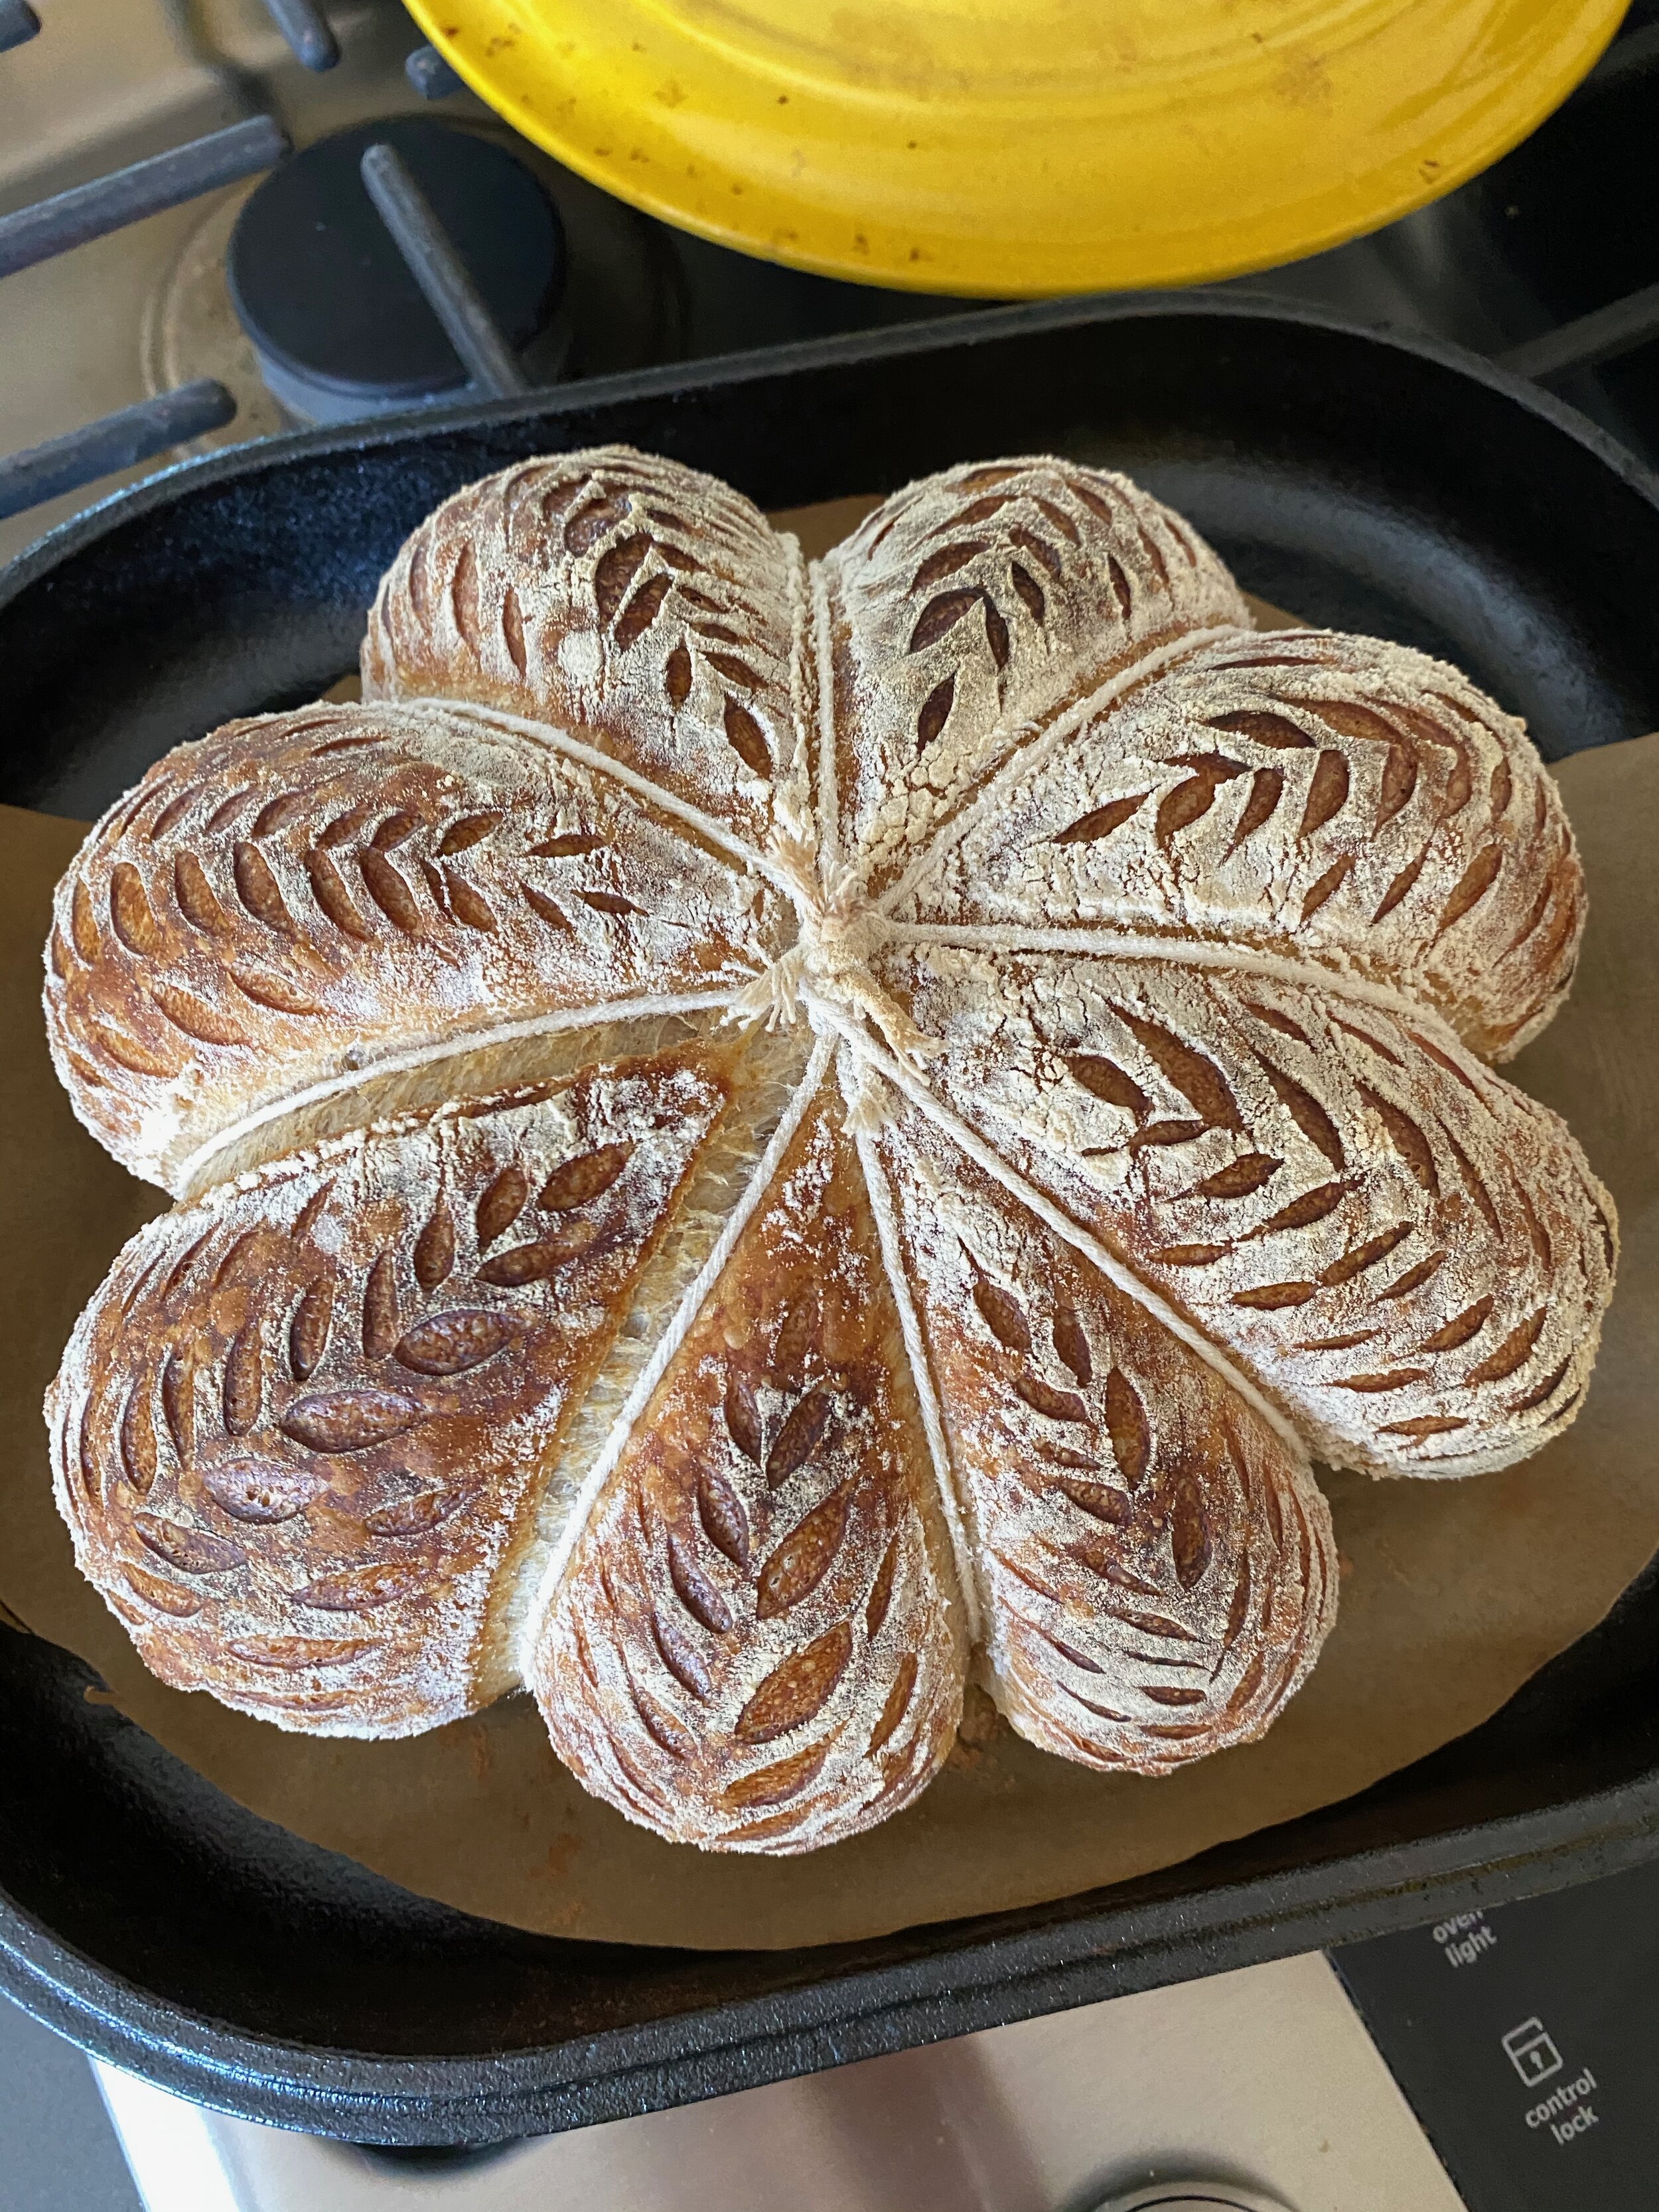
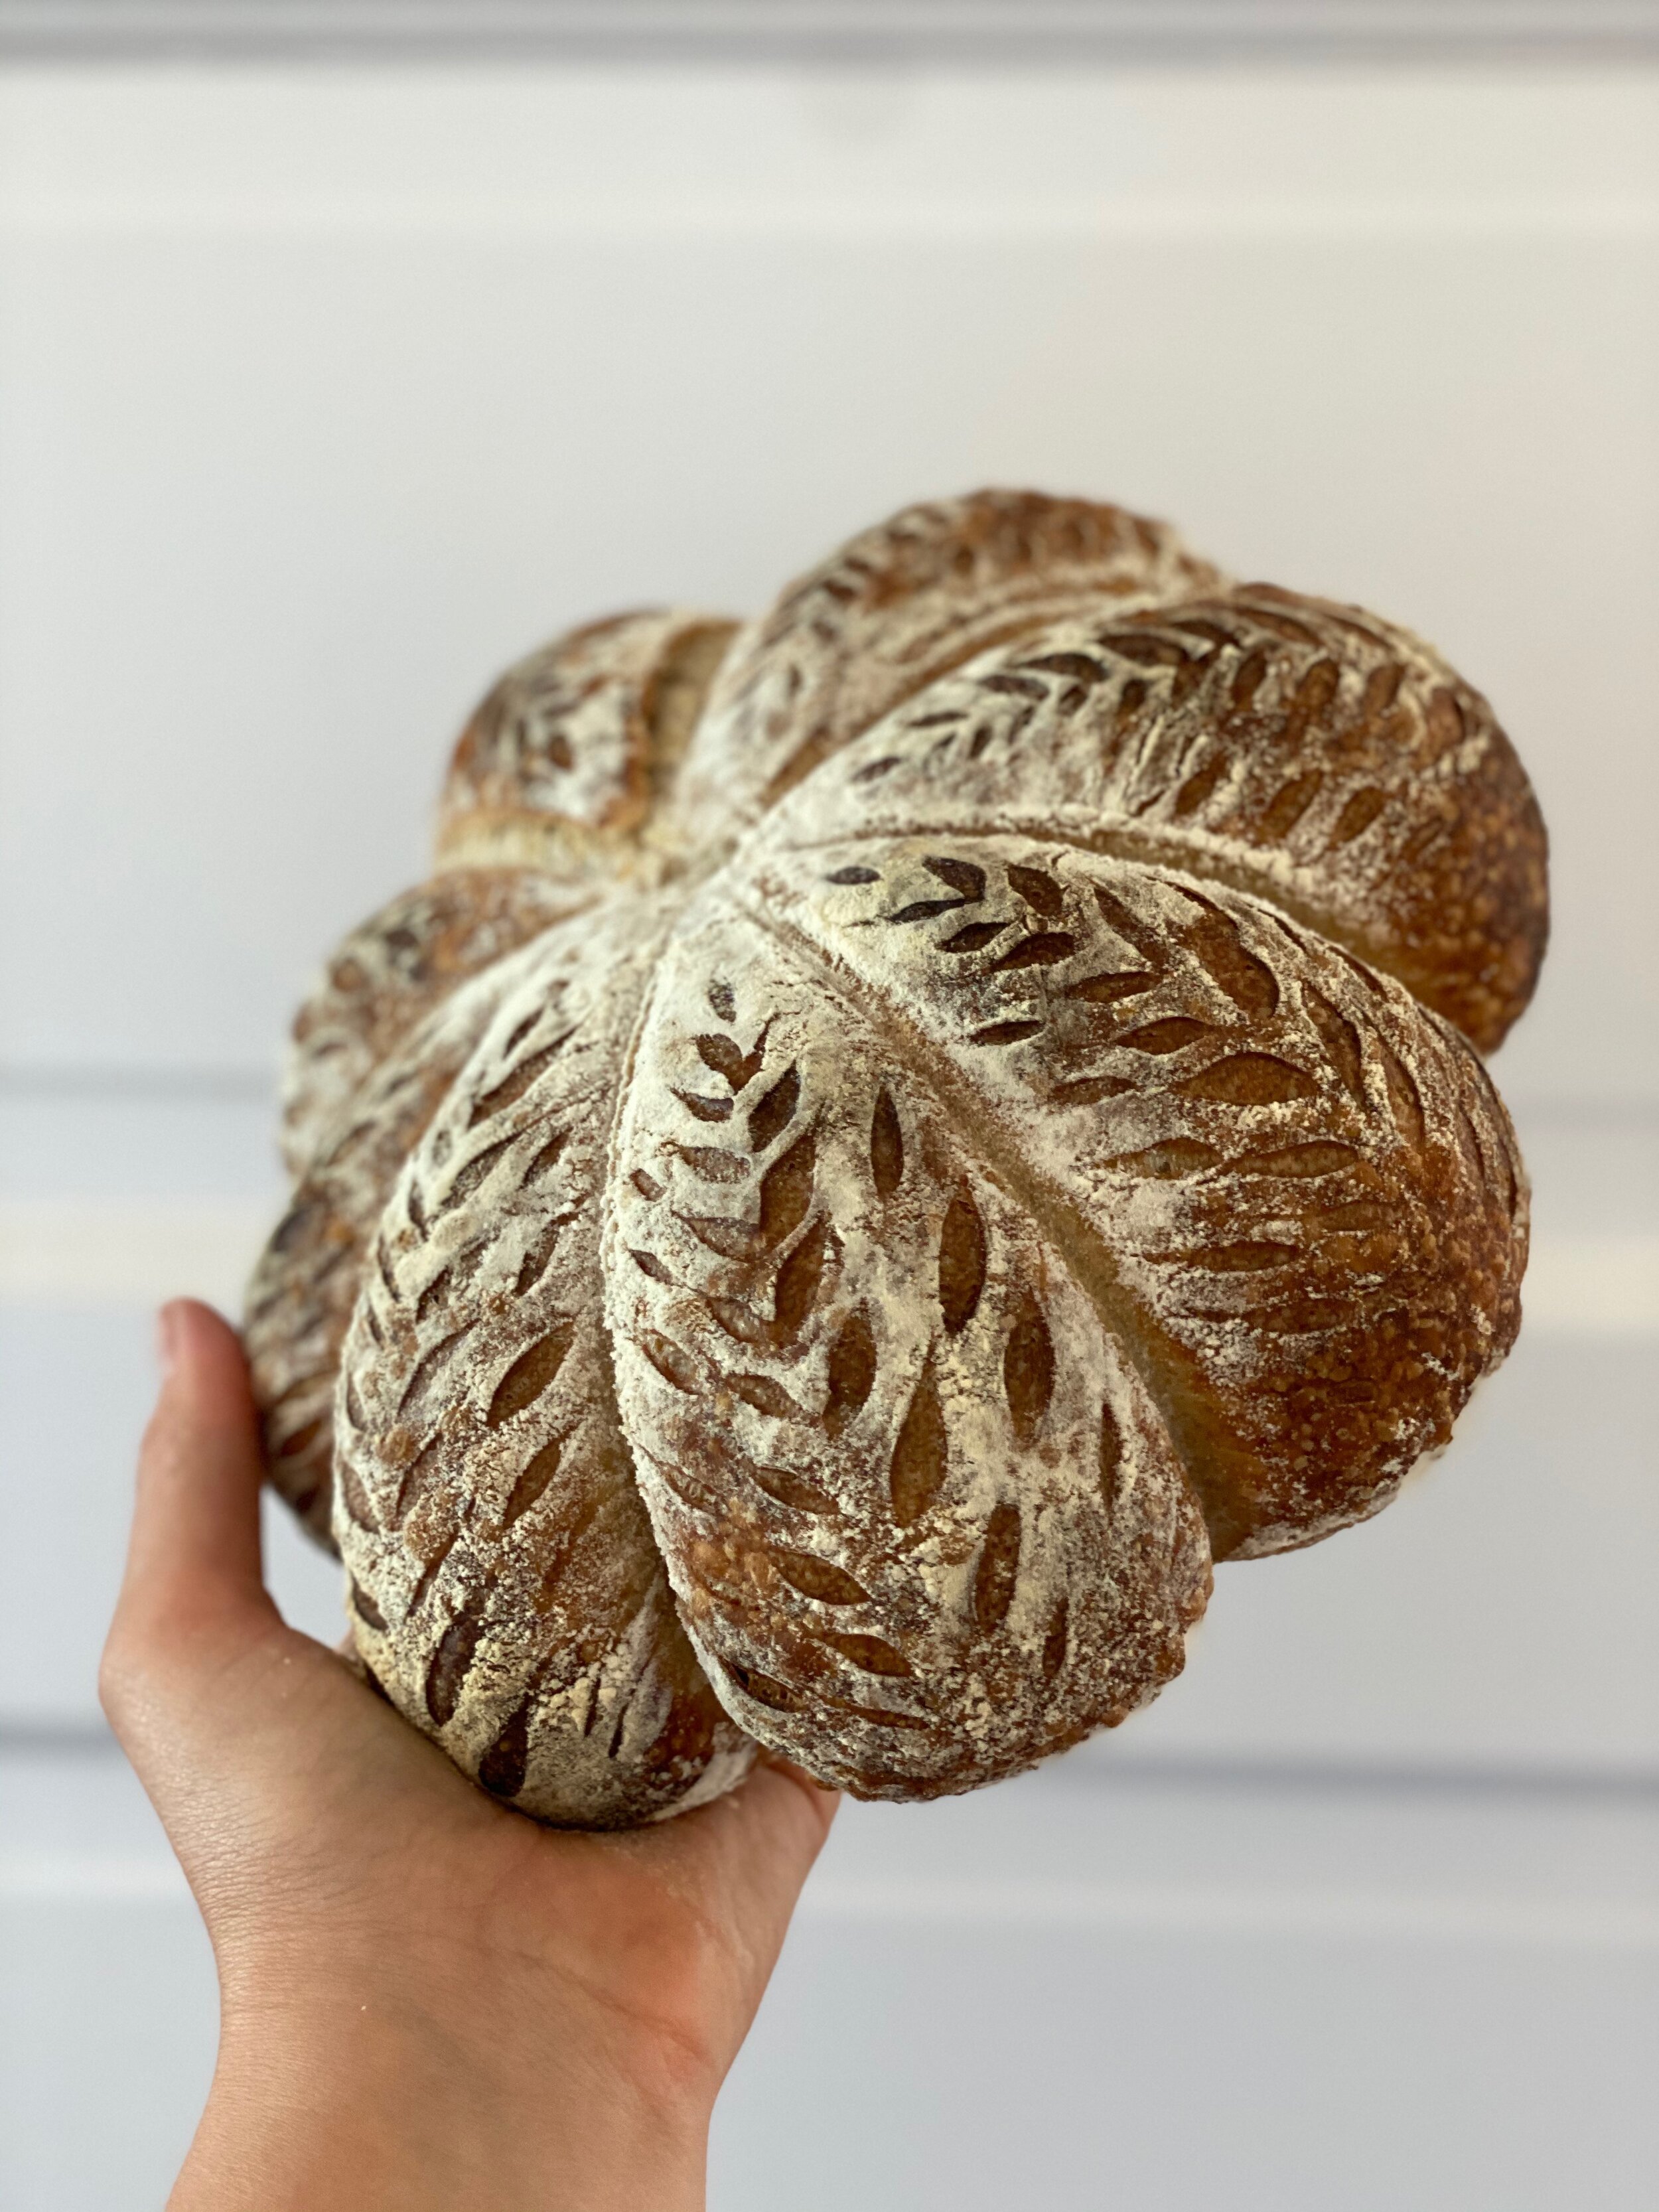
Bread Art
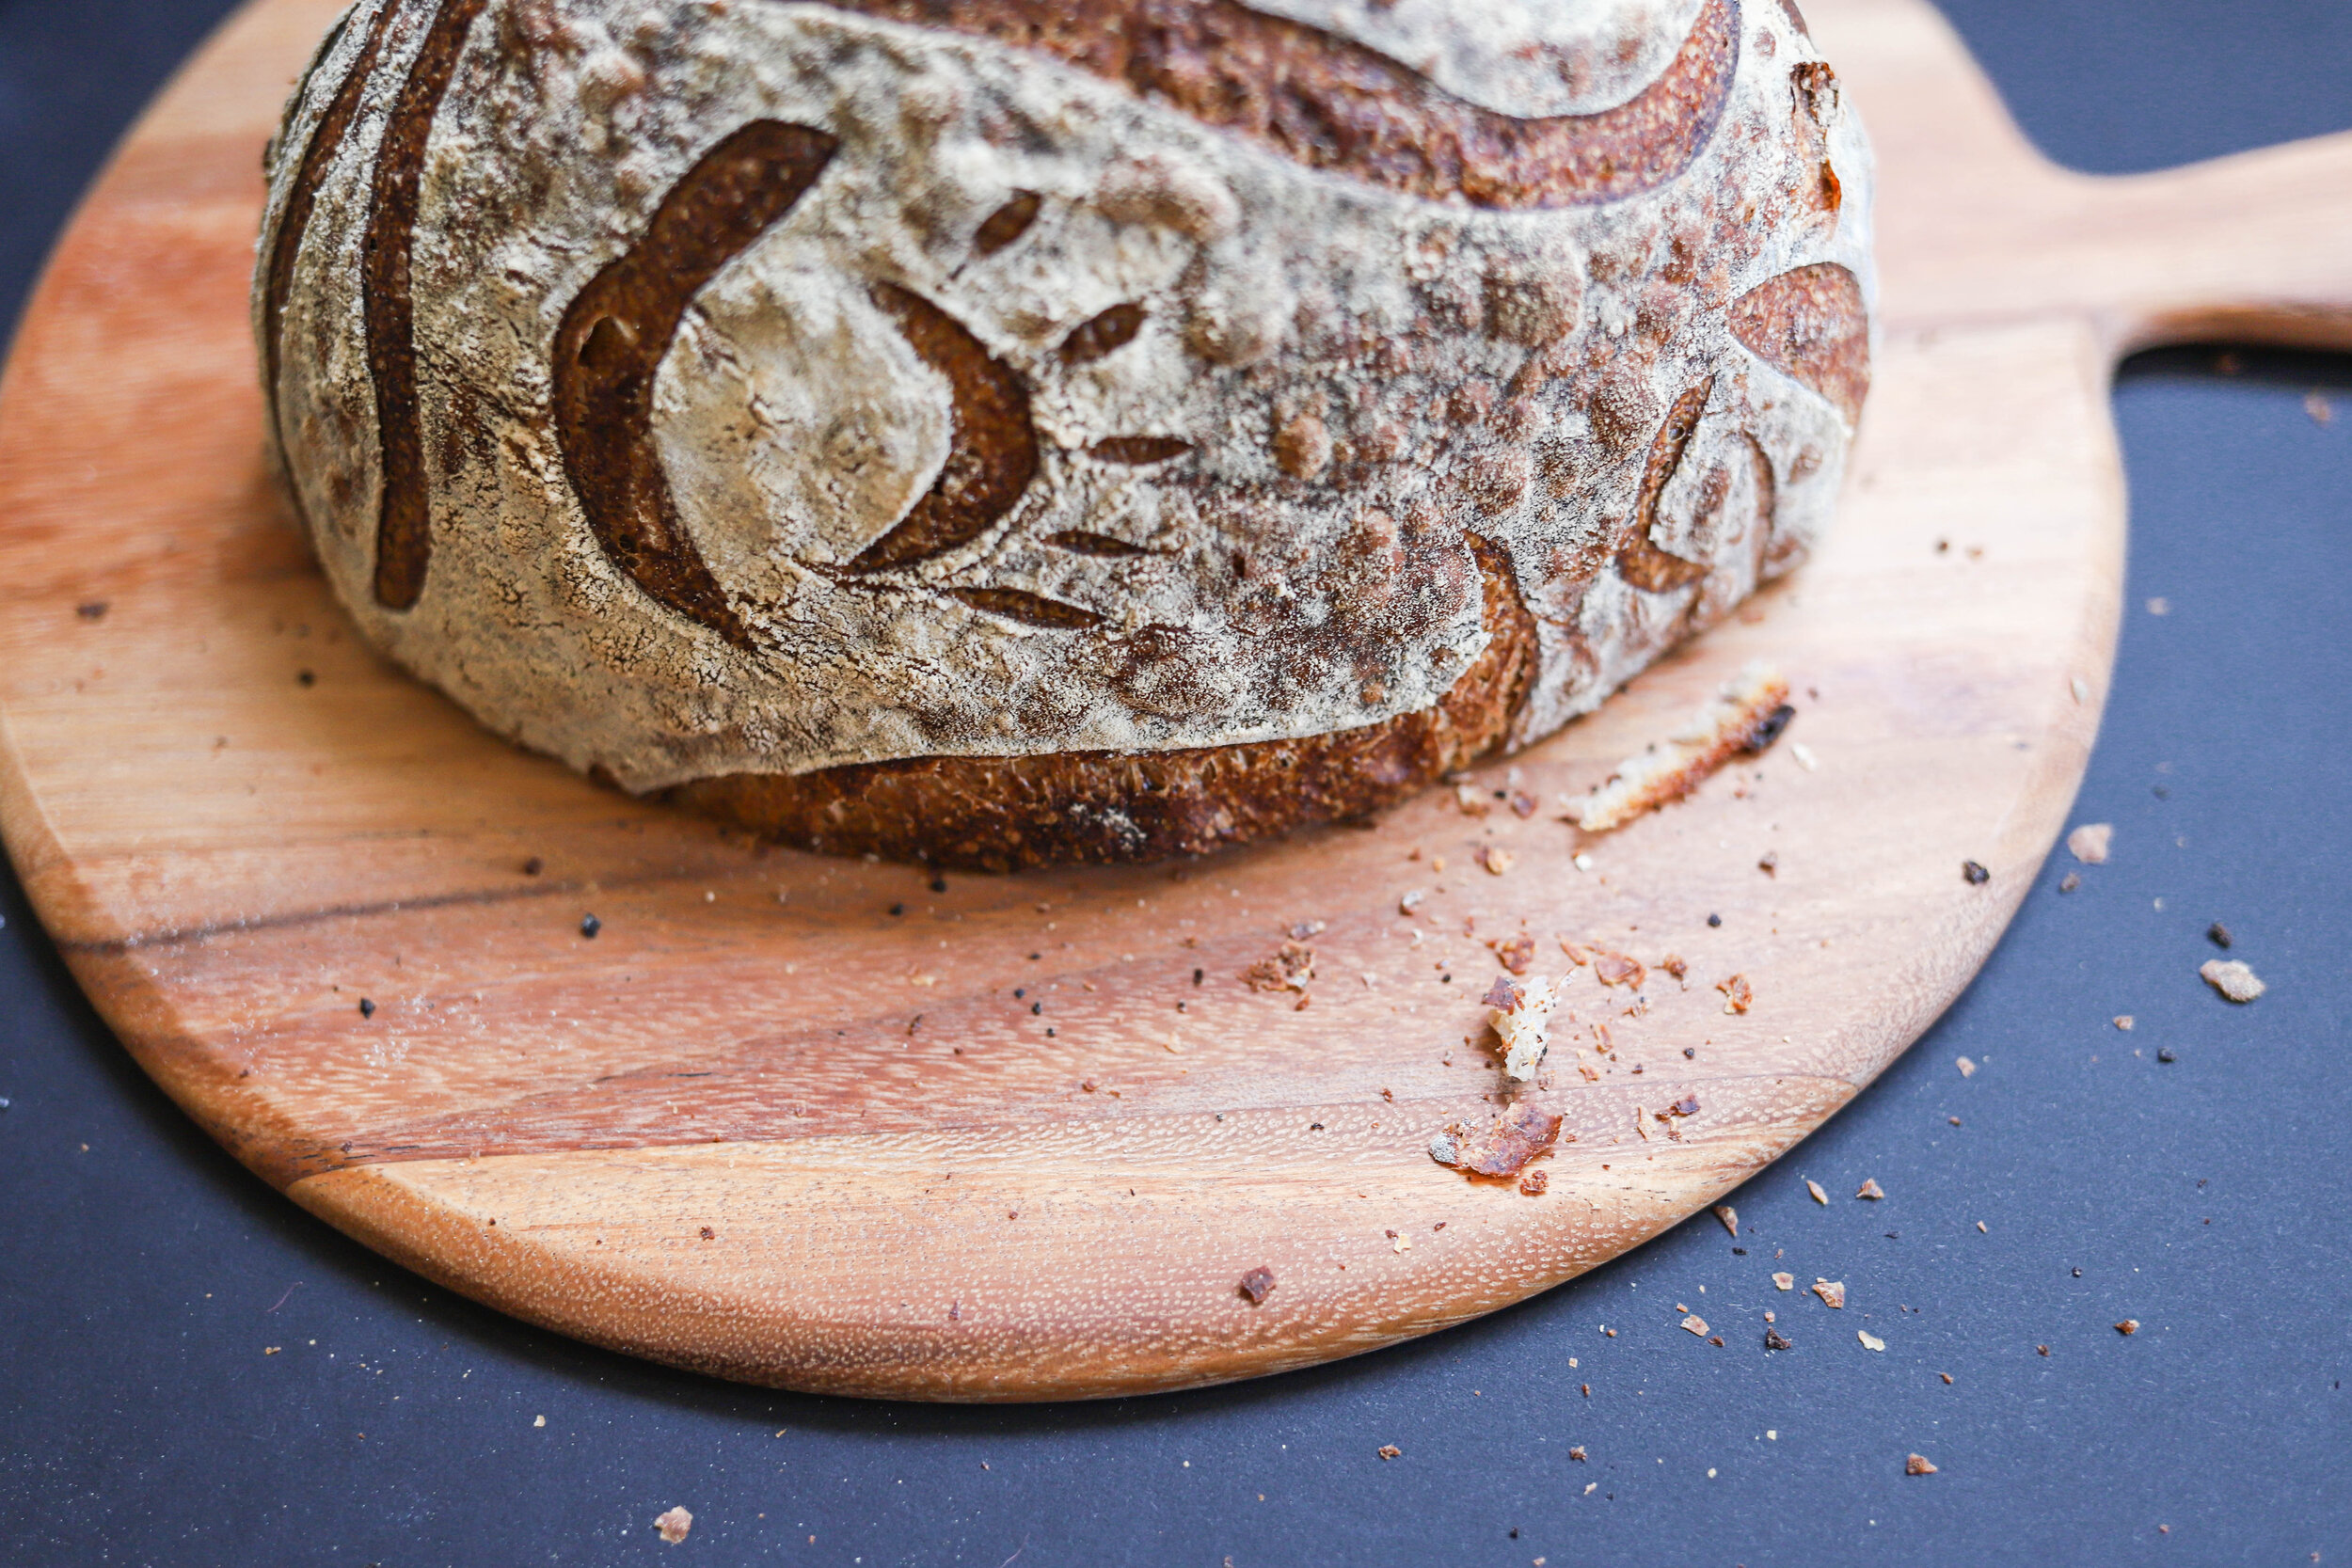
I got my lame (aka the scoring tool, click here for the one I use) and learned that I loved the process of decorating the outside of my loaves. This was a super fun shift for me and kept me excited about the process.
loaves 21 - 30

Starters Need Vacations Too
My starter became SUPER weak during this phase and my loaves stopped rising. I took a week off from baking and babied my starter by feeding it 3 times every 24 hours to make it strong again. That worked perfectly and I was back in business.
loaves 31 - 40

Level Up With More Levain
I upped the amount of levain in my dough to 25% and this has never changed since. I like the amount of rise it gives to the final loaves and it helps with the fermentation process.
loaves 41 - 50

The Experimental Phase
I started experimenting with adding other ingredients to my dough (purple potato to one and parmesan + rosemary to another). It was a fun process but ultimately didn’t make the bread better, so I decided to just work on making a perfect regular loaf and I’ll dive into additional ingredients down the road.
loaves 51 - 60
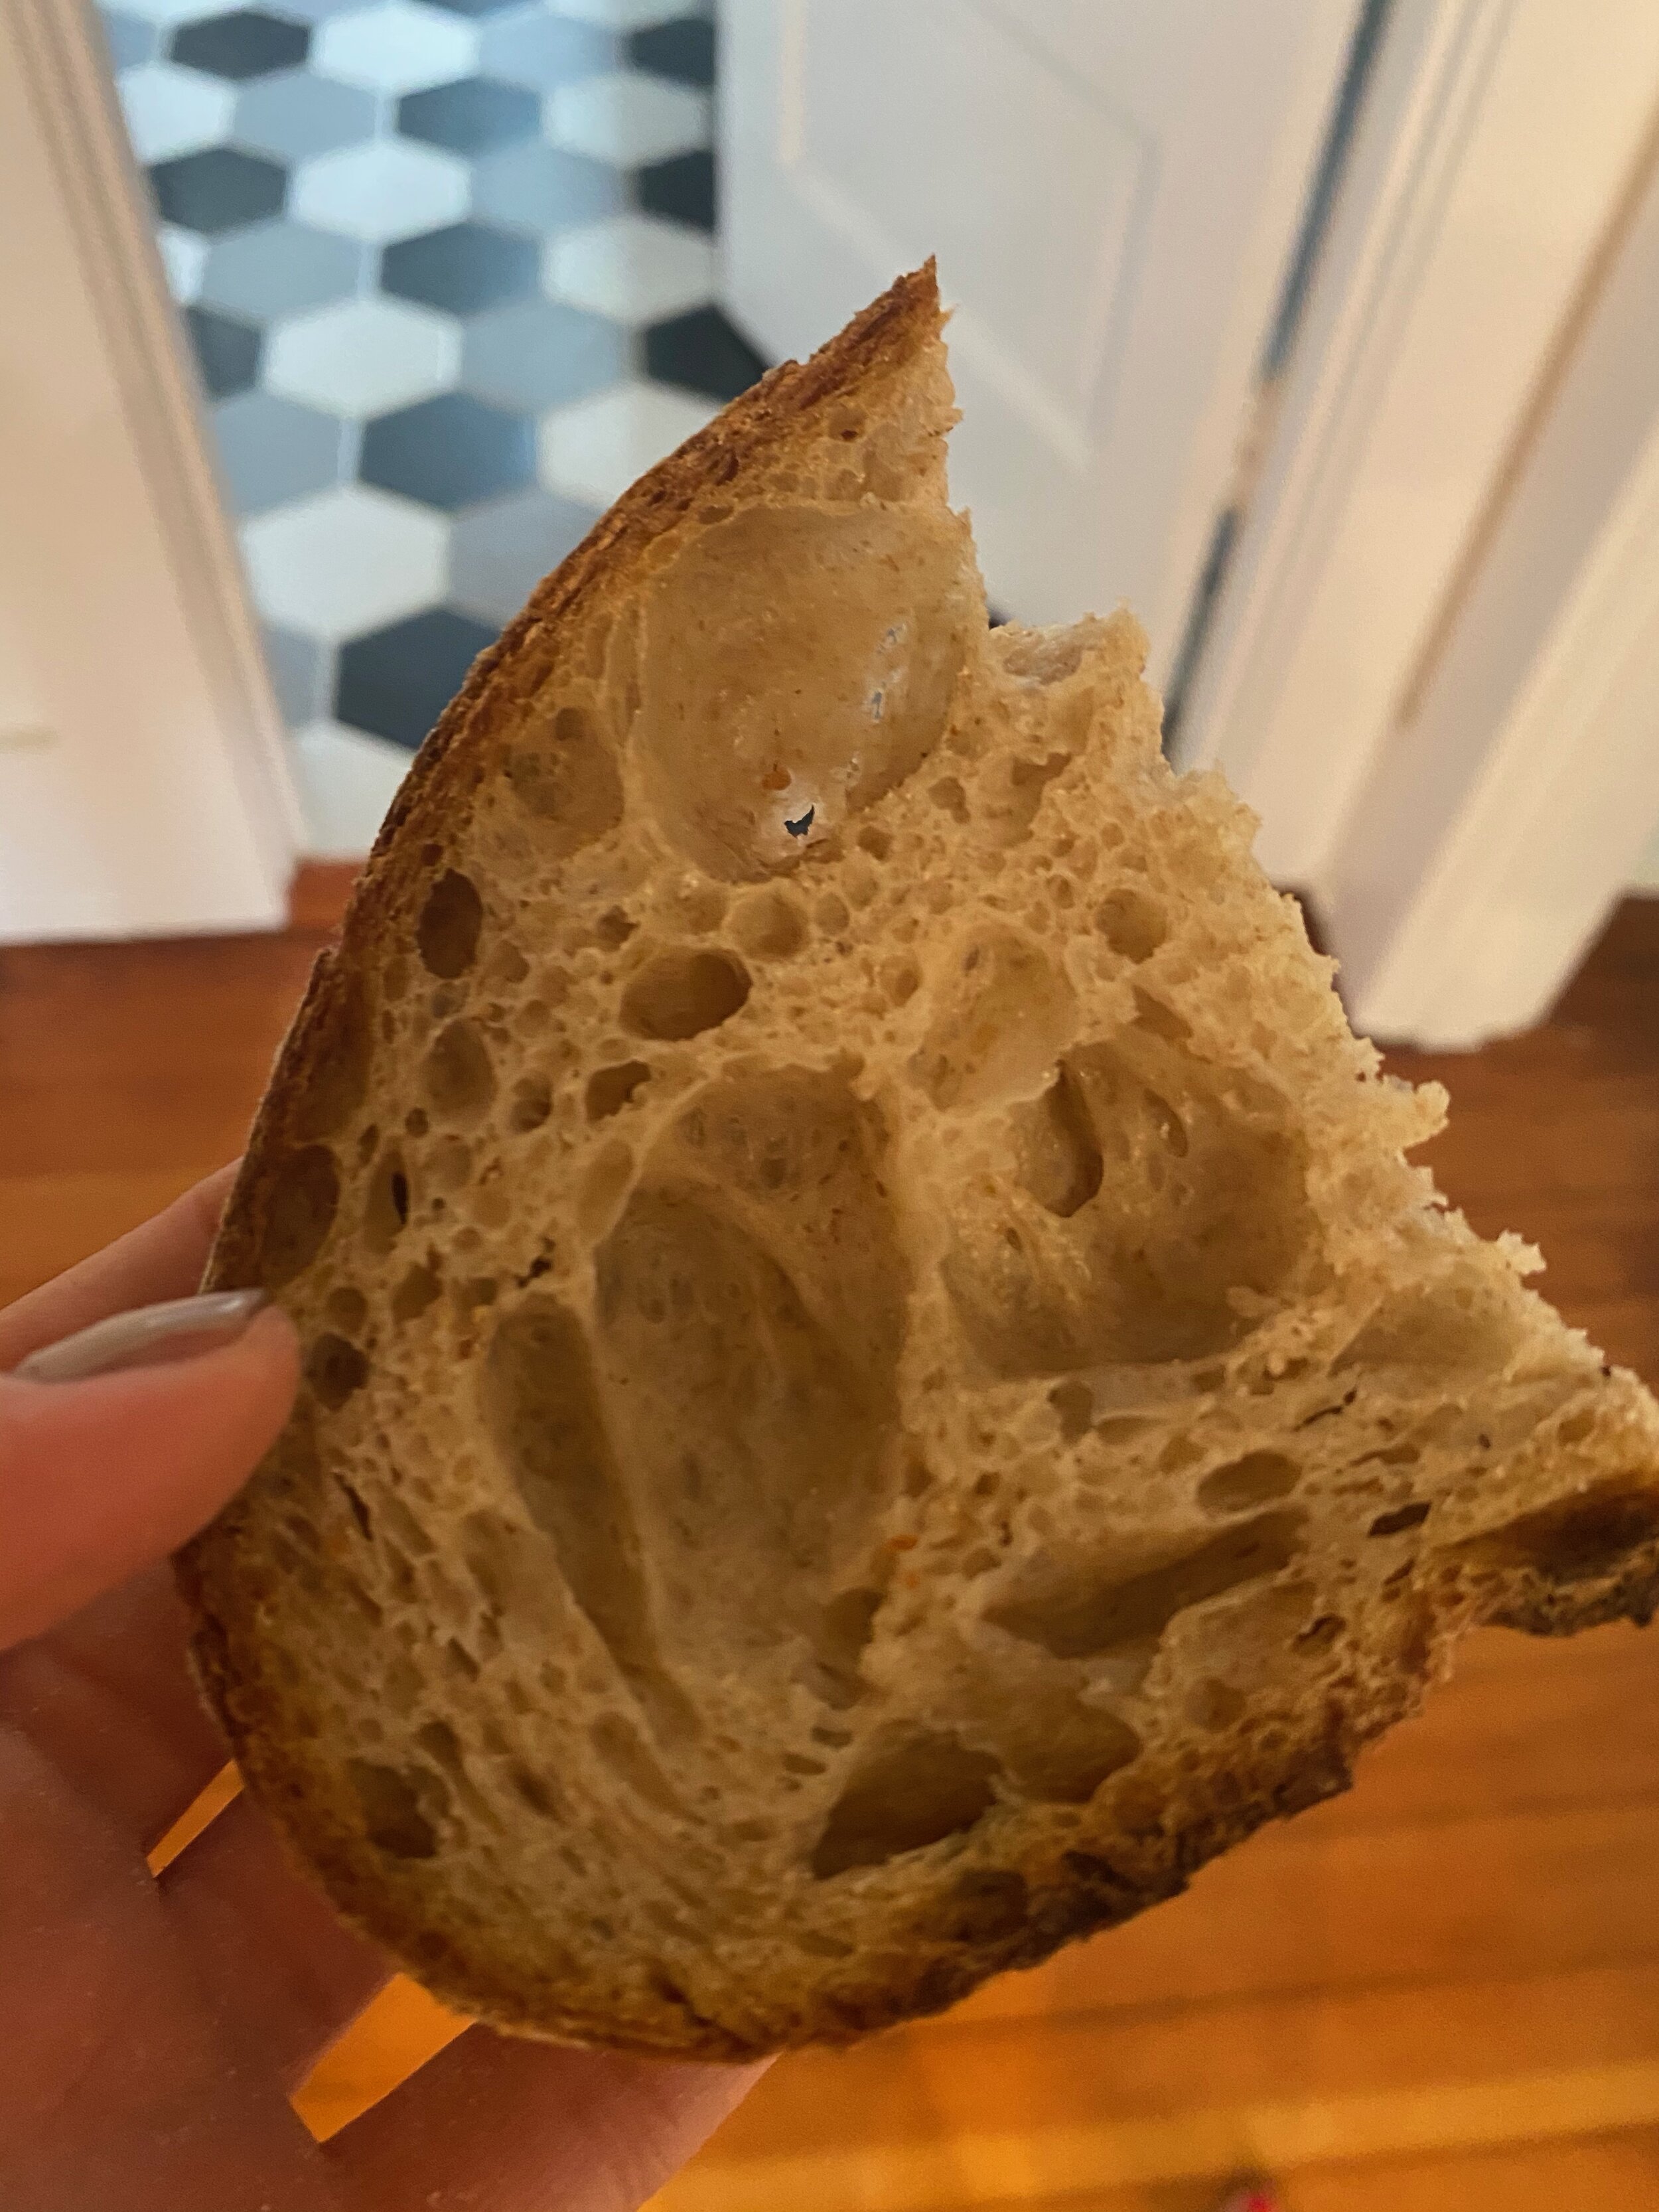
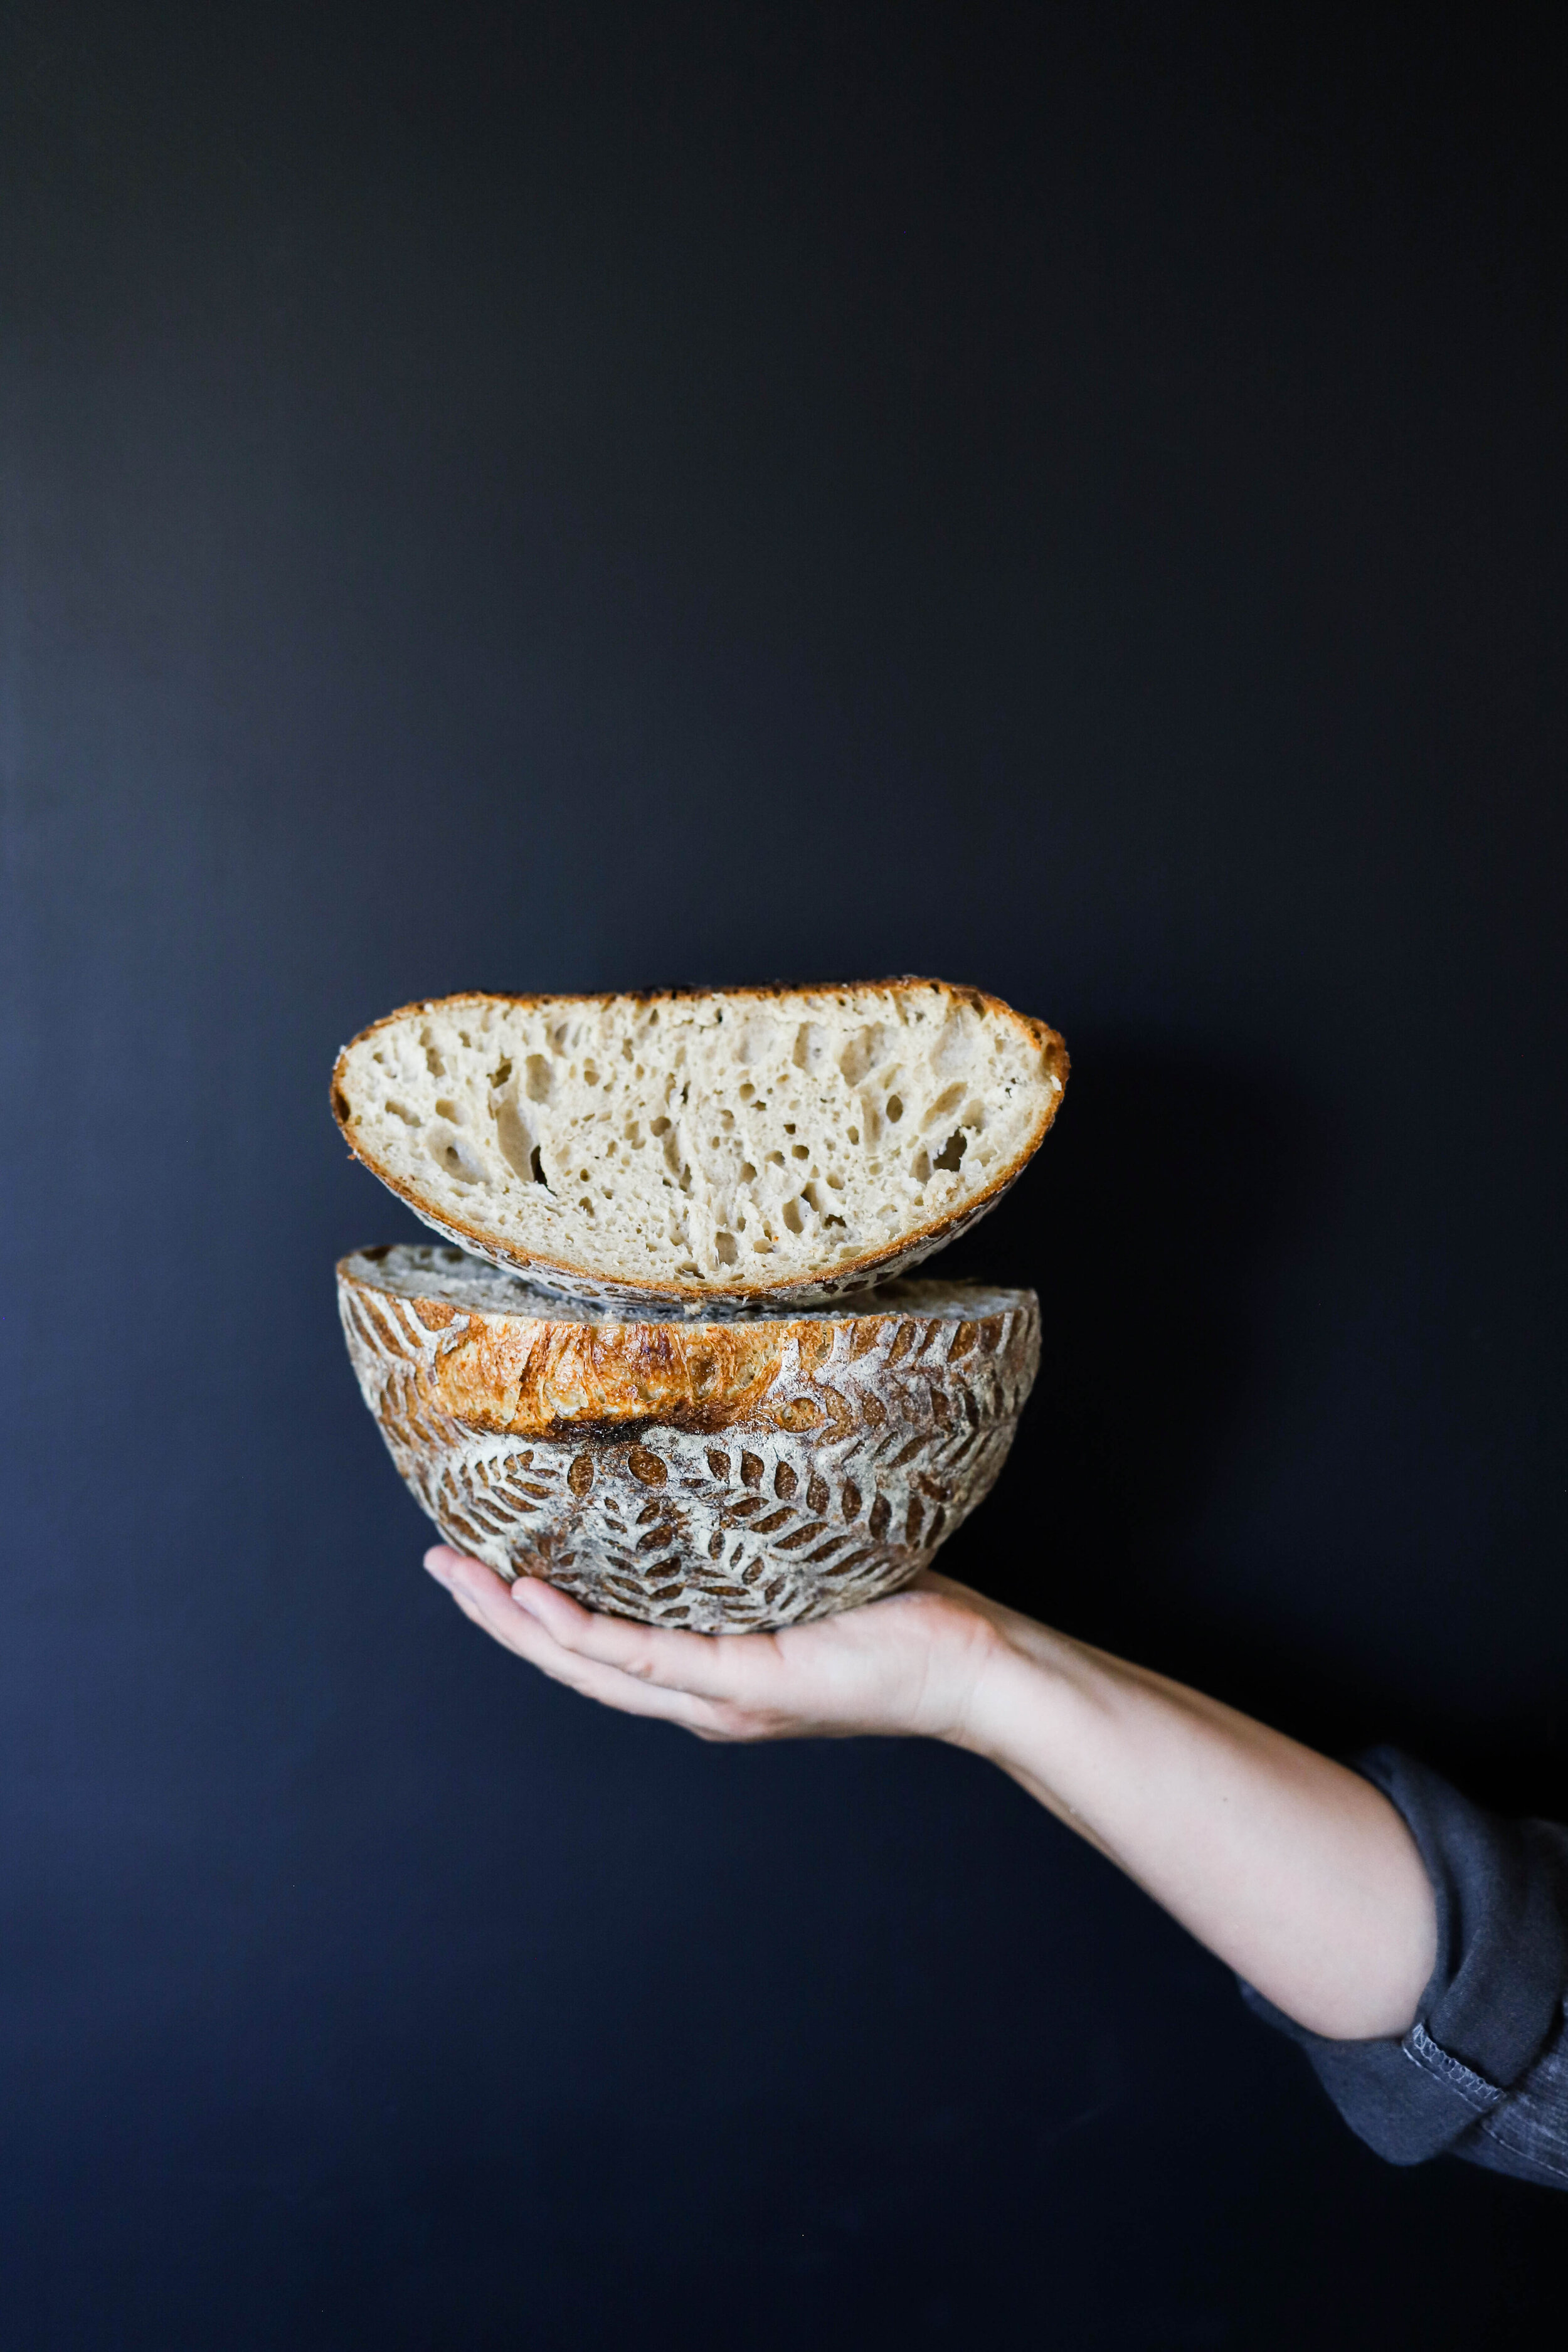
Open Crumb Obsession
I started playing around with different techniques to attain a more open crumb. I really liked the learning part of this process, and I incorporated a few of those techniques into my current repertoire (like Rubaud Mixing and coil folds), but I decided to retire the more fussy ones (laminating wet dough, which requires stretching it out on the counter and folding it like an envelope, is not for the faint of heart).
loaves 61 - 70

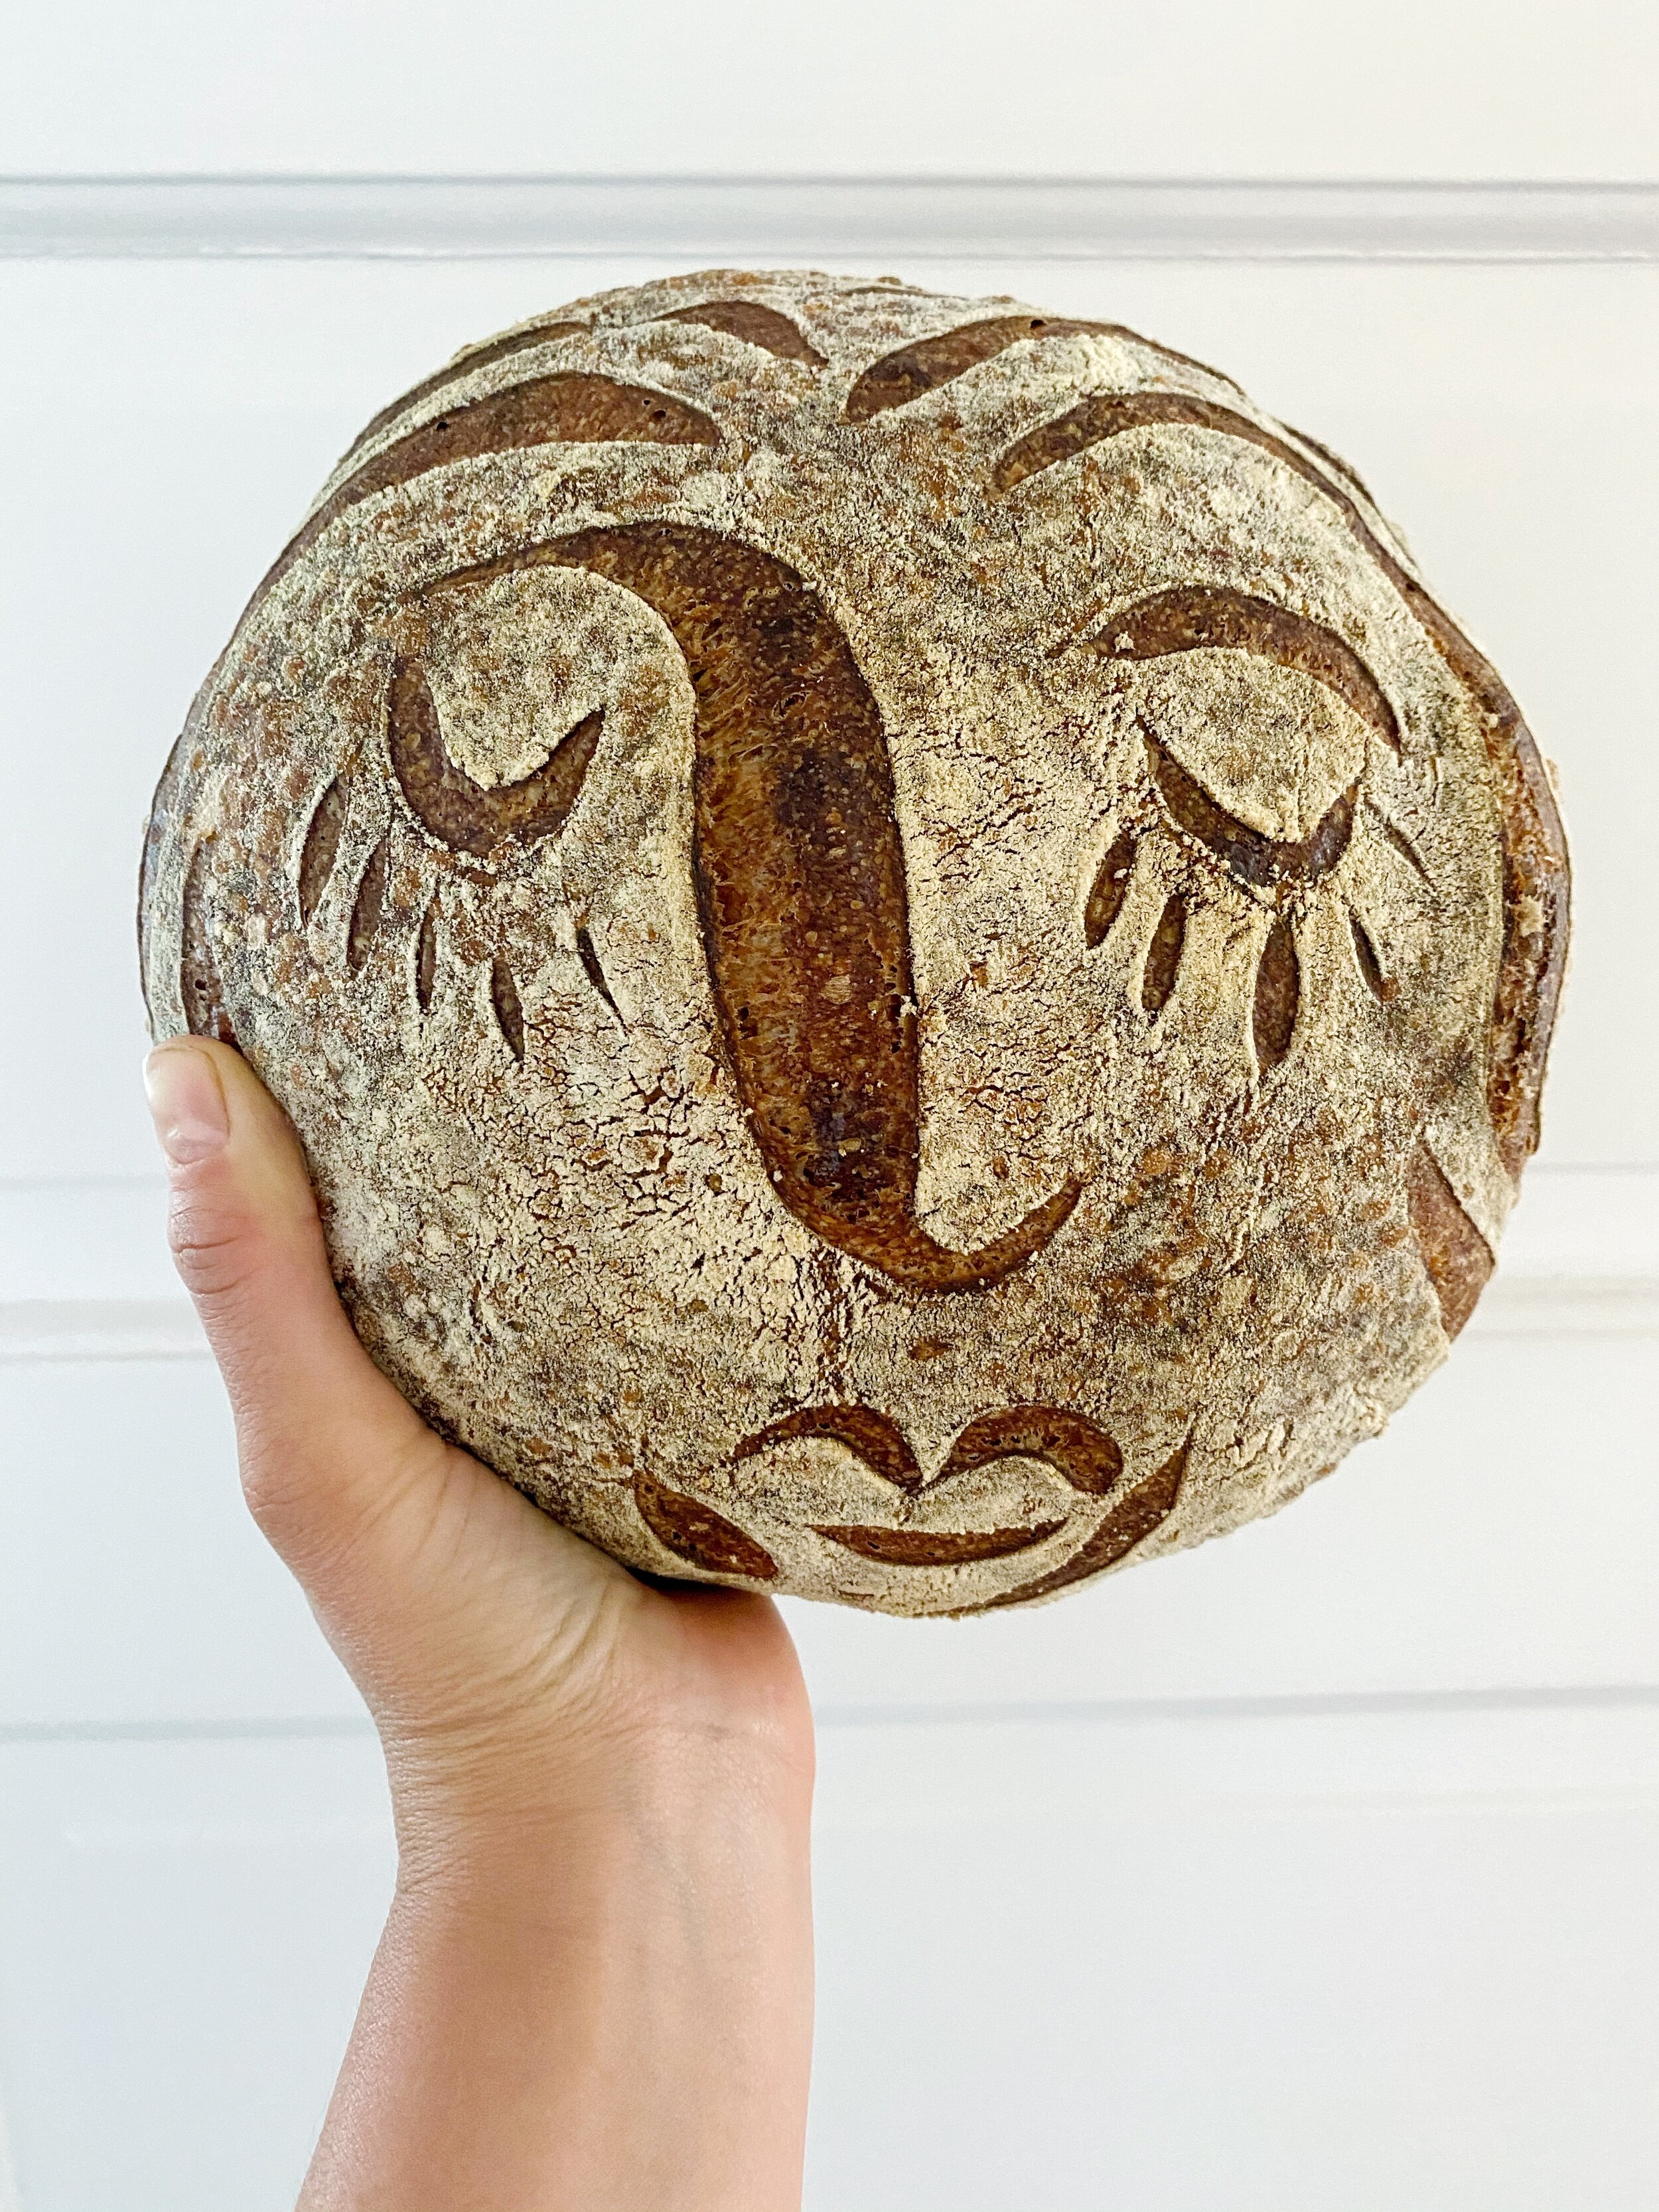
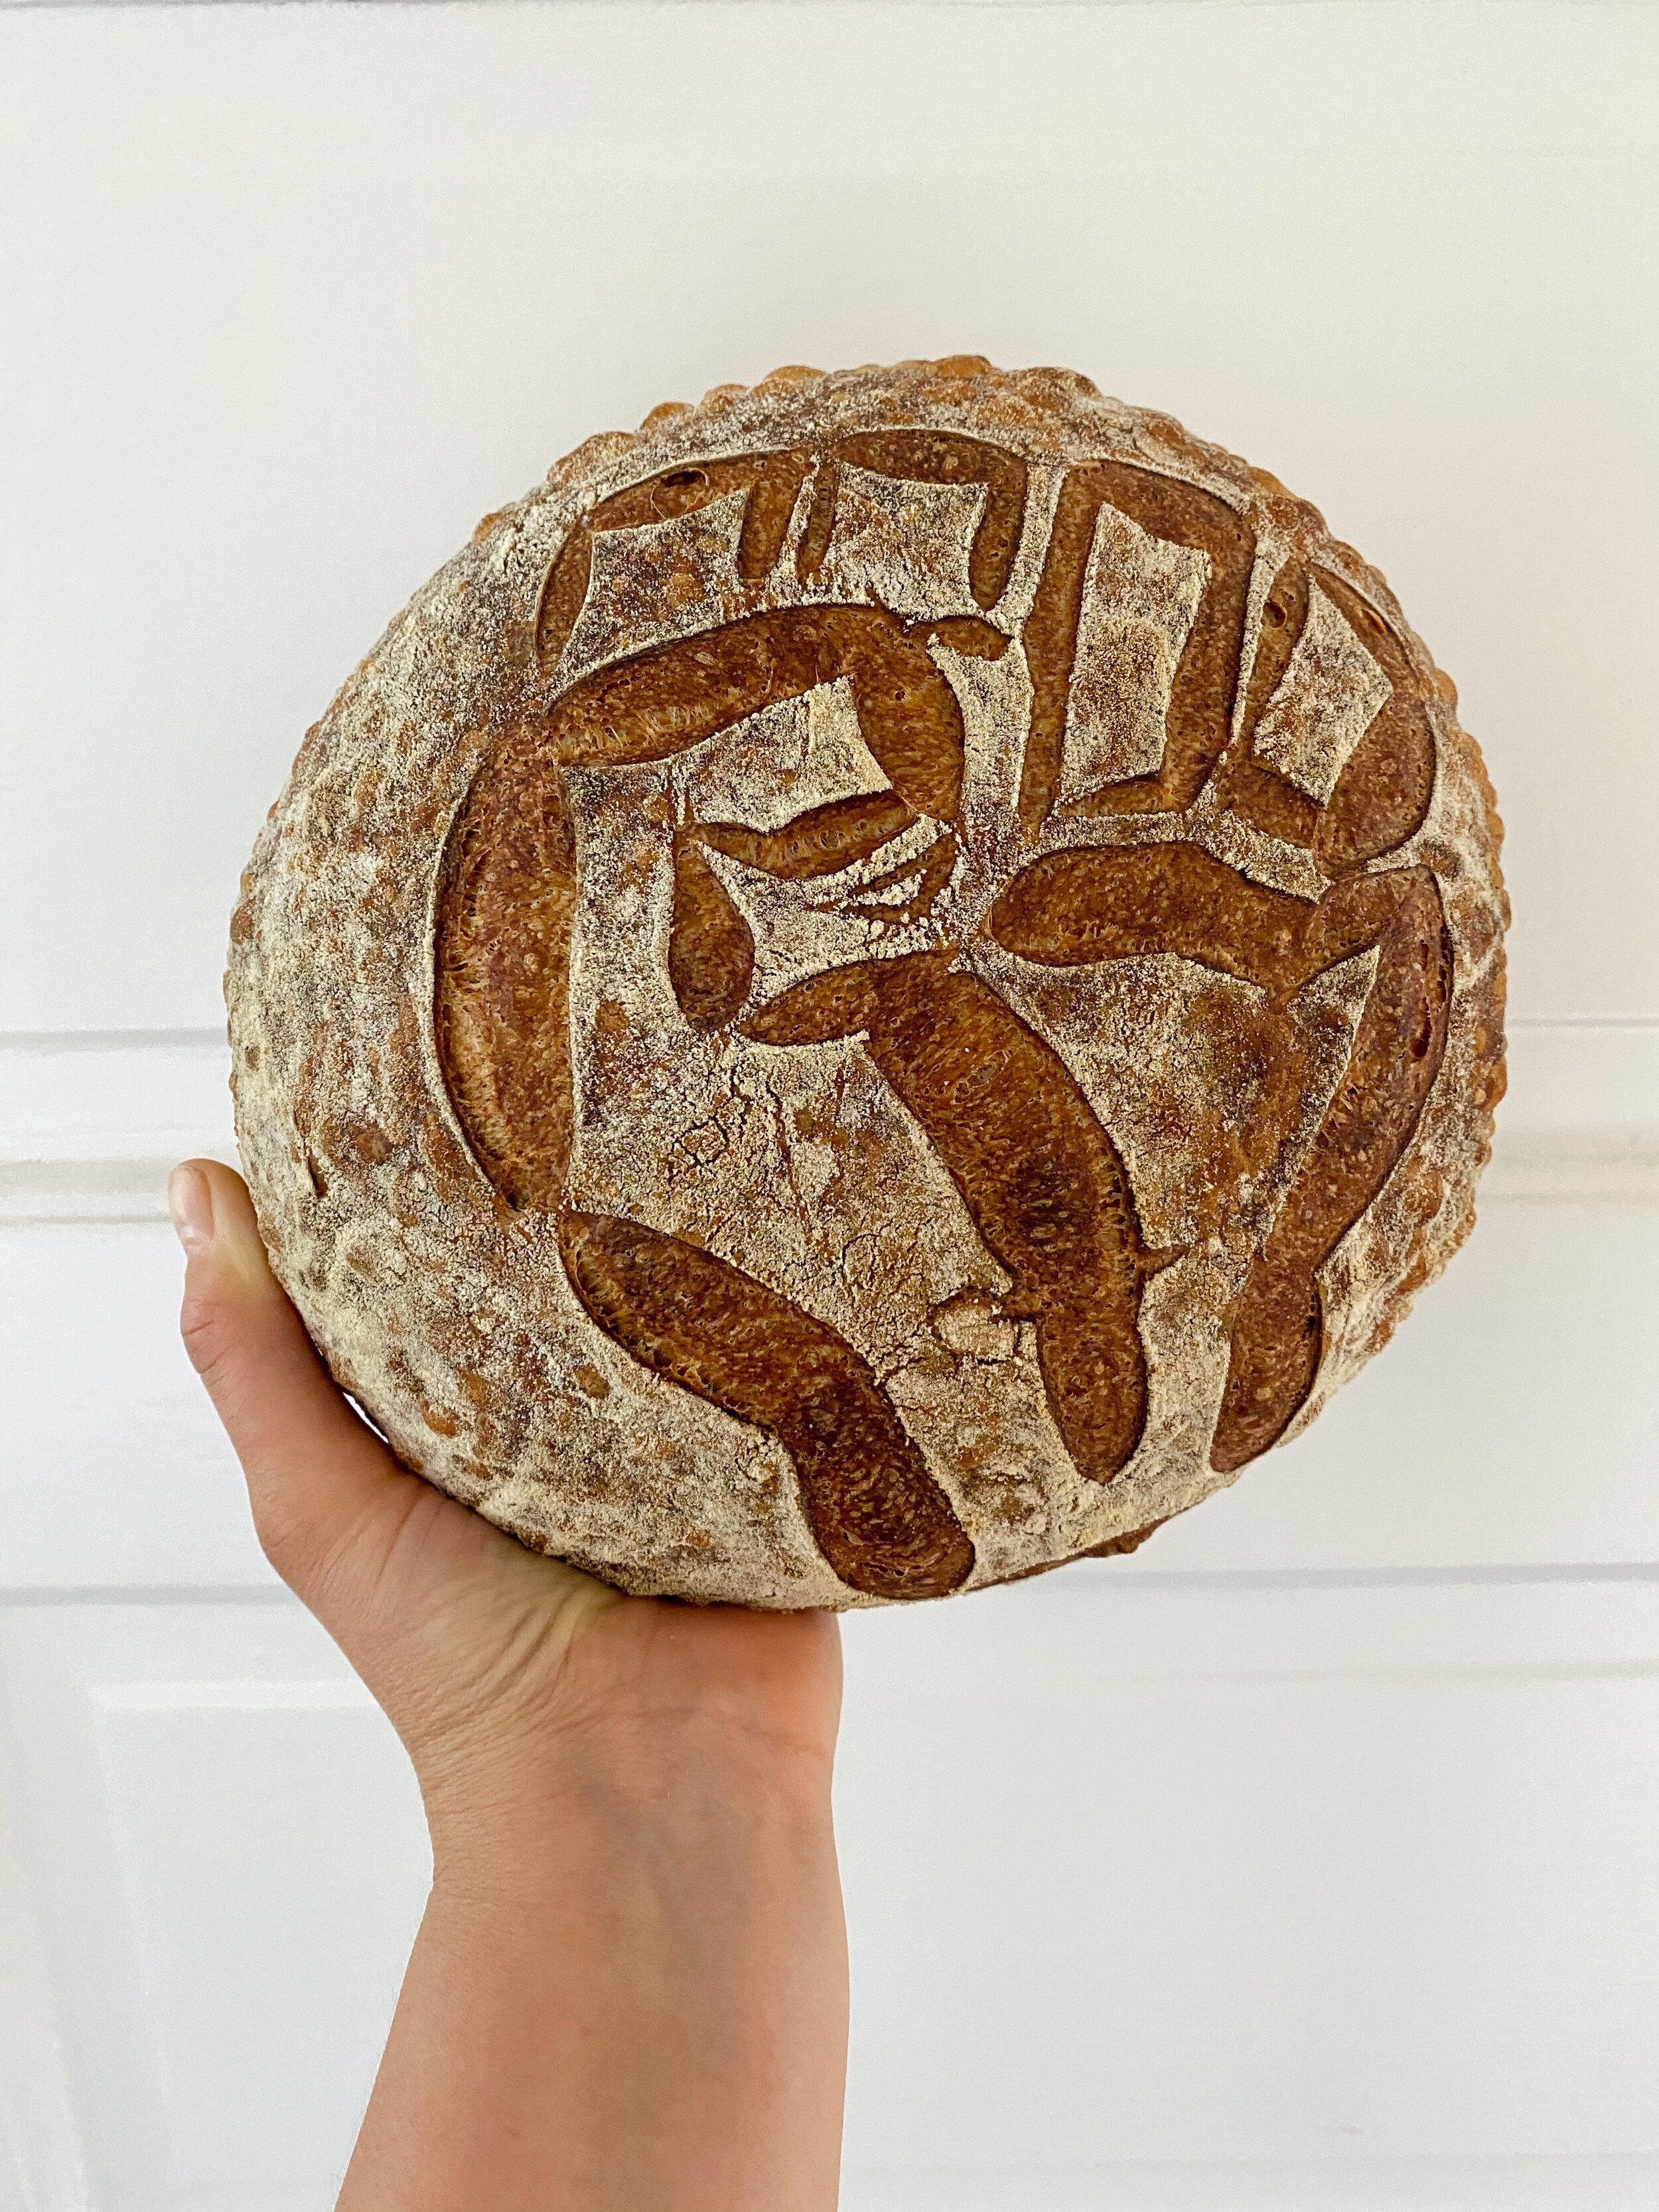
Black Lives Matter + Moldy Bannetons
I started getting more creative with my scoring, playing with lady faces and BLM fists. I realized that proofing my dough in the fridge overnight inside a plastic bag was keeping the bannetons too moist and one of them got really moldy! I tossed it and decided that it’s ok if my dough gets a little film on it in the fridge so i’ve stopped using plastic and now just use a dish towel to line the basket.
loaves 71 - 80

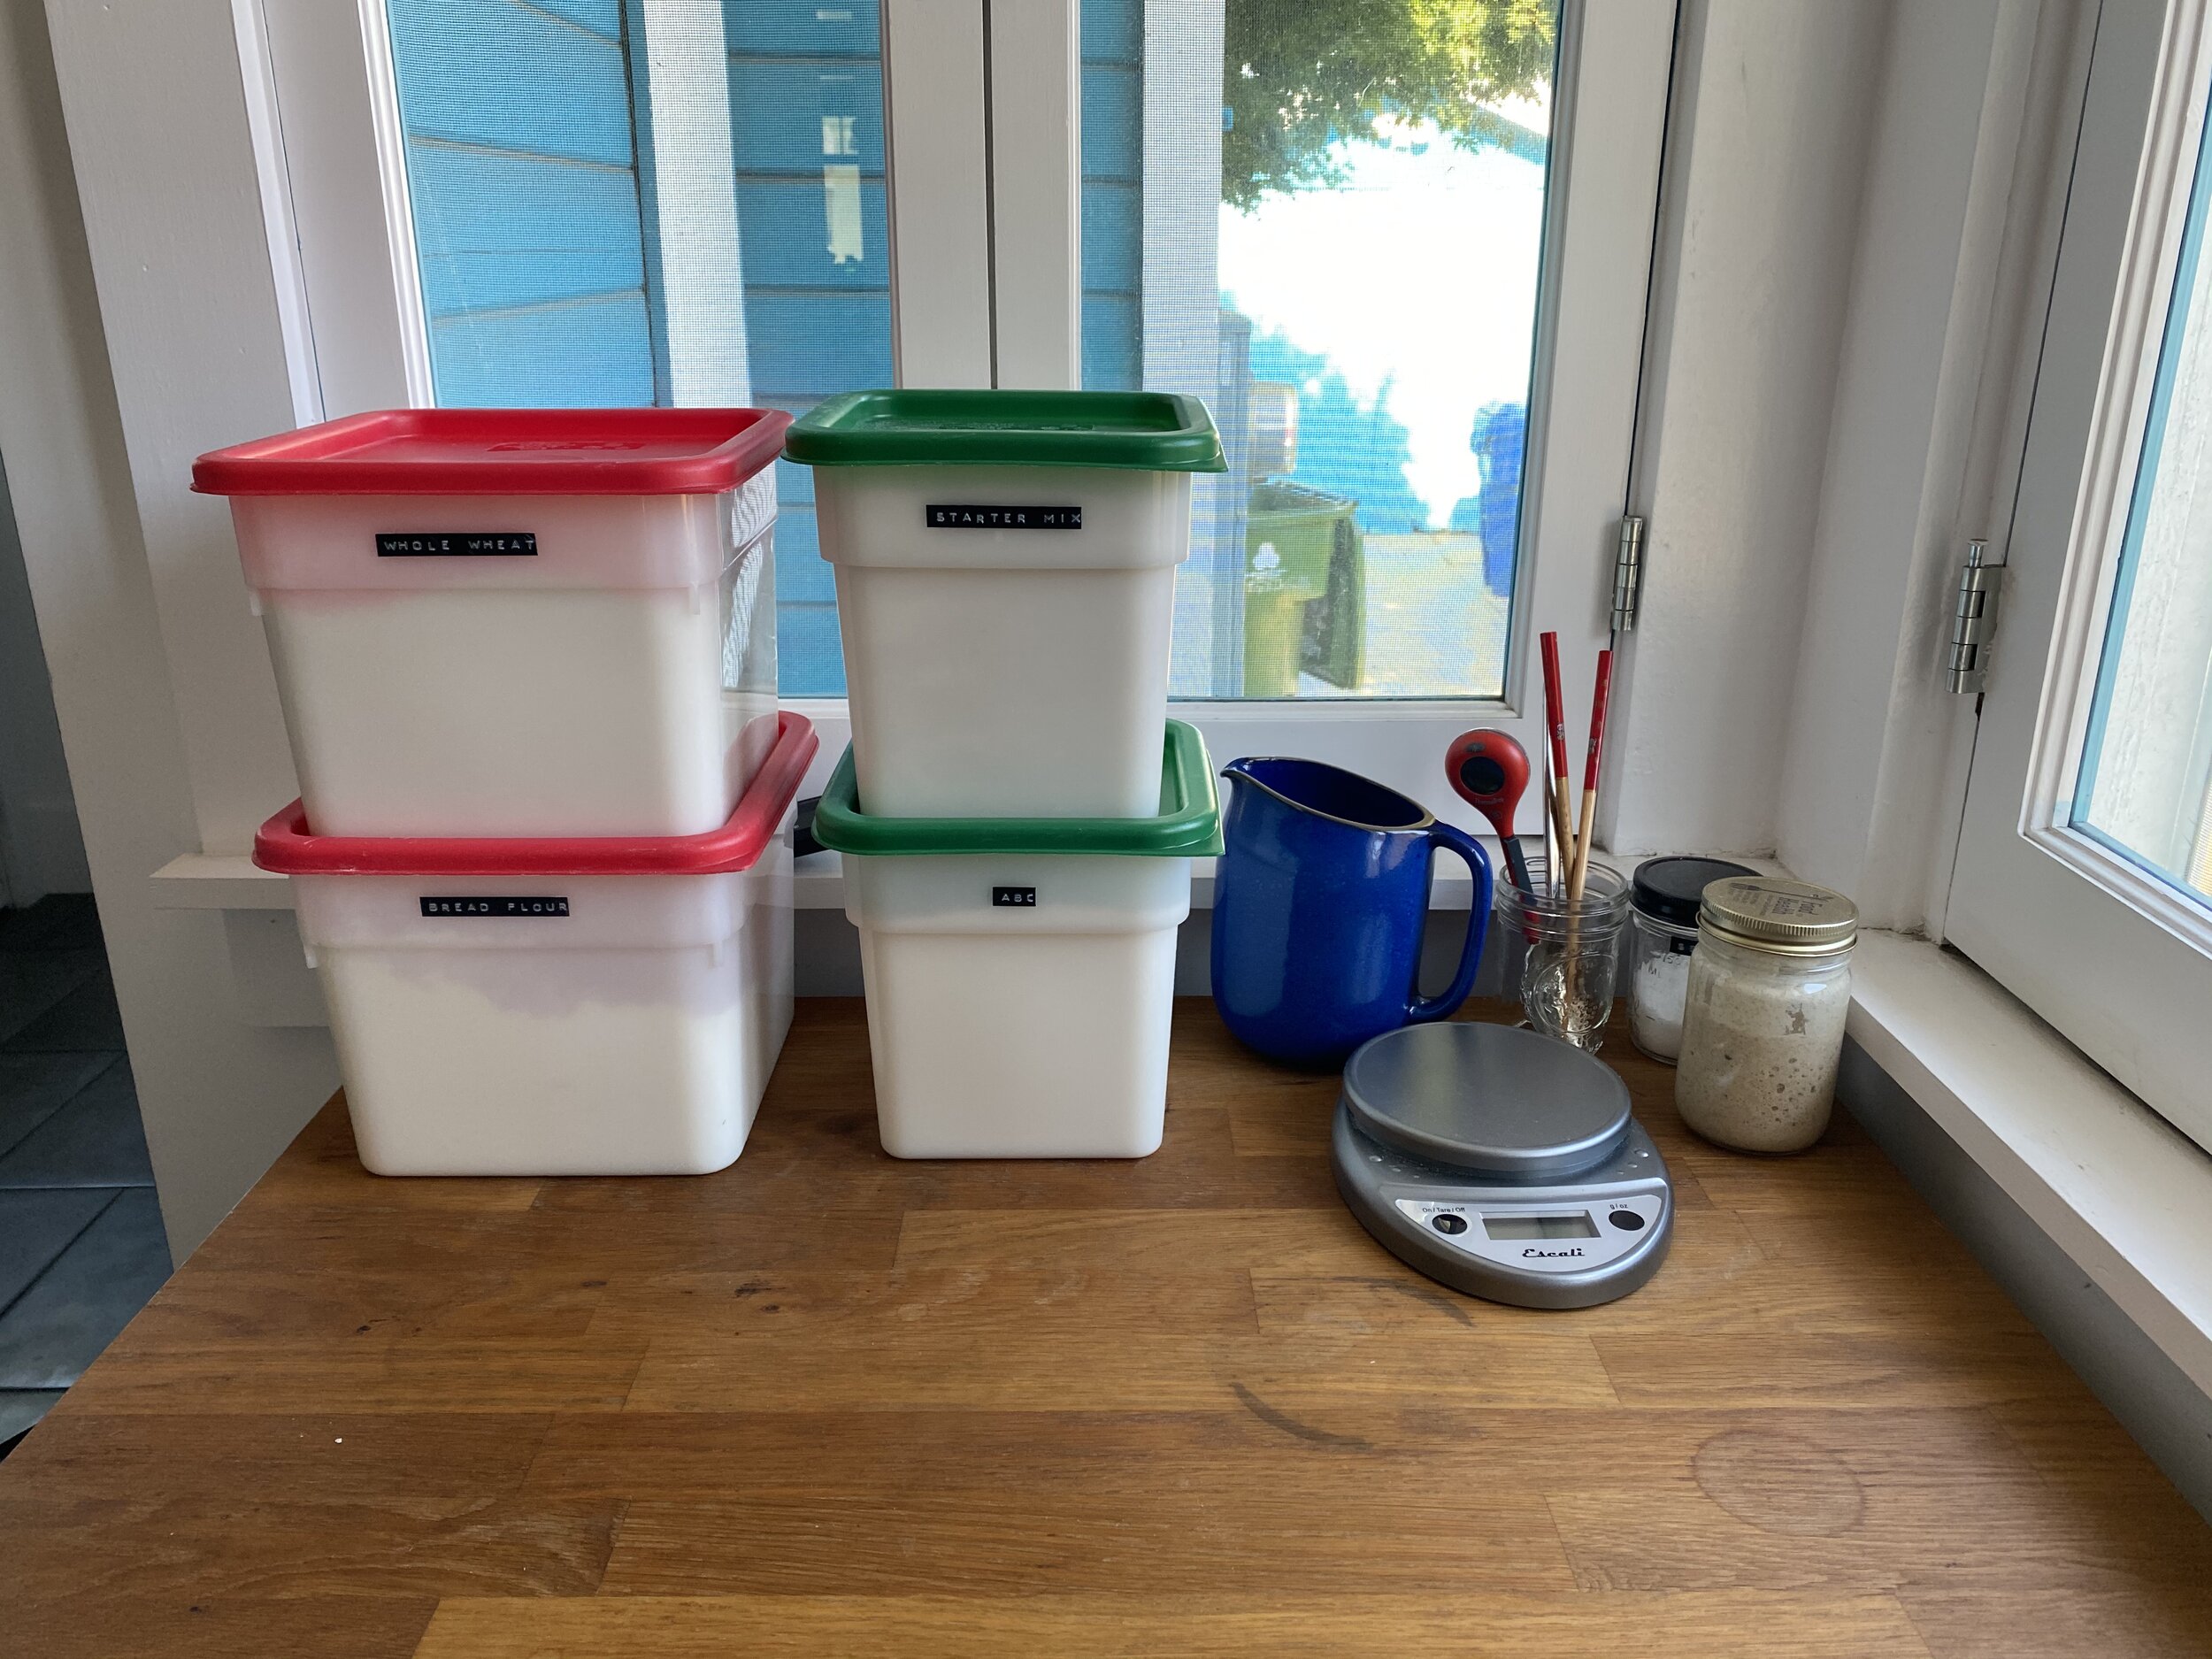
Rye Revolution
My starter felt a little sluggish and I read that rye flour makes it really happy, so I switched to a starter mix of 15% dark rye, 50% bread flour and 35% whole wheat flour and it was like NEW BALL GAME. My loaves started to rise better and my starter bounced back to being super active.
loaves 81 - 90

High Hydration Ego Check
I’d worked up to 80% + hydration and was feeling very skilled...and then the weather turned very warm. And all of the sudden my “skills” meant nothing and I was left with bowls of extremely sticky, weak dough. I realized that hotter temps and humid weather meant that I would have better results with a lower hydration dough, so I bumped back down to 72% and started getting great results again.
loaves 91 - 100

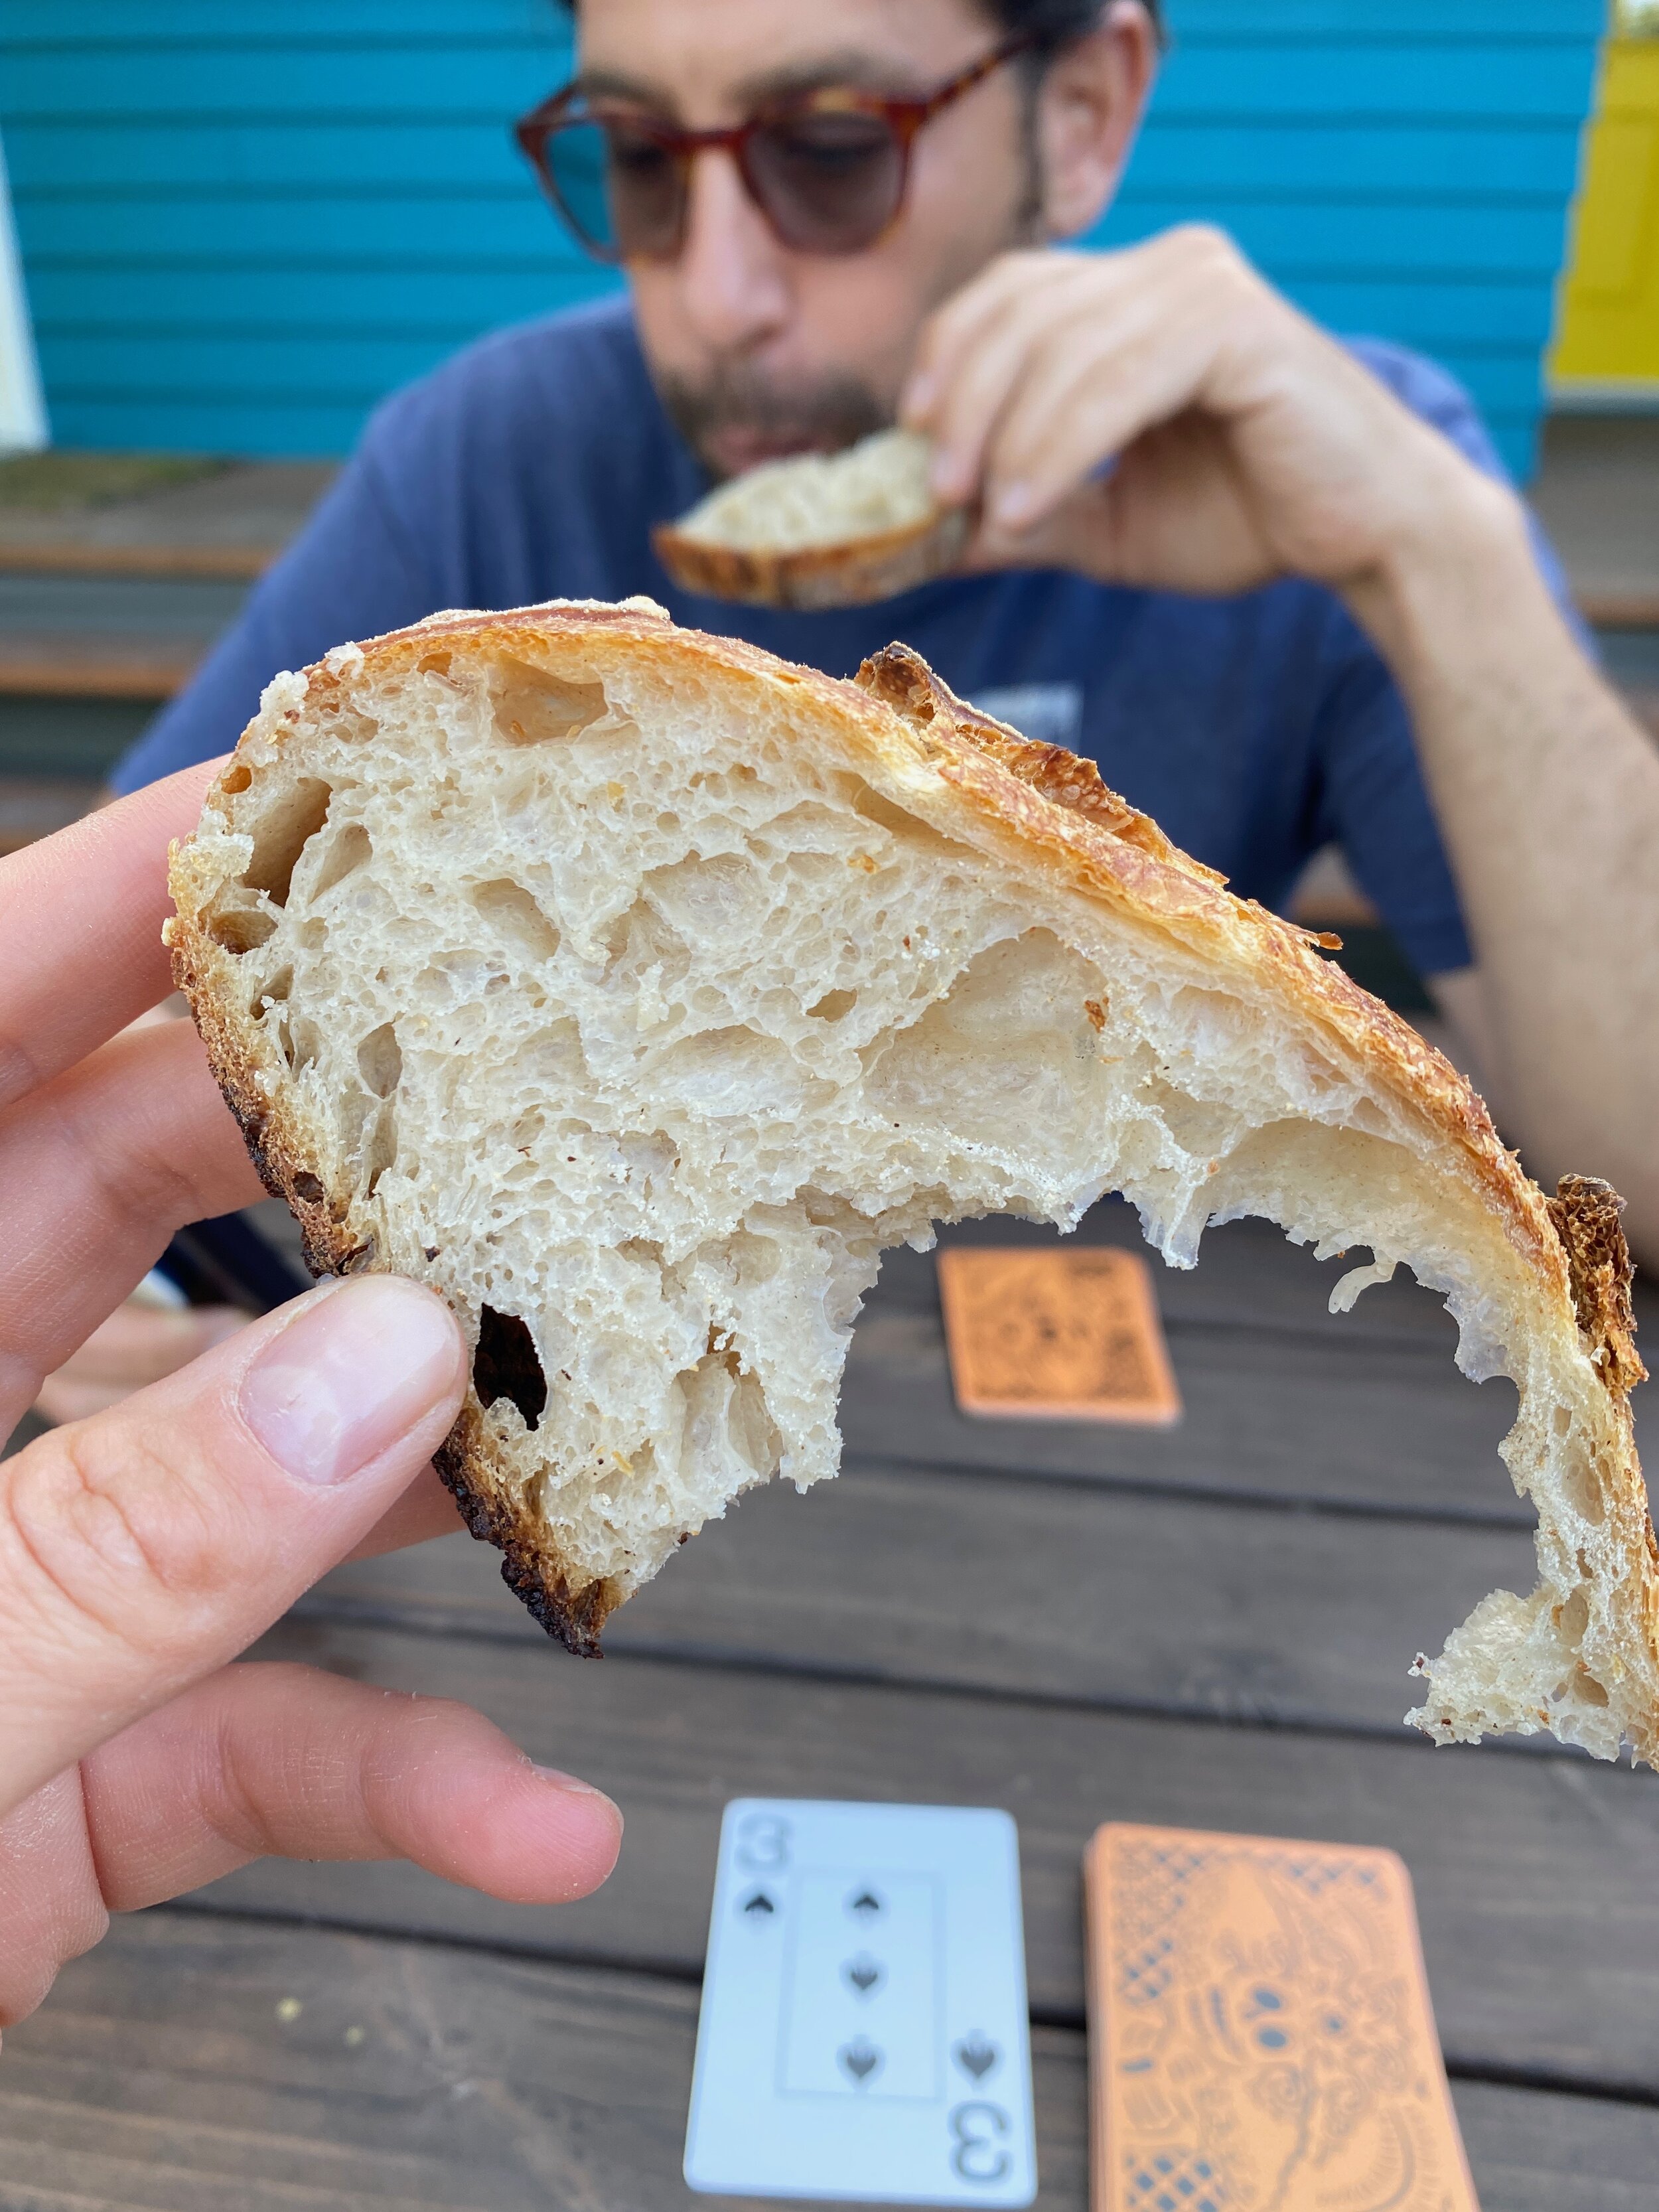
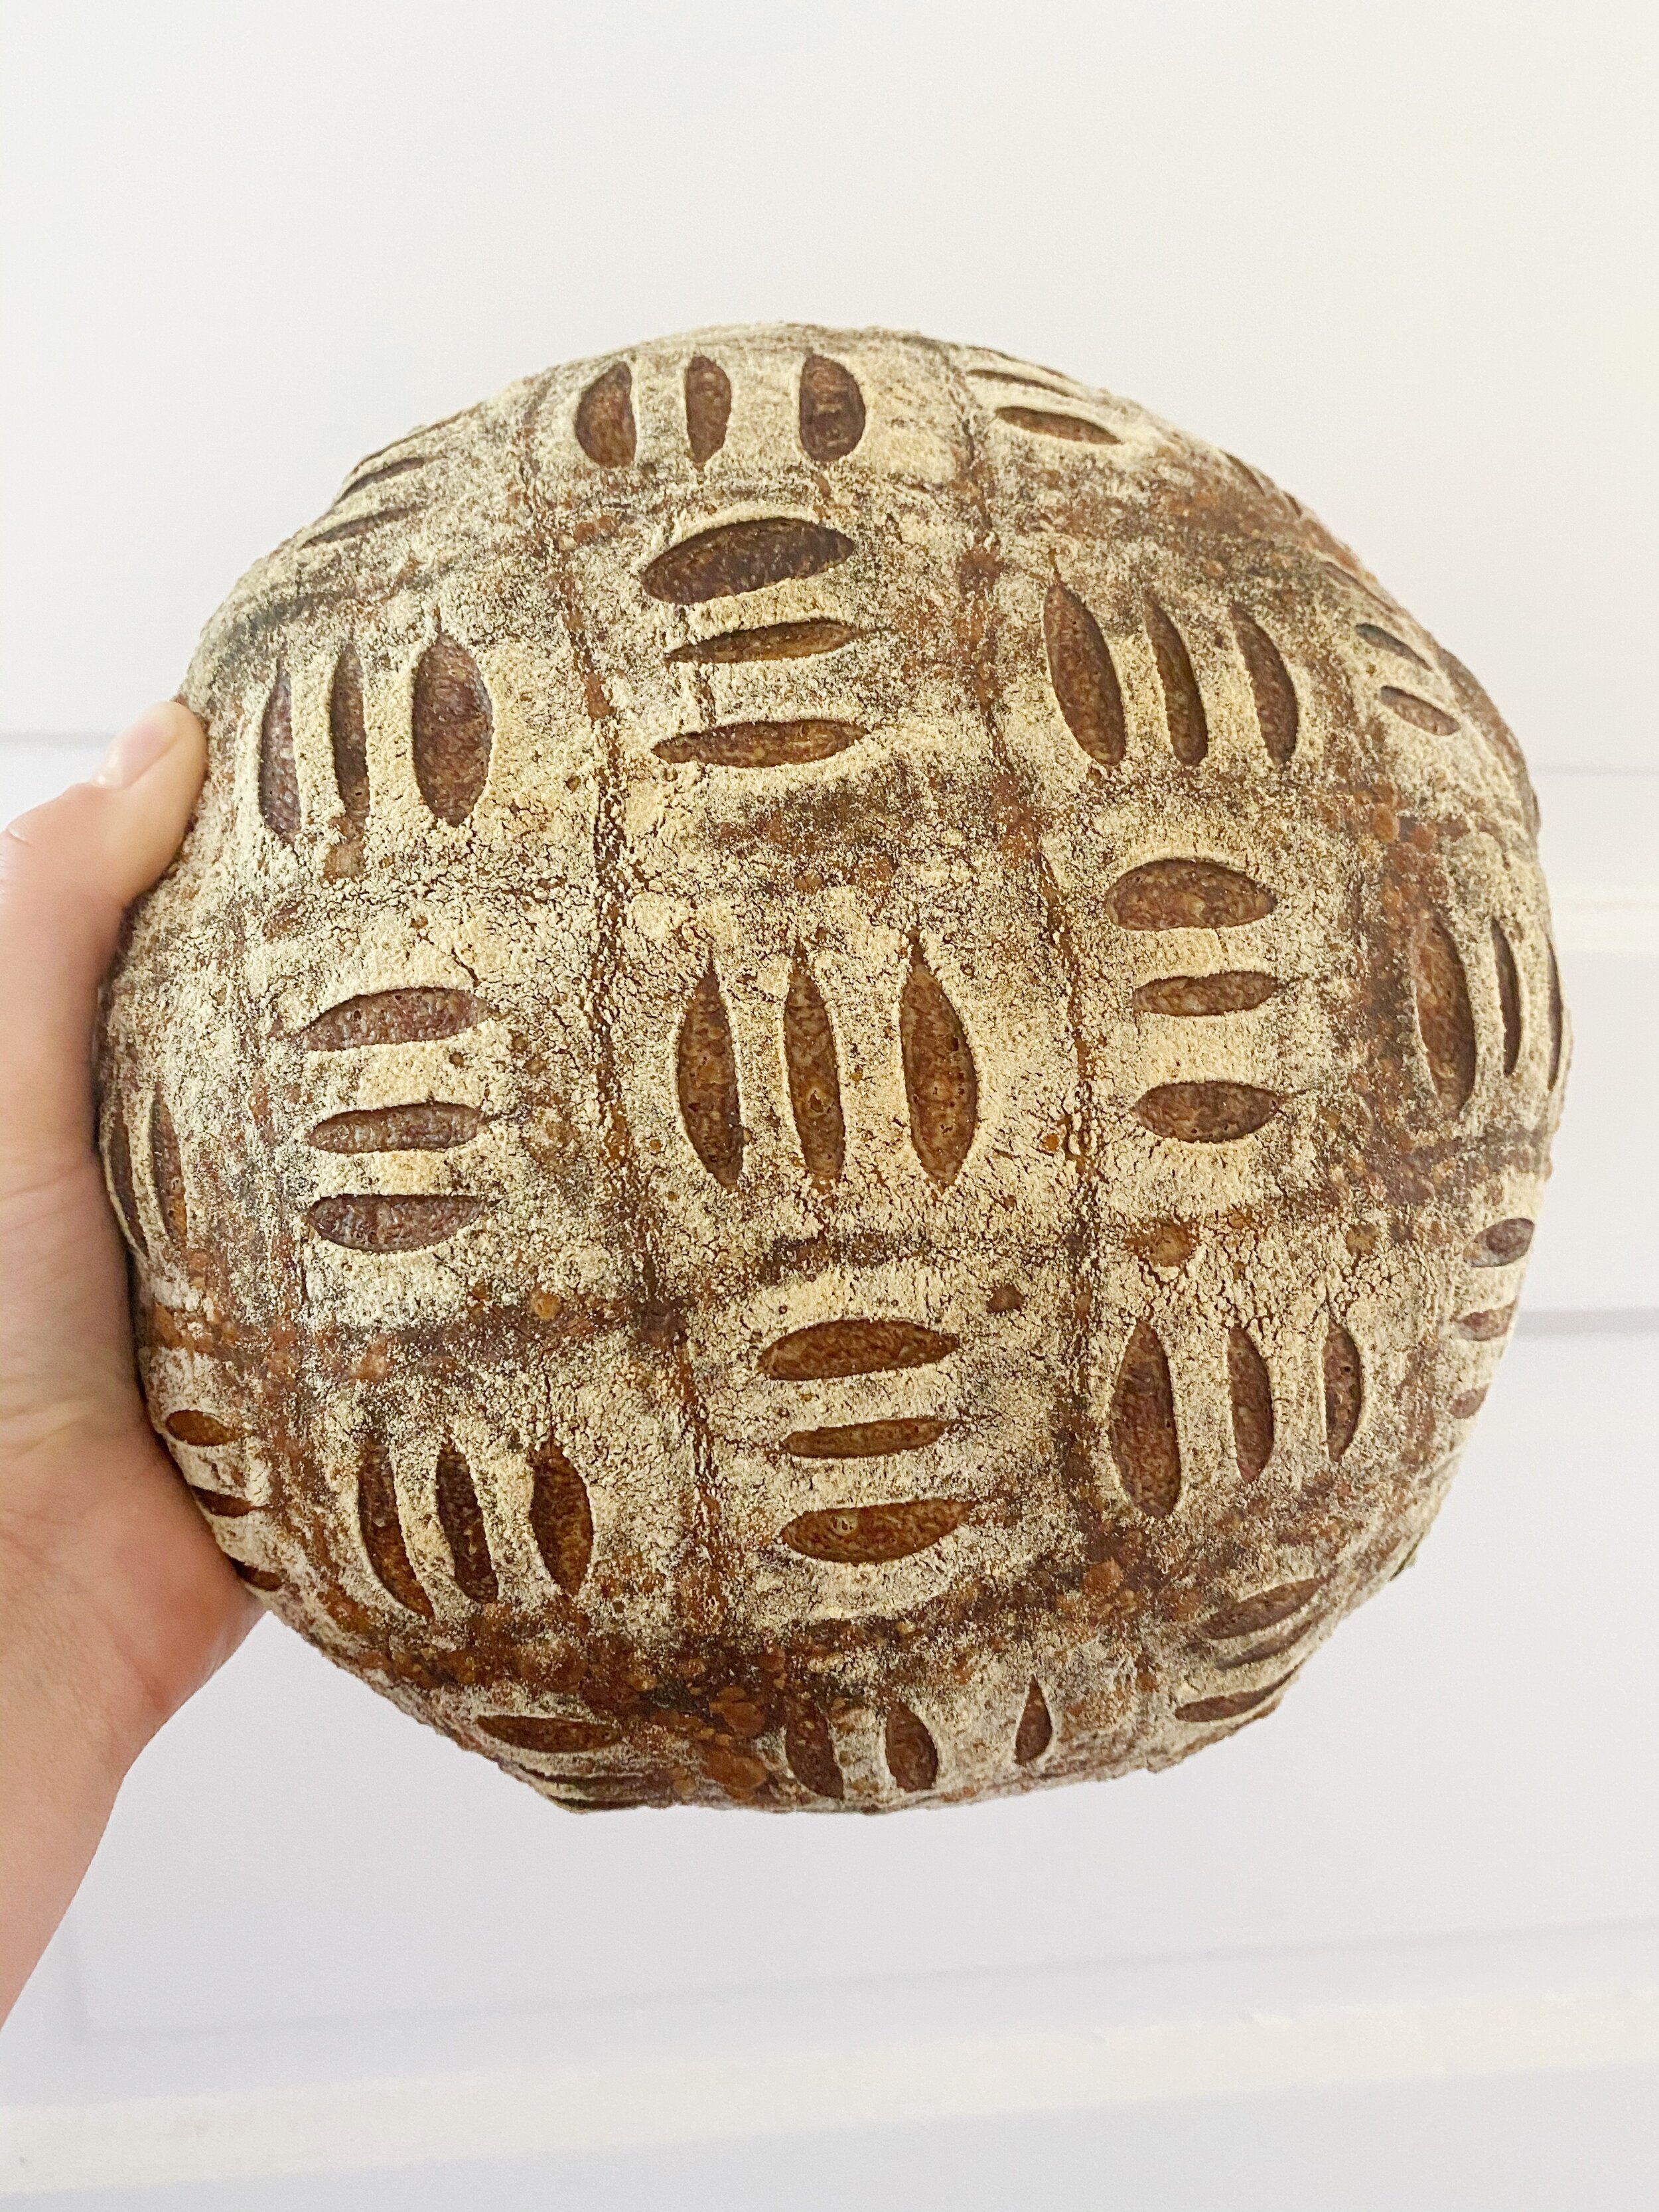
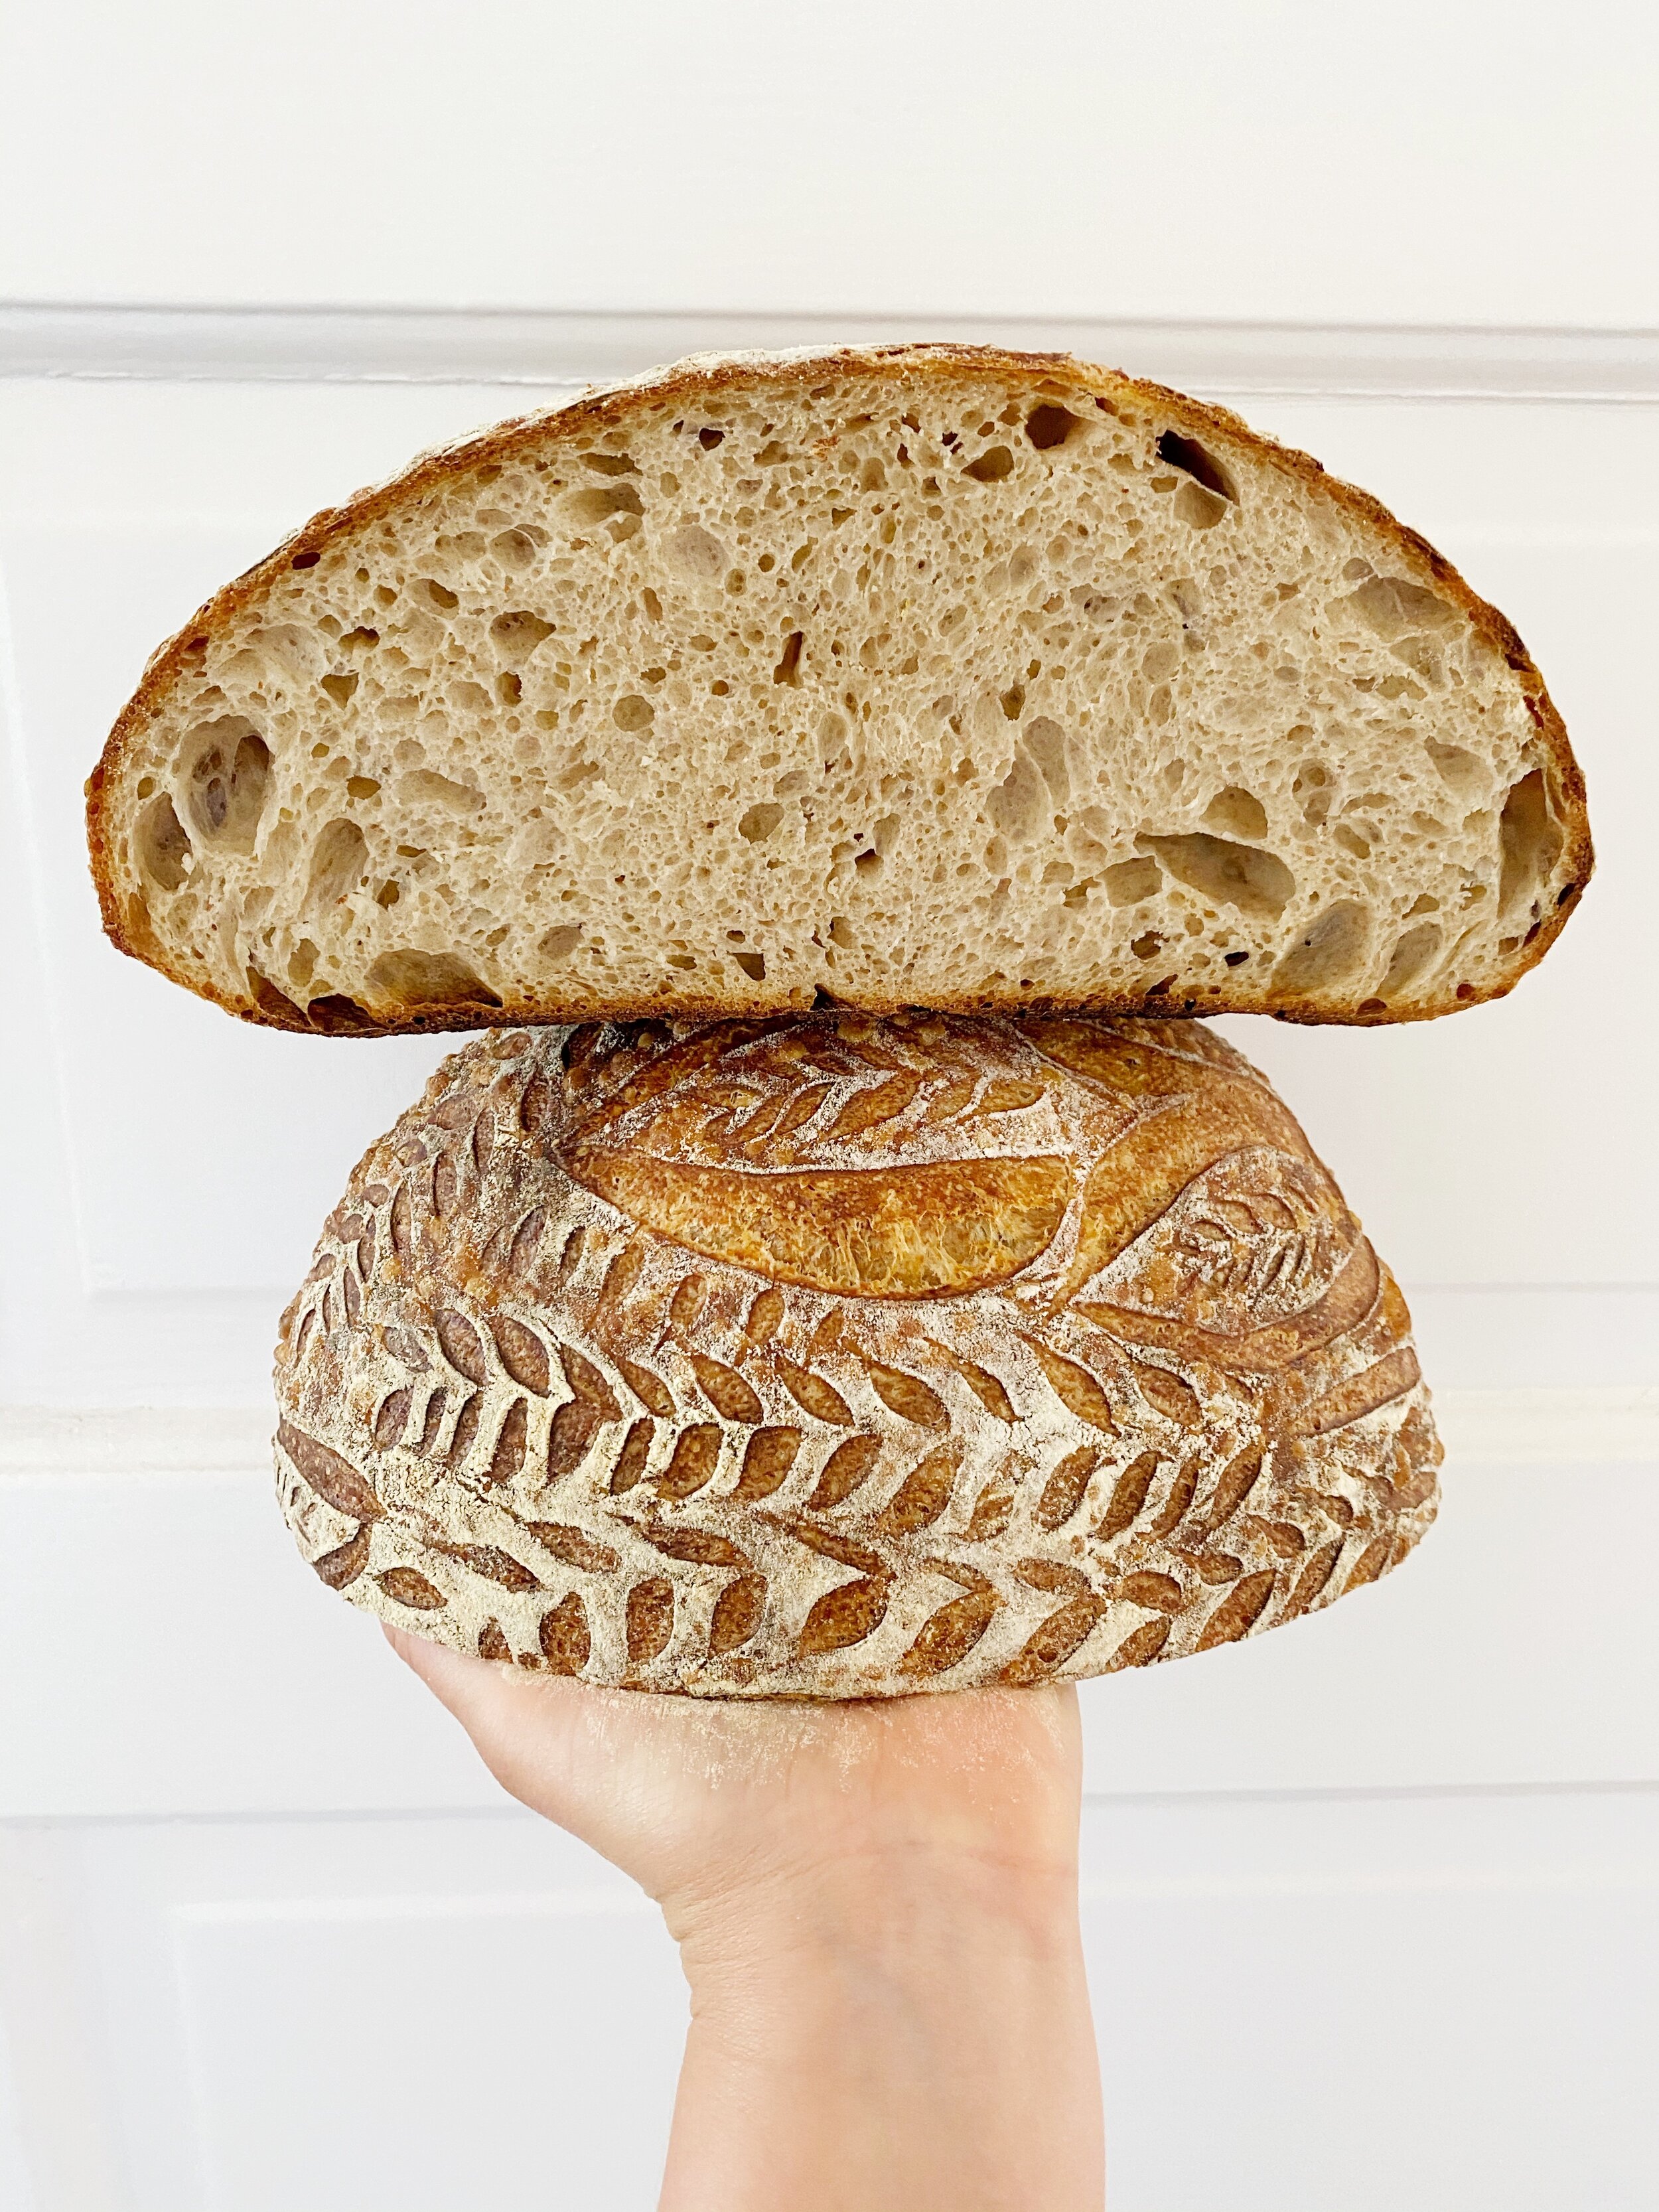
Hitting My Stride
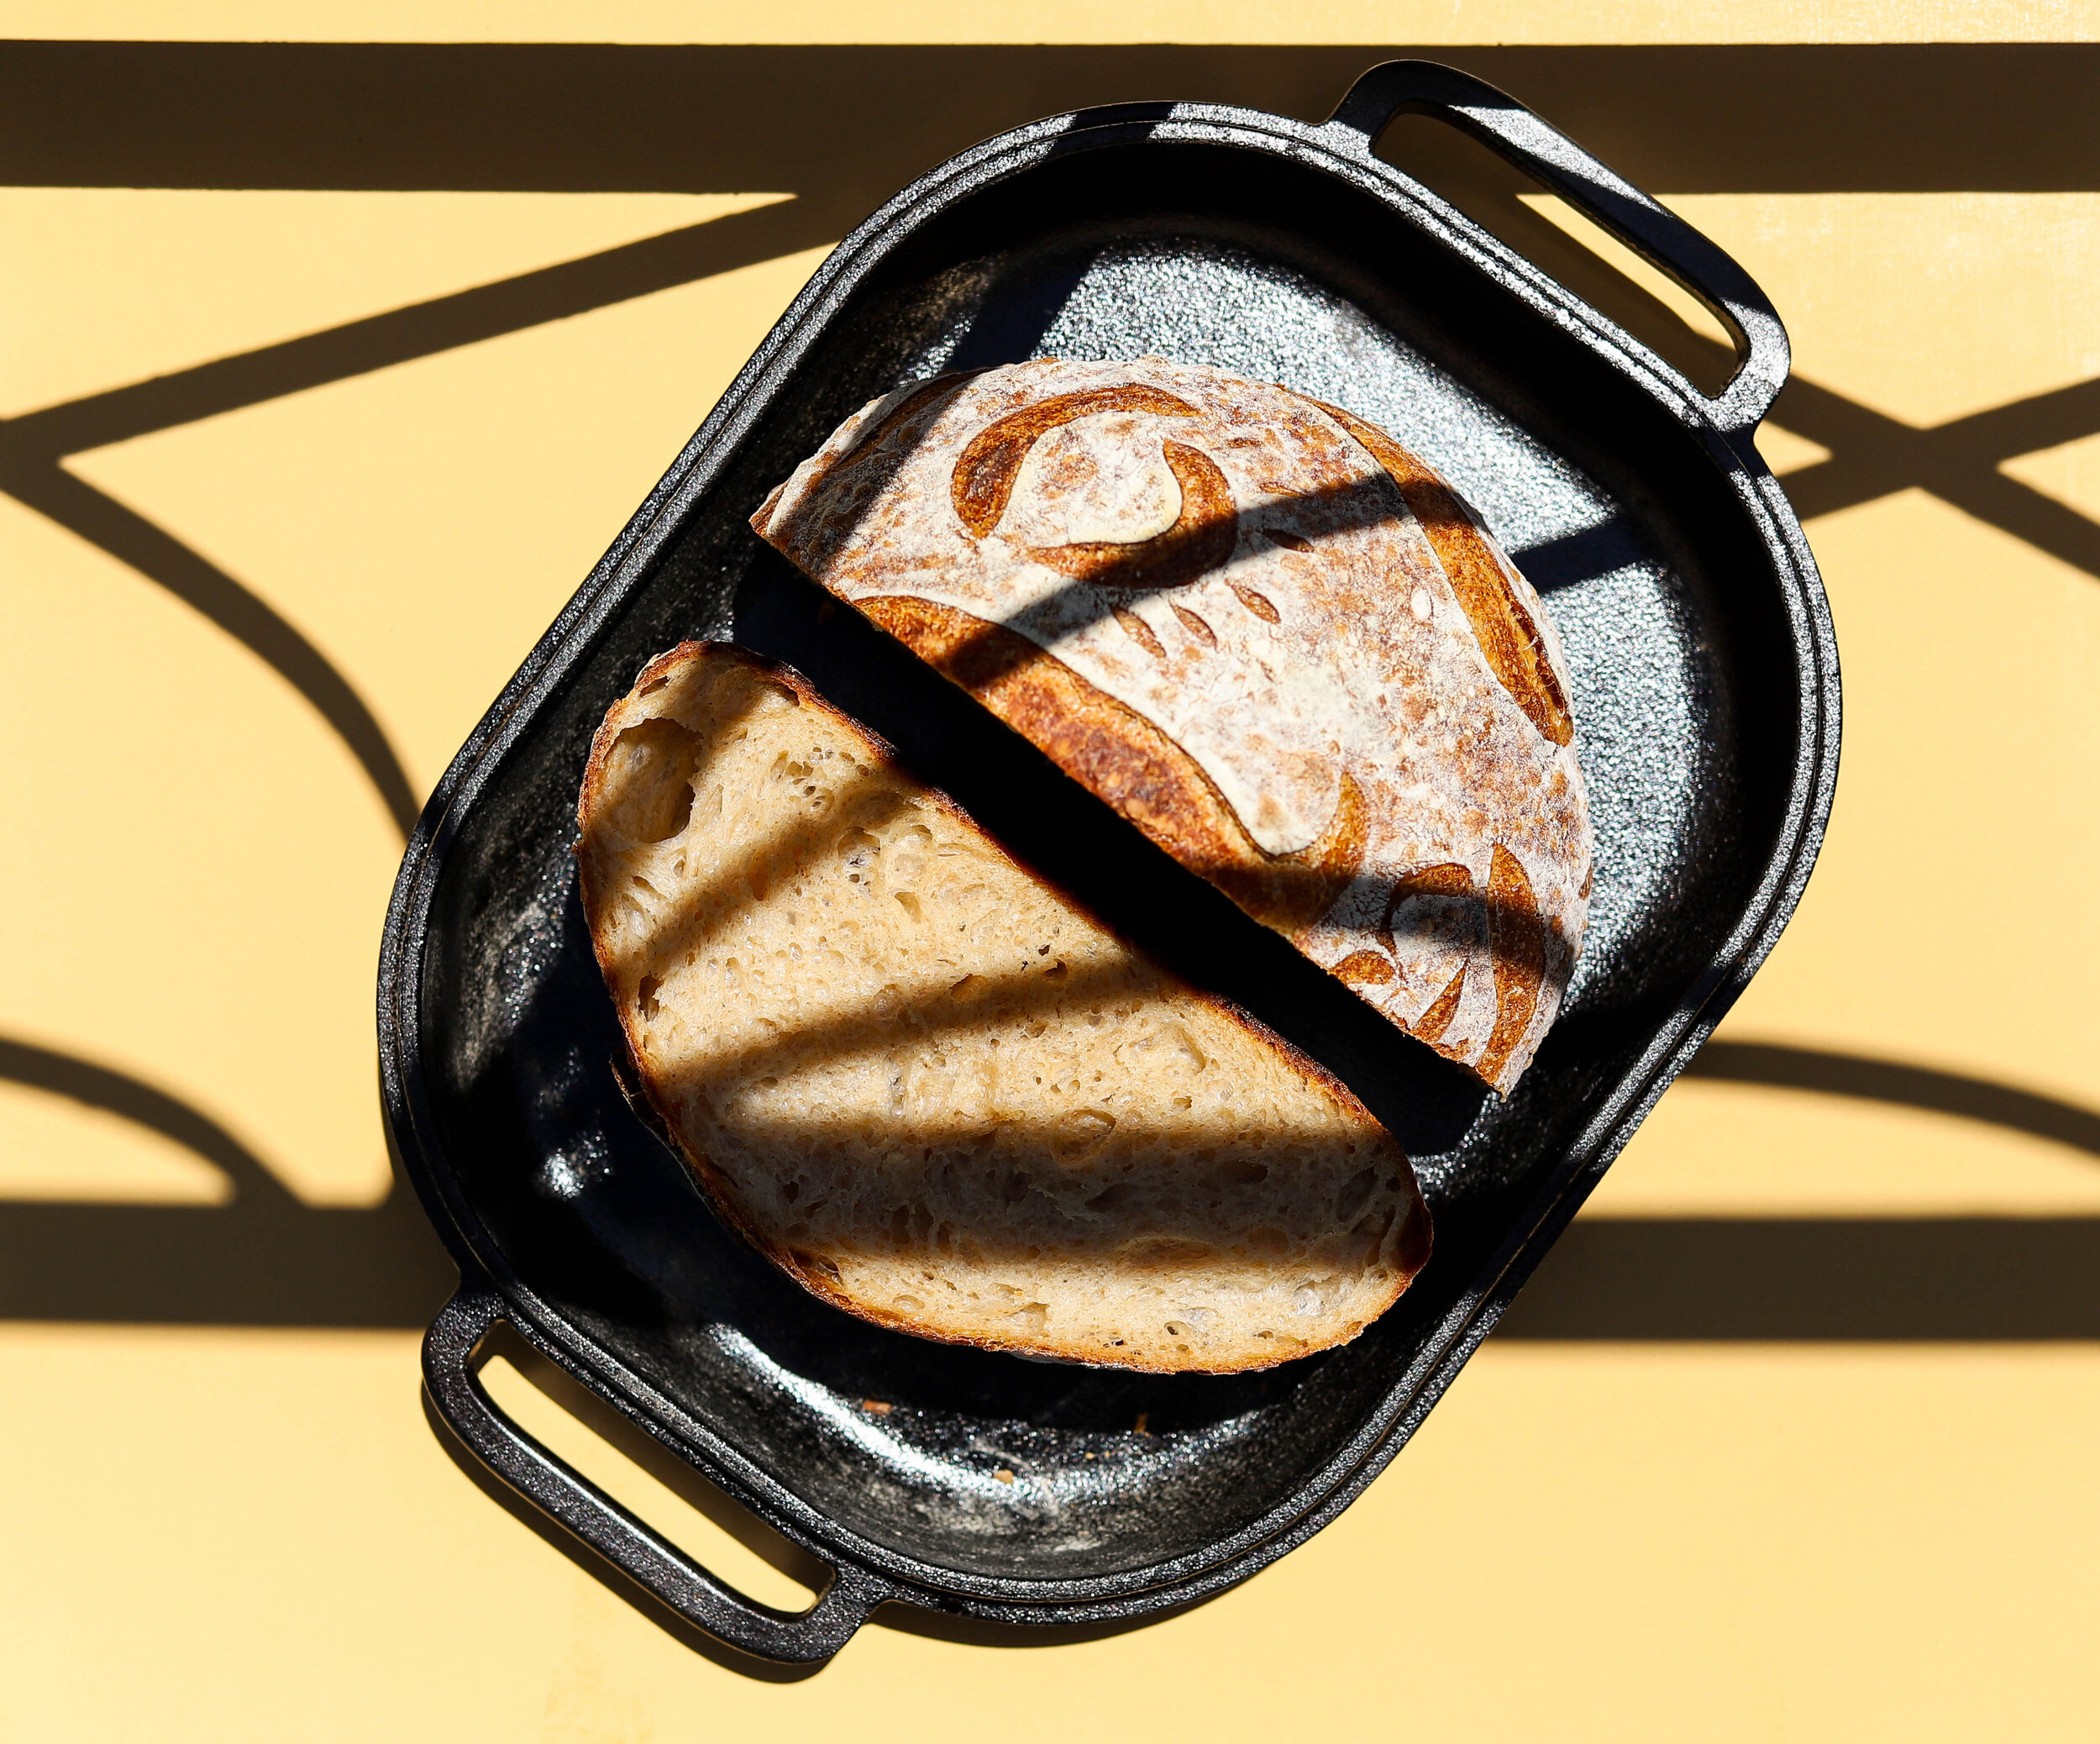
I finally started to make really consistently great bread. The crumb isn’t as open as when I was doing lots of extra fussy steps, but it’s soft in the middle and crispy on the outside and perfectly tangy and delicious. I also started using a Challenger Breadware pan just in time for loaf #100 and I’m really liking it! It fits in the oven with my massive dutch oven so I can bake two loaves at once, and it creates a better rise and crust than a regular dutch oven.
loaves 100 +
Where to go from here?! I’m just going to keep baking. Sourdough is this amazing practice that continues to keep me engaged and learning, and I have a feeling it will be like that for awhile.
A few more takeaways:
Practice is everything. Some things you just have to do over and over again until you get better.
When you’re learning, simple is better. Besides a few different experiments like adding potato or grating in some rosemary, I’ve stuck to a similar plain loaf this entire time. There are so many different factors that are involved in making good sourdough, this consistency has helped me to learn more efficiently than if I was changing up my recipe often.
People like bread. Especially sourdough. This has been such a lovely way to connect with friends and help nourish them. I love baking and gifting bread.


sourdough recipe (makes 2 loaves)
LEVAIN:
100 g bubbly starter
100 g flour (I do 50 g whole wheat flour and 50 g bread flour)
100 g 90 degree water (if you live in a super hot climate, bring this down to 80 degrees. If you live somewhere cold, you can up this to 100 degrees)
BREAD DOUGH:
650 g bread flour (i like king arthur)
200 g all purpose flour (i use artisan bakers craft ABC flour - you can also sub in bread flour here)
150 g whole wheat flour
720 g water (90 degrees, or whatever temperature you adjusted for in the leaven)
250 g levain
24 g fine sea salt
Additional water if necessary
PROCESS:
In the morning, make your levain. Mix it in a large jar and use a rubber band to mark where the top of the mixture sits. Loosely cover the jar (I just set the lid on top but I don’t screw it on) and leave it out to ferment. It should take around 3 hours to double in size, but keep an eye on it, a really hot kitchen will speed up this process, and a cold kitchen will slow it down.
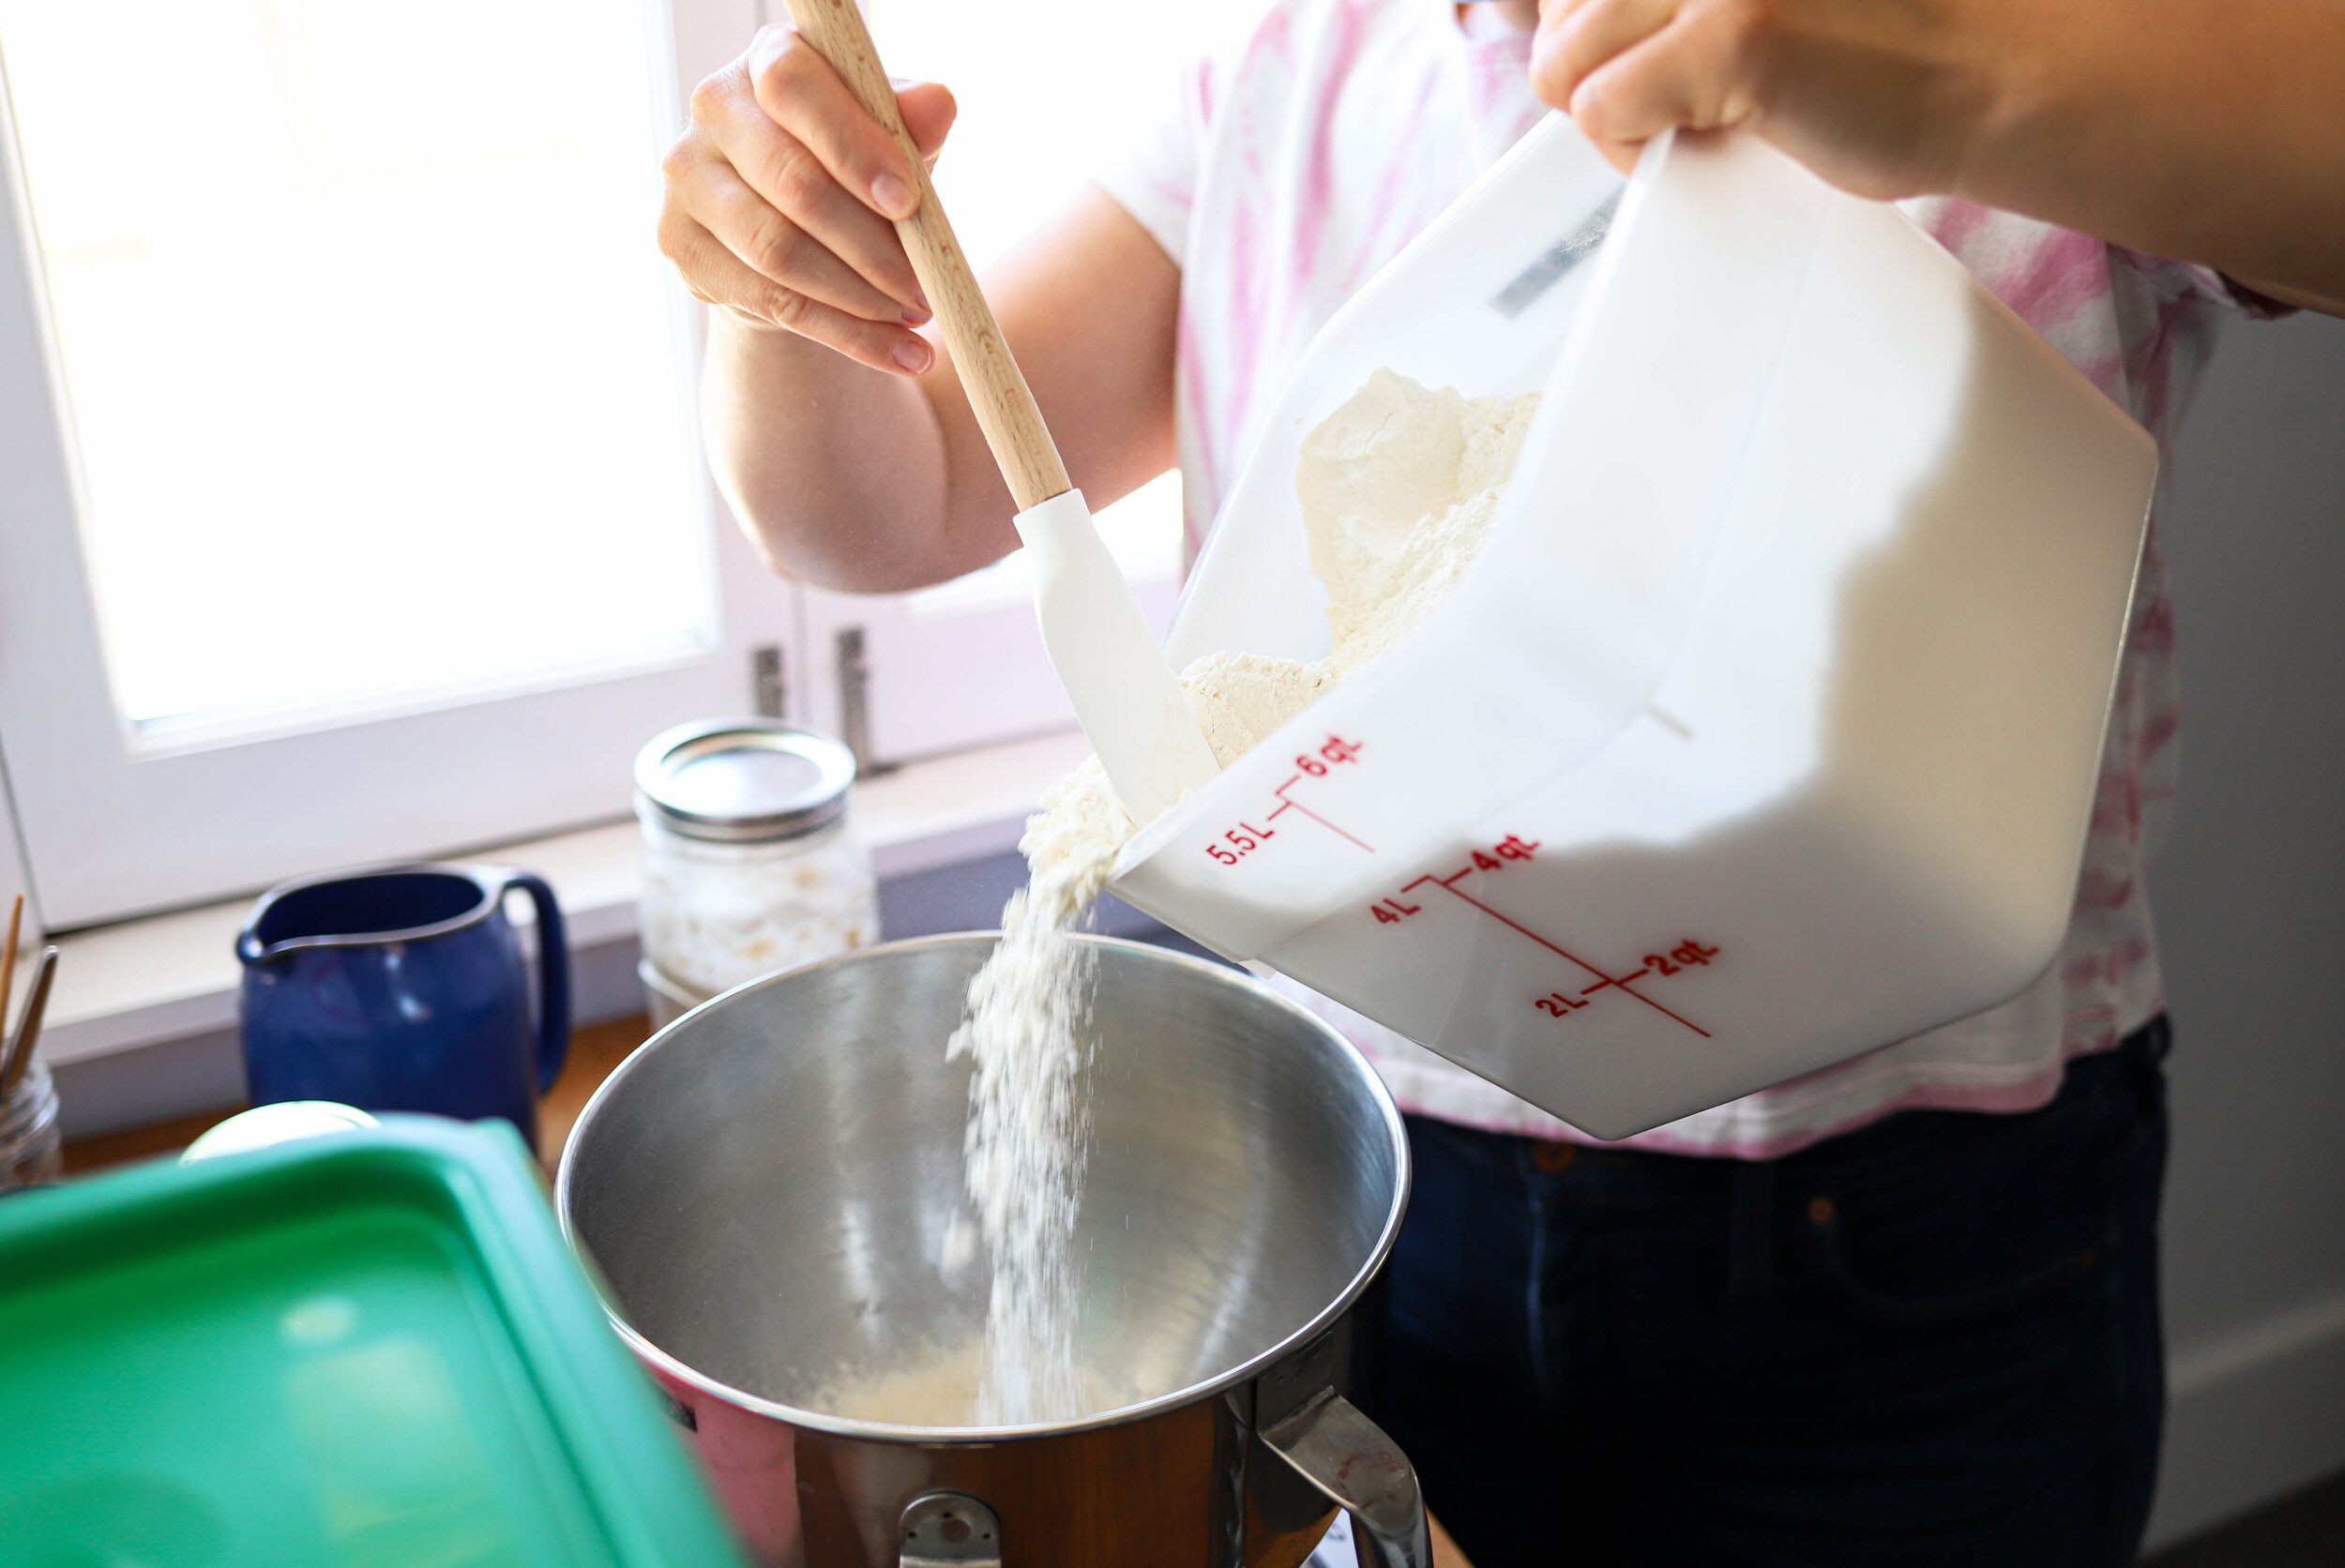
1-3 hours before your levain is ready, it’s time to start the autolyse. The purpose of this is to fully hydrate your flour ahead of time and give you a better opportunity to have a strong gluten structure in your dough. Measure out the flours and water in a large bowl and mix well until combined (some people use their hands here, but I use a rubber spatula to do this because it is so sticky!). Make sure you really incorporate everything well so there aren’t any lumps (it will take several minutes). Cover with plastic wrap and allow to sit on the counter until your leaven is ready.
Once your levain has at least doubled in size (it might multiply even more) it’s ready to use! Some people do the float test to make sure their levain is ready, but I’ve found that sometimes my levain passes the float test but still doesn’t result in great bread, so it seems like a faulty step to me and I skip it.
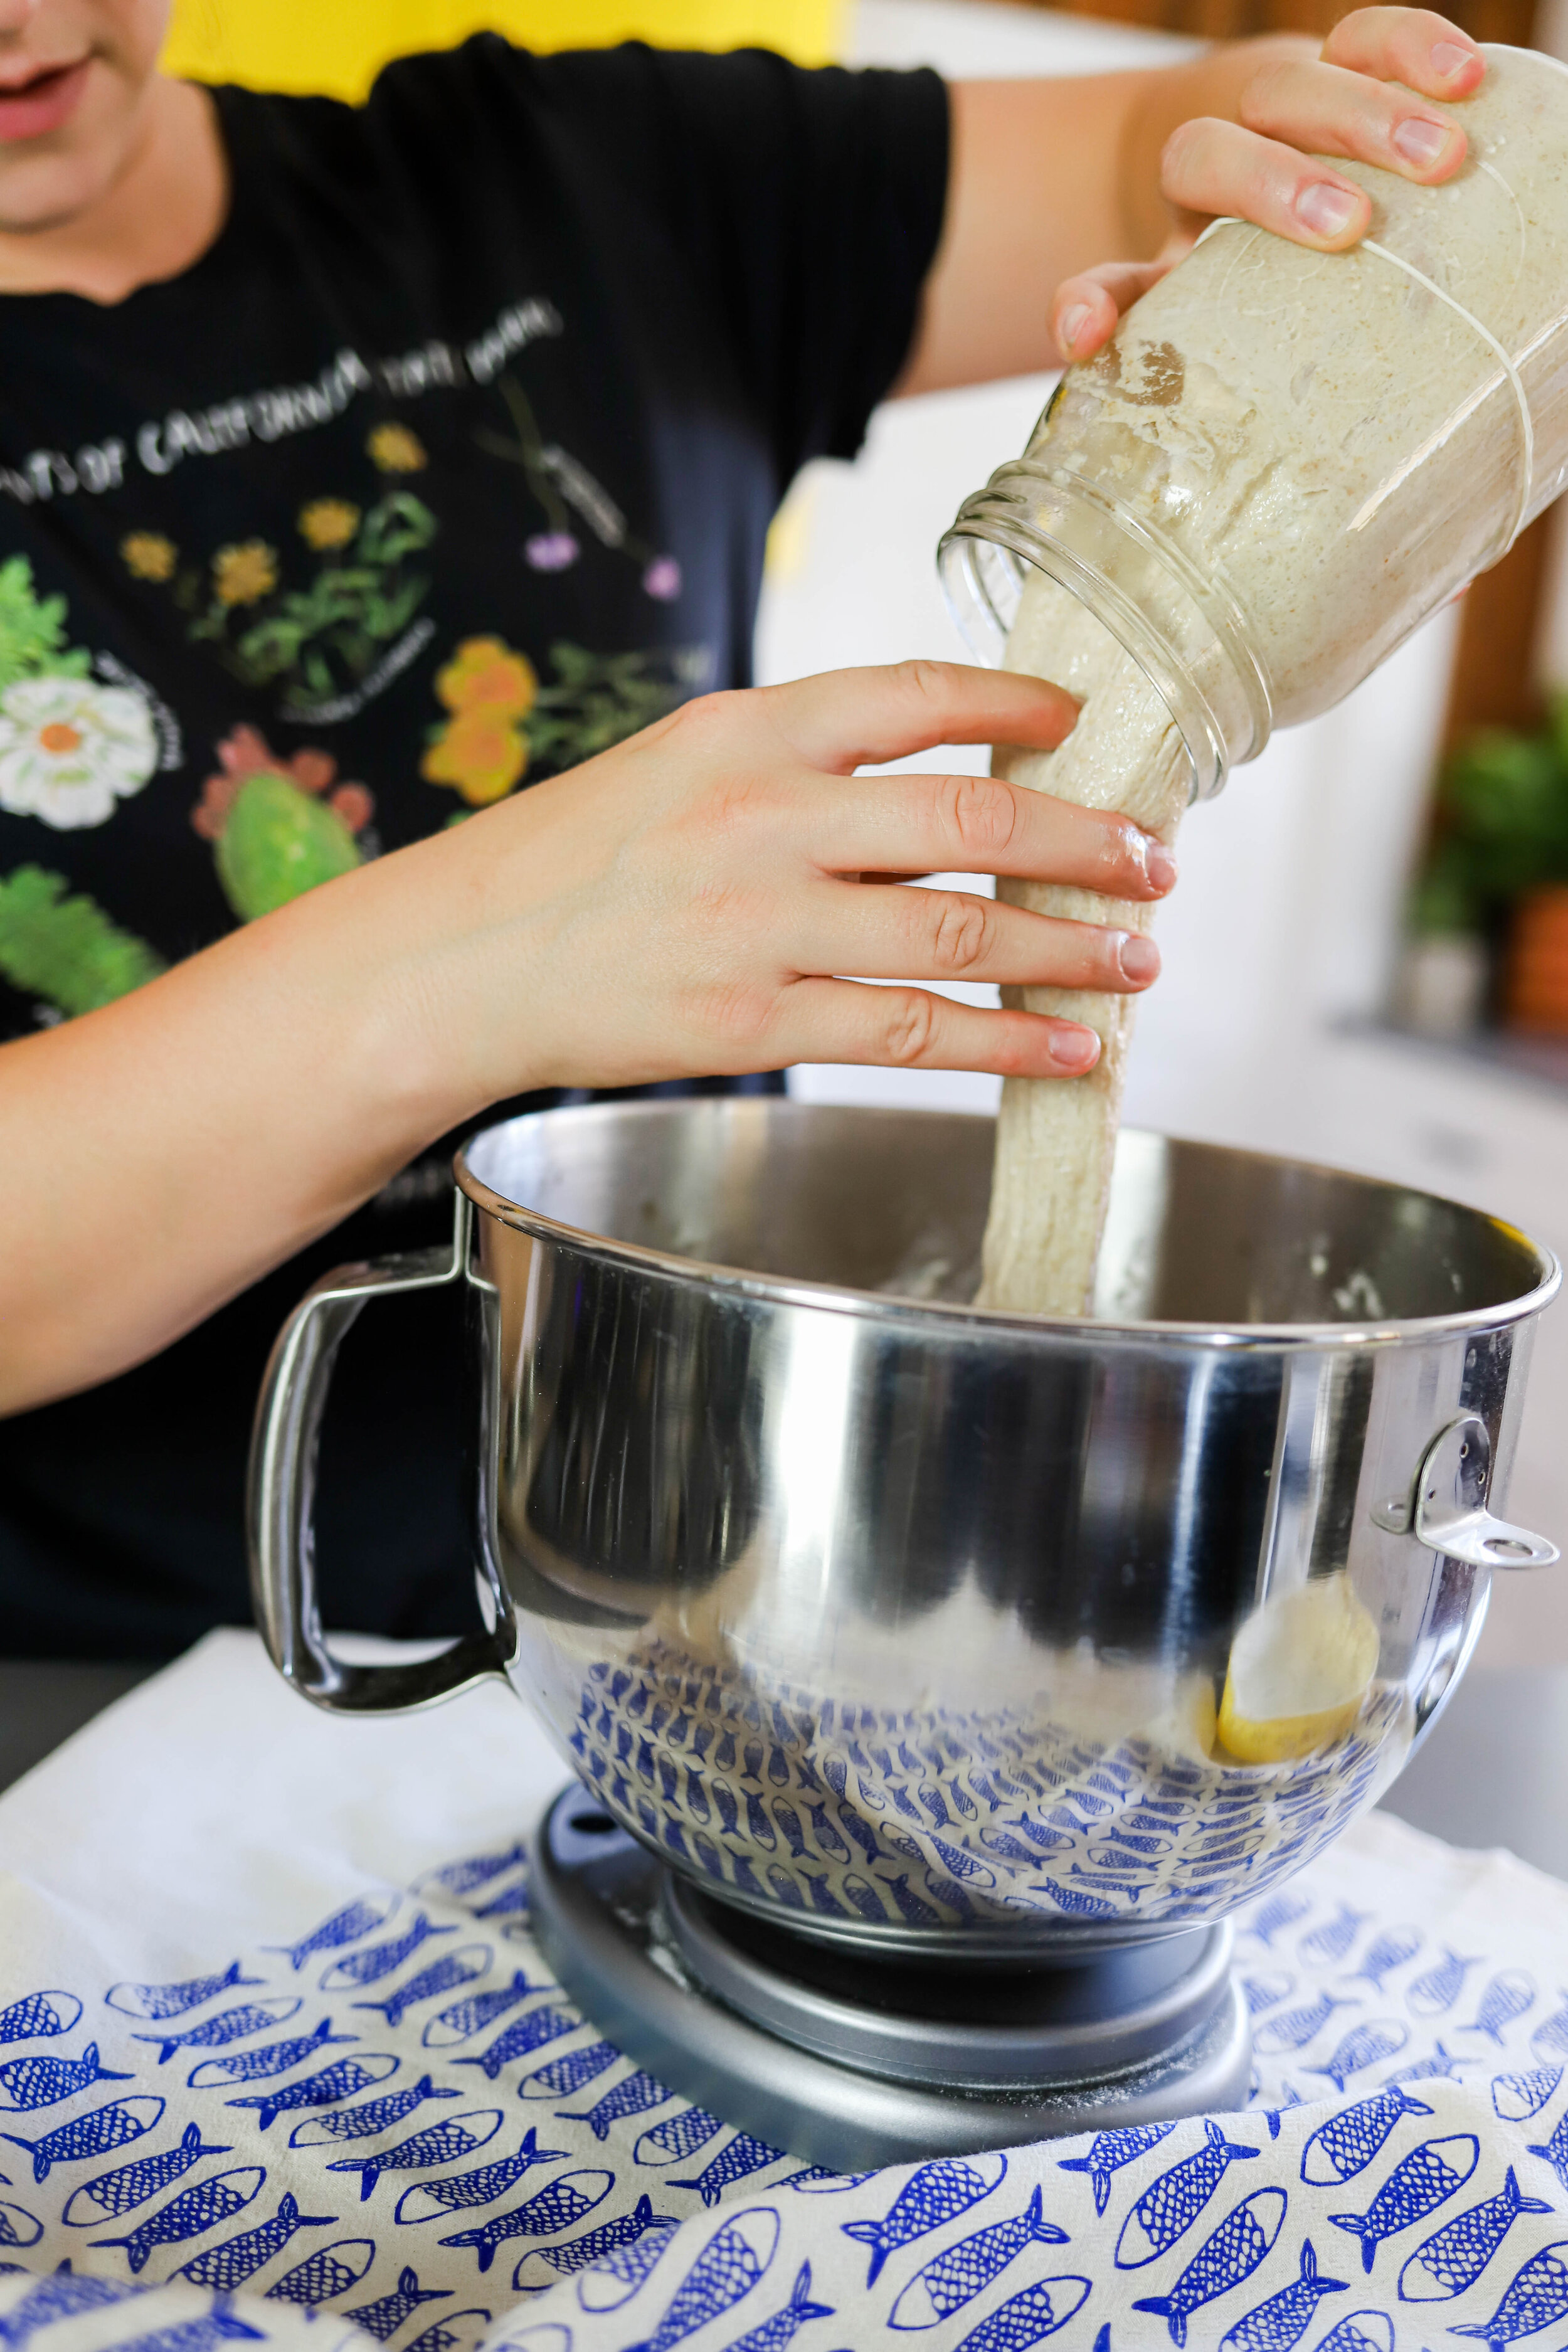
First I measure out the levain and use a wet hand to spread it evenly over the surface of my dough. Then I use my fingers to dimple it in a few times and finally I use my hand to really squish it together with the autolysed dough, mixing it as thoroughly as possible. Next I measure in my salt and repeat this process. Salt has a tendency to tighten the dough up a bit, so if it becomes too stiff you can add a little more water (try 10g at a time) to loosen it up.
Once the levain and salt are well-incorporated, it’s time to do some Rubaud mixing. I love how this technique builds strength early on and makes the dough really light and fluffy. It’s easiest to do this with high hydration dough, so with a 72% hydration dough I keep it short and sweet (your arm will get super tired). I do 5 minutes and then let the dough rest, covered, for 15. Then I do another 5 minutes Rubaud mixing and let it rest another 15 minutes. The dough will be kind of sticky, so I like to keep a bowl of lukewarm water nearby and keep wetting my hand as the dough starts sticking to it. I also use this bowl of water to wet my hands before doing the coil folds.
Now it’s time to move your dough to a fresh container for stretch and folds. You can use a heavy bowl, or my preference these days is a ceramic 9 x 13 baking dish with a lid. I rub a little bit of olive oil on the inside of the container to keep the wet dough from sticking. Then I do my first fold. My favorite way of doing stretch and folds these days is the coil fold (here’s a demonstration of how to do that). Depending on how the dough is feeling that day, I’ll usually do 2-3 coil folds spaced 15 minutes apart, and then another 2-4 folds spaced 30 minutes apart (see below for a full schedule in case this is confusing). You’ll notice that the dough starts to build a lot of strength during these folds, so you’ll learn the right amount for your specific dough as you practice this. Make sure to cover the bowl in between stretch and folds to keep the dough from drying out. I like to keep my bowl out on the counter out of the way of any direct heating or cooling device (aka, not next to a hot oven or under a cold air conditioning vent). I measure the temperature of my dough every couple of folds just to keep an eye on it - mine usually is about 79 - 80 degrees. If it drops below 78 I’ll put the bowl inside a cold oven with the pilot light on to warm it up a bit.
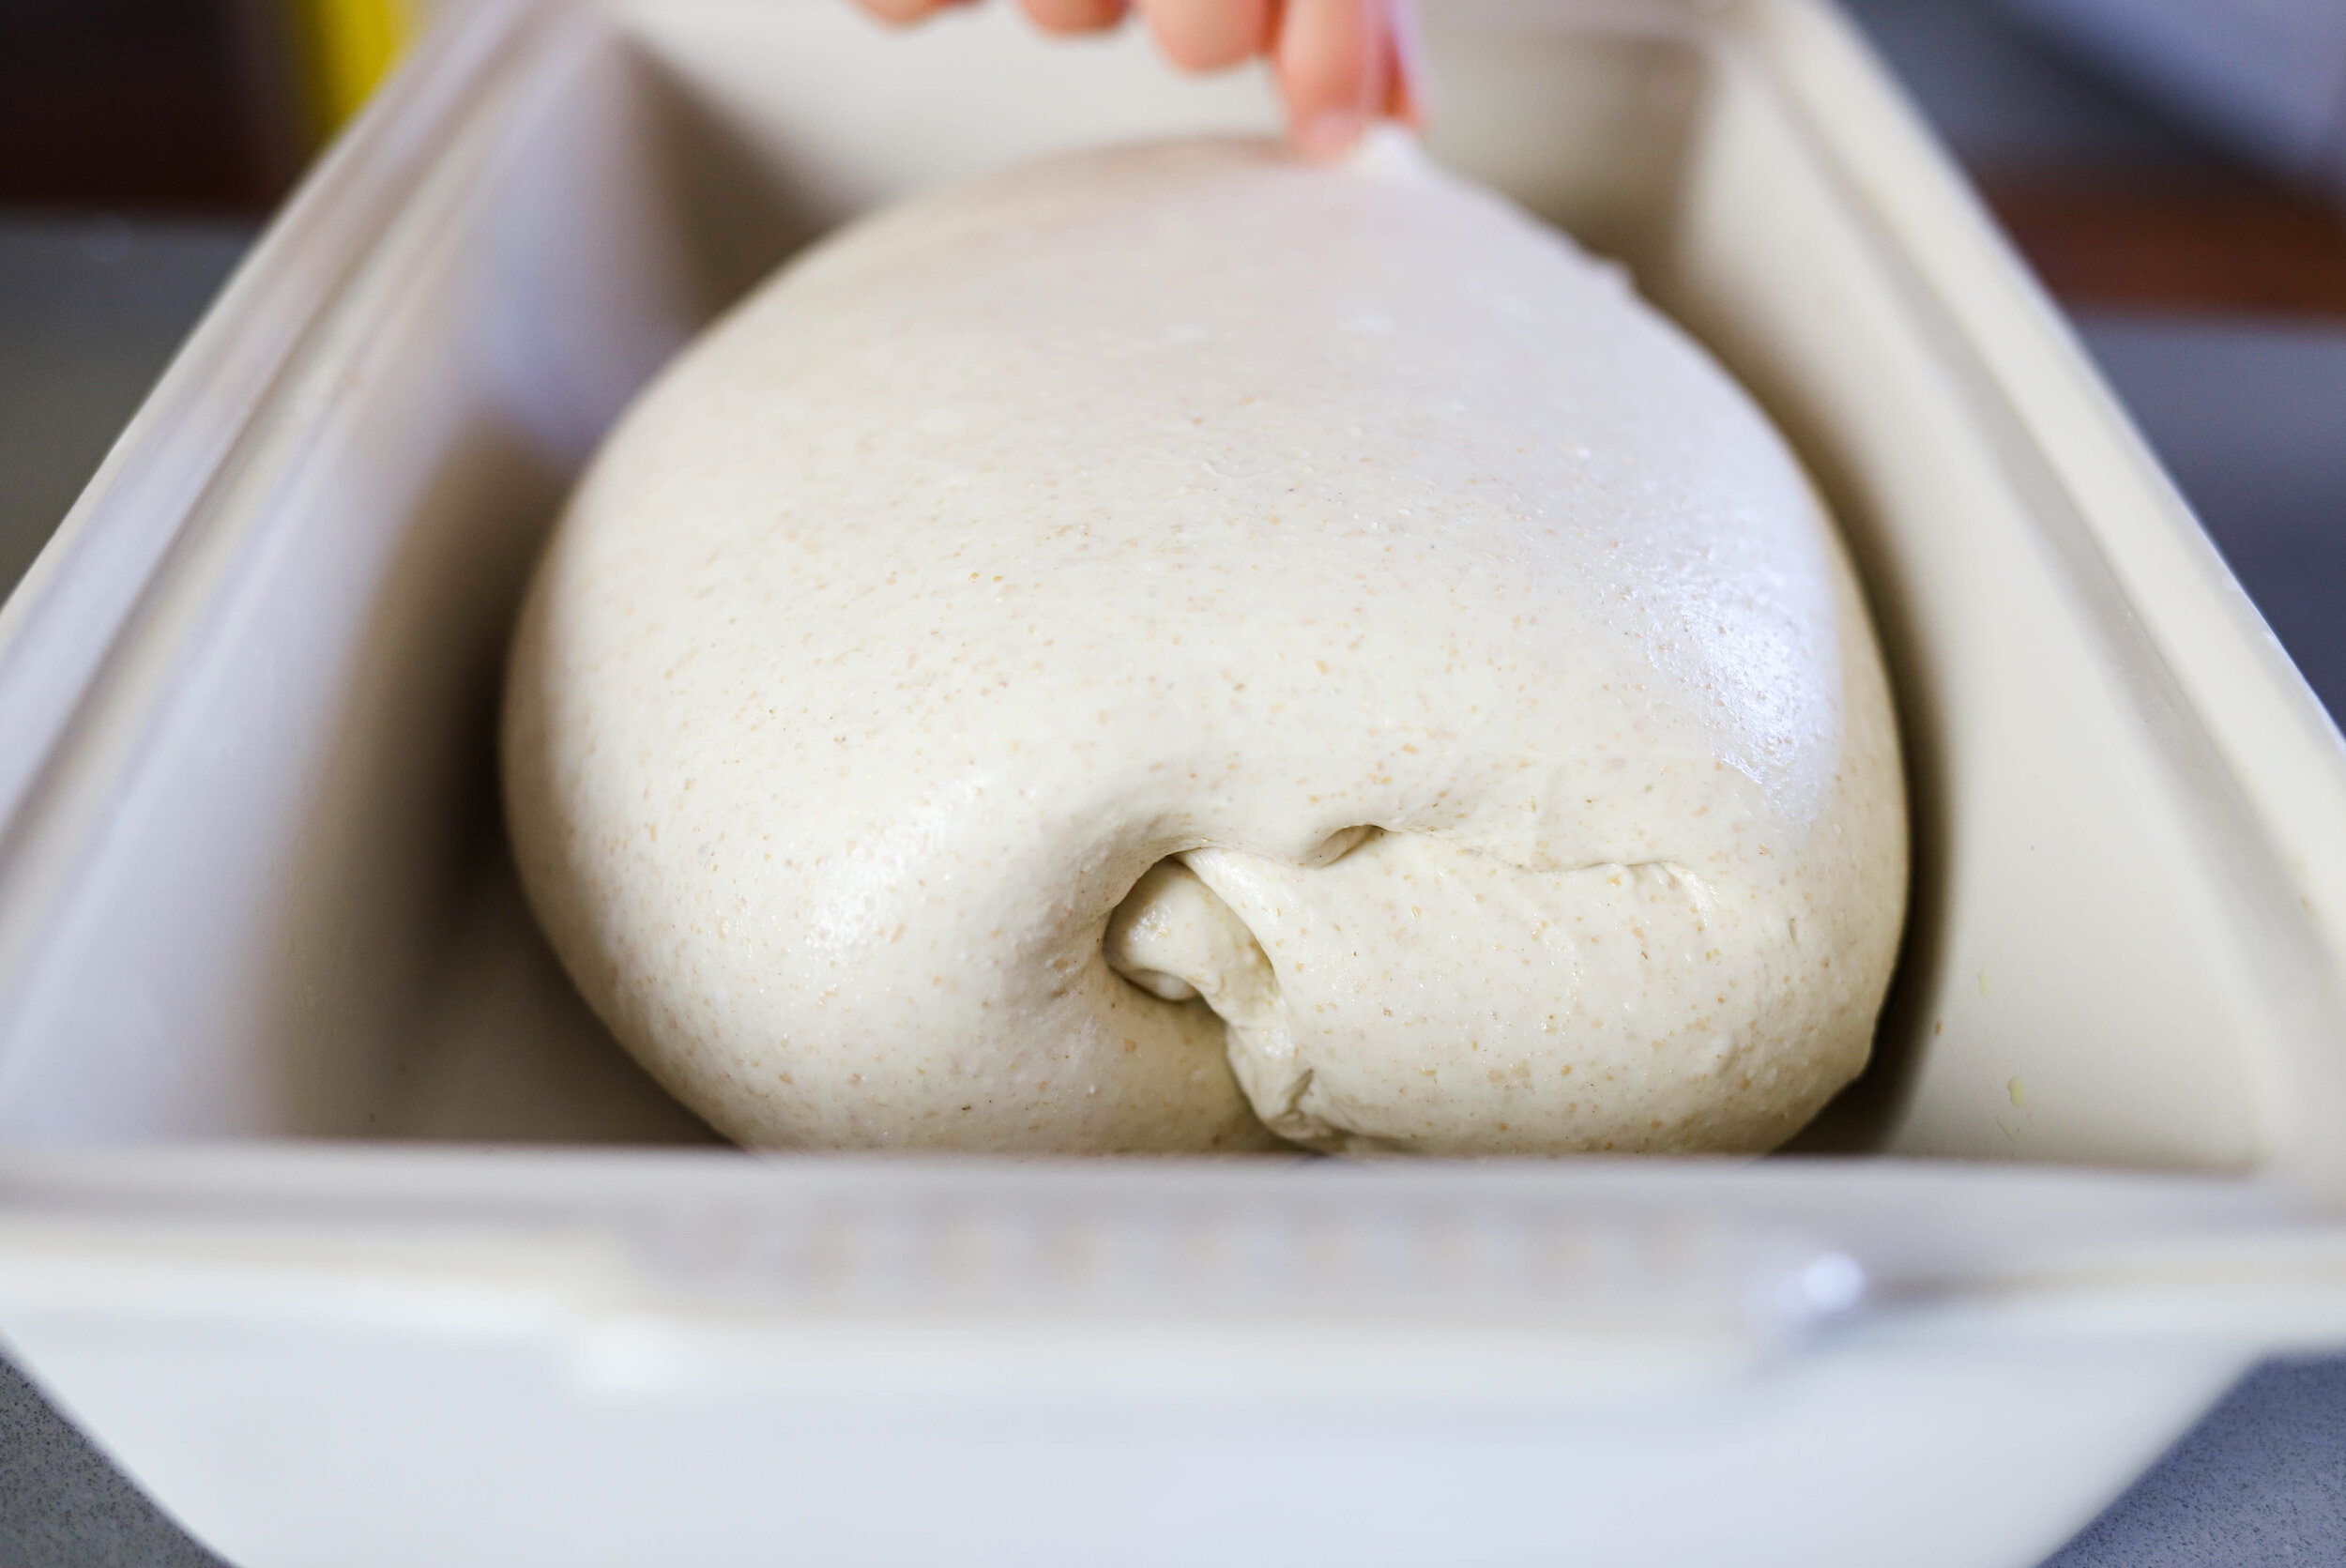
After you’ve done enough folds to a point where my dough feels strong and has started to double in size, cover it and set it aside to finish the bulk fermentation. Let’s talk bulk fermentation timing - you start the clock as soon as you mix the levain and salt into the dough. If your dough is about 79 or 80 degrees, your total bulk fermentation time (all the time between when you mix everything until you do the pre-shape) should be around 3.5 - 4.5 hours. So if you’re following this method, you’ll spend about 30 minutes mixing/resting the dough, then
1.5 - 2.5 hours doing stretch and folds, and finally another hour letting it rest and ferment.
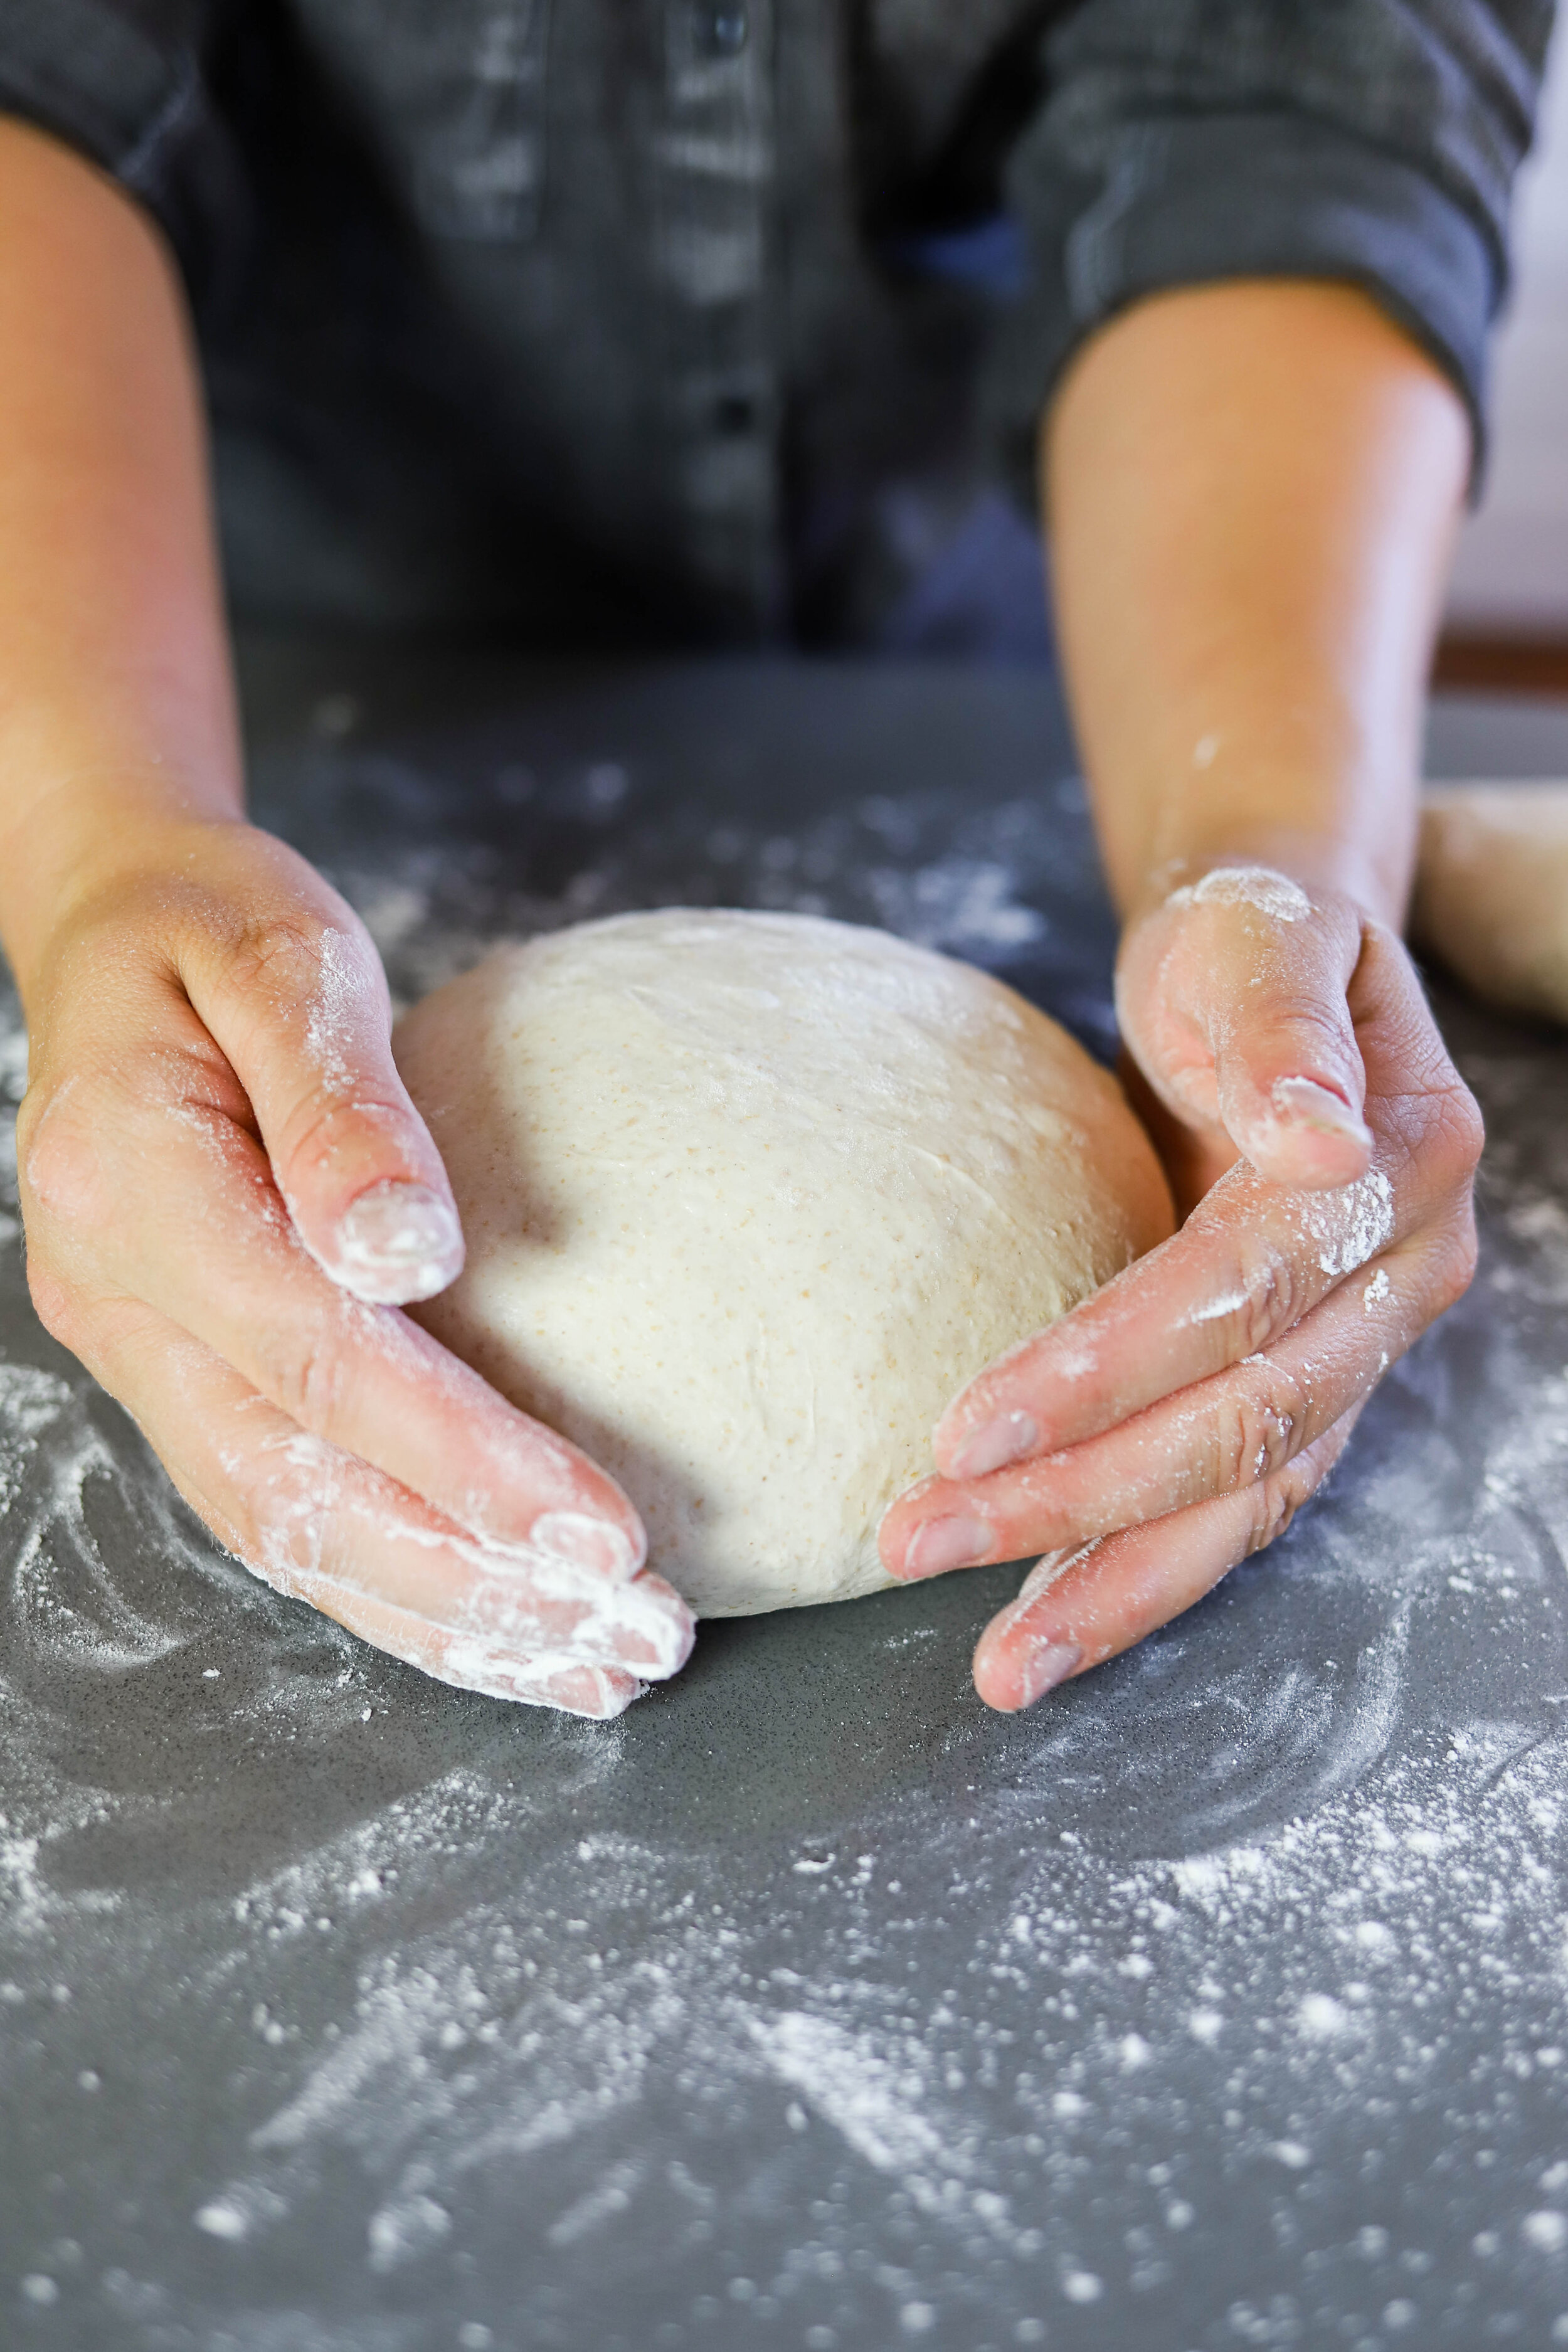
Now it’s time to pre-shape! Sprinkle some flour (I just use regular AP) onto a clean surface and gently release your dough onto the surface. Use a dough scraper to split the dough in half. Sprinkle each half with a little more flour, then use your scraper to flip one half over so the floured side is down. Fold each side up into the middle, and then use the scraper to flip it over again. Use the scraper and/or your floured hand to work the ball into a taught round. Repeat with the second half of the dough. Cover with a kitchen towel and allow to rest for 30 minutes.
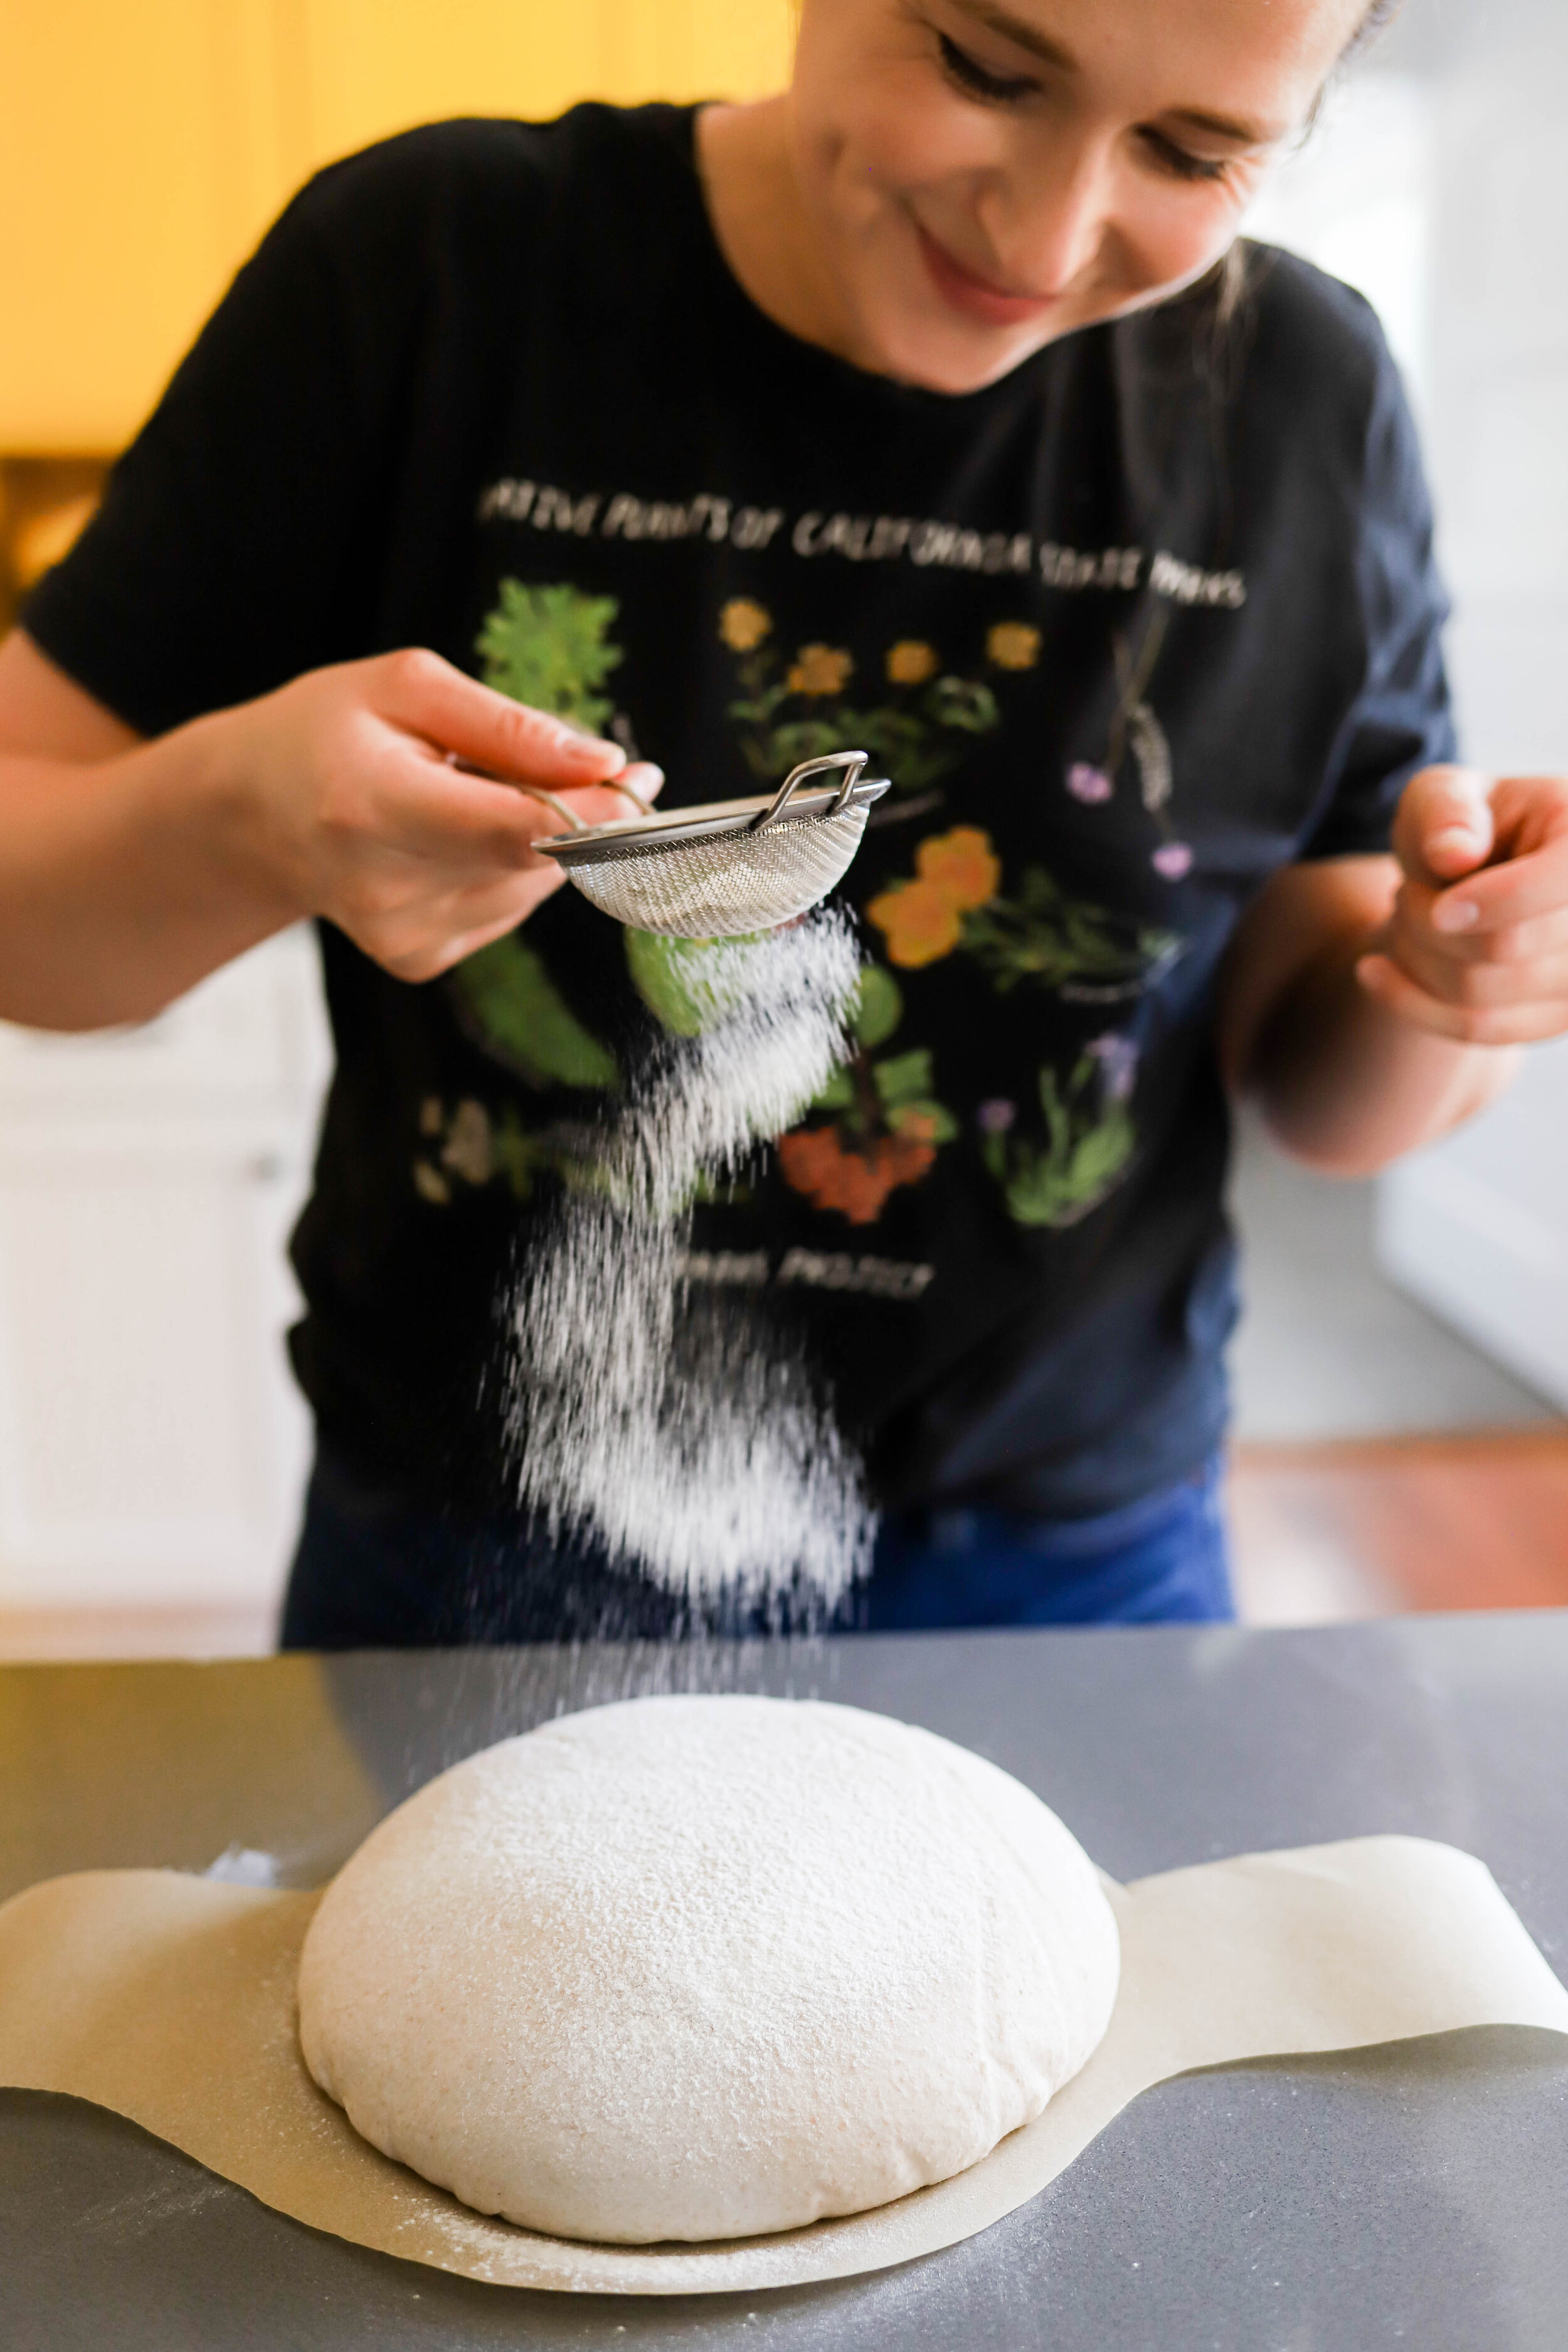
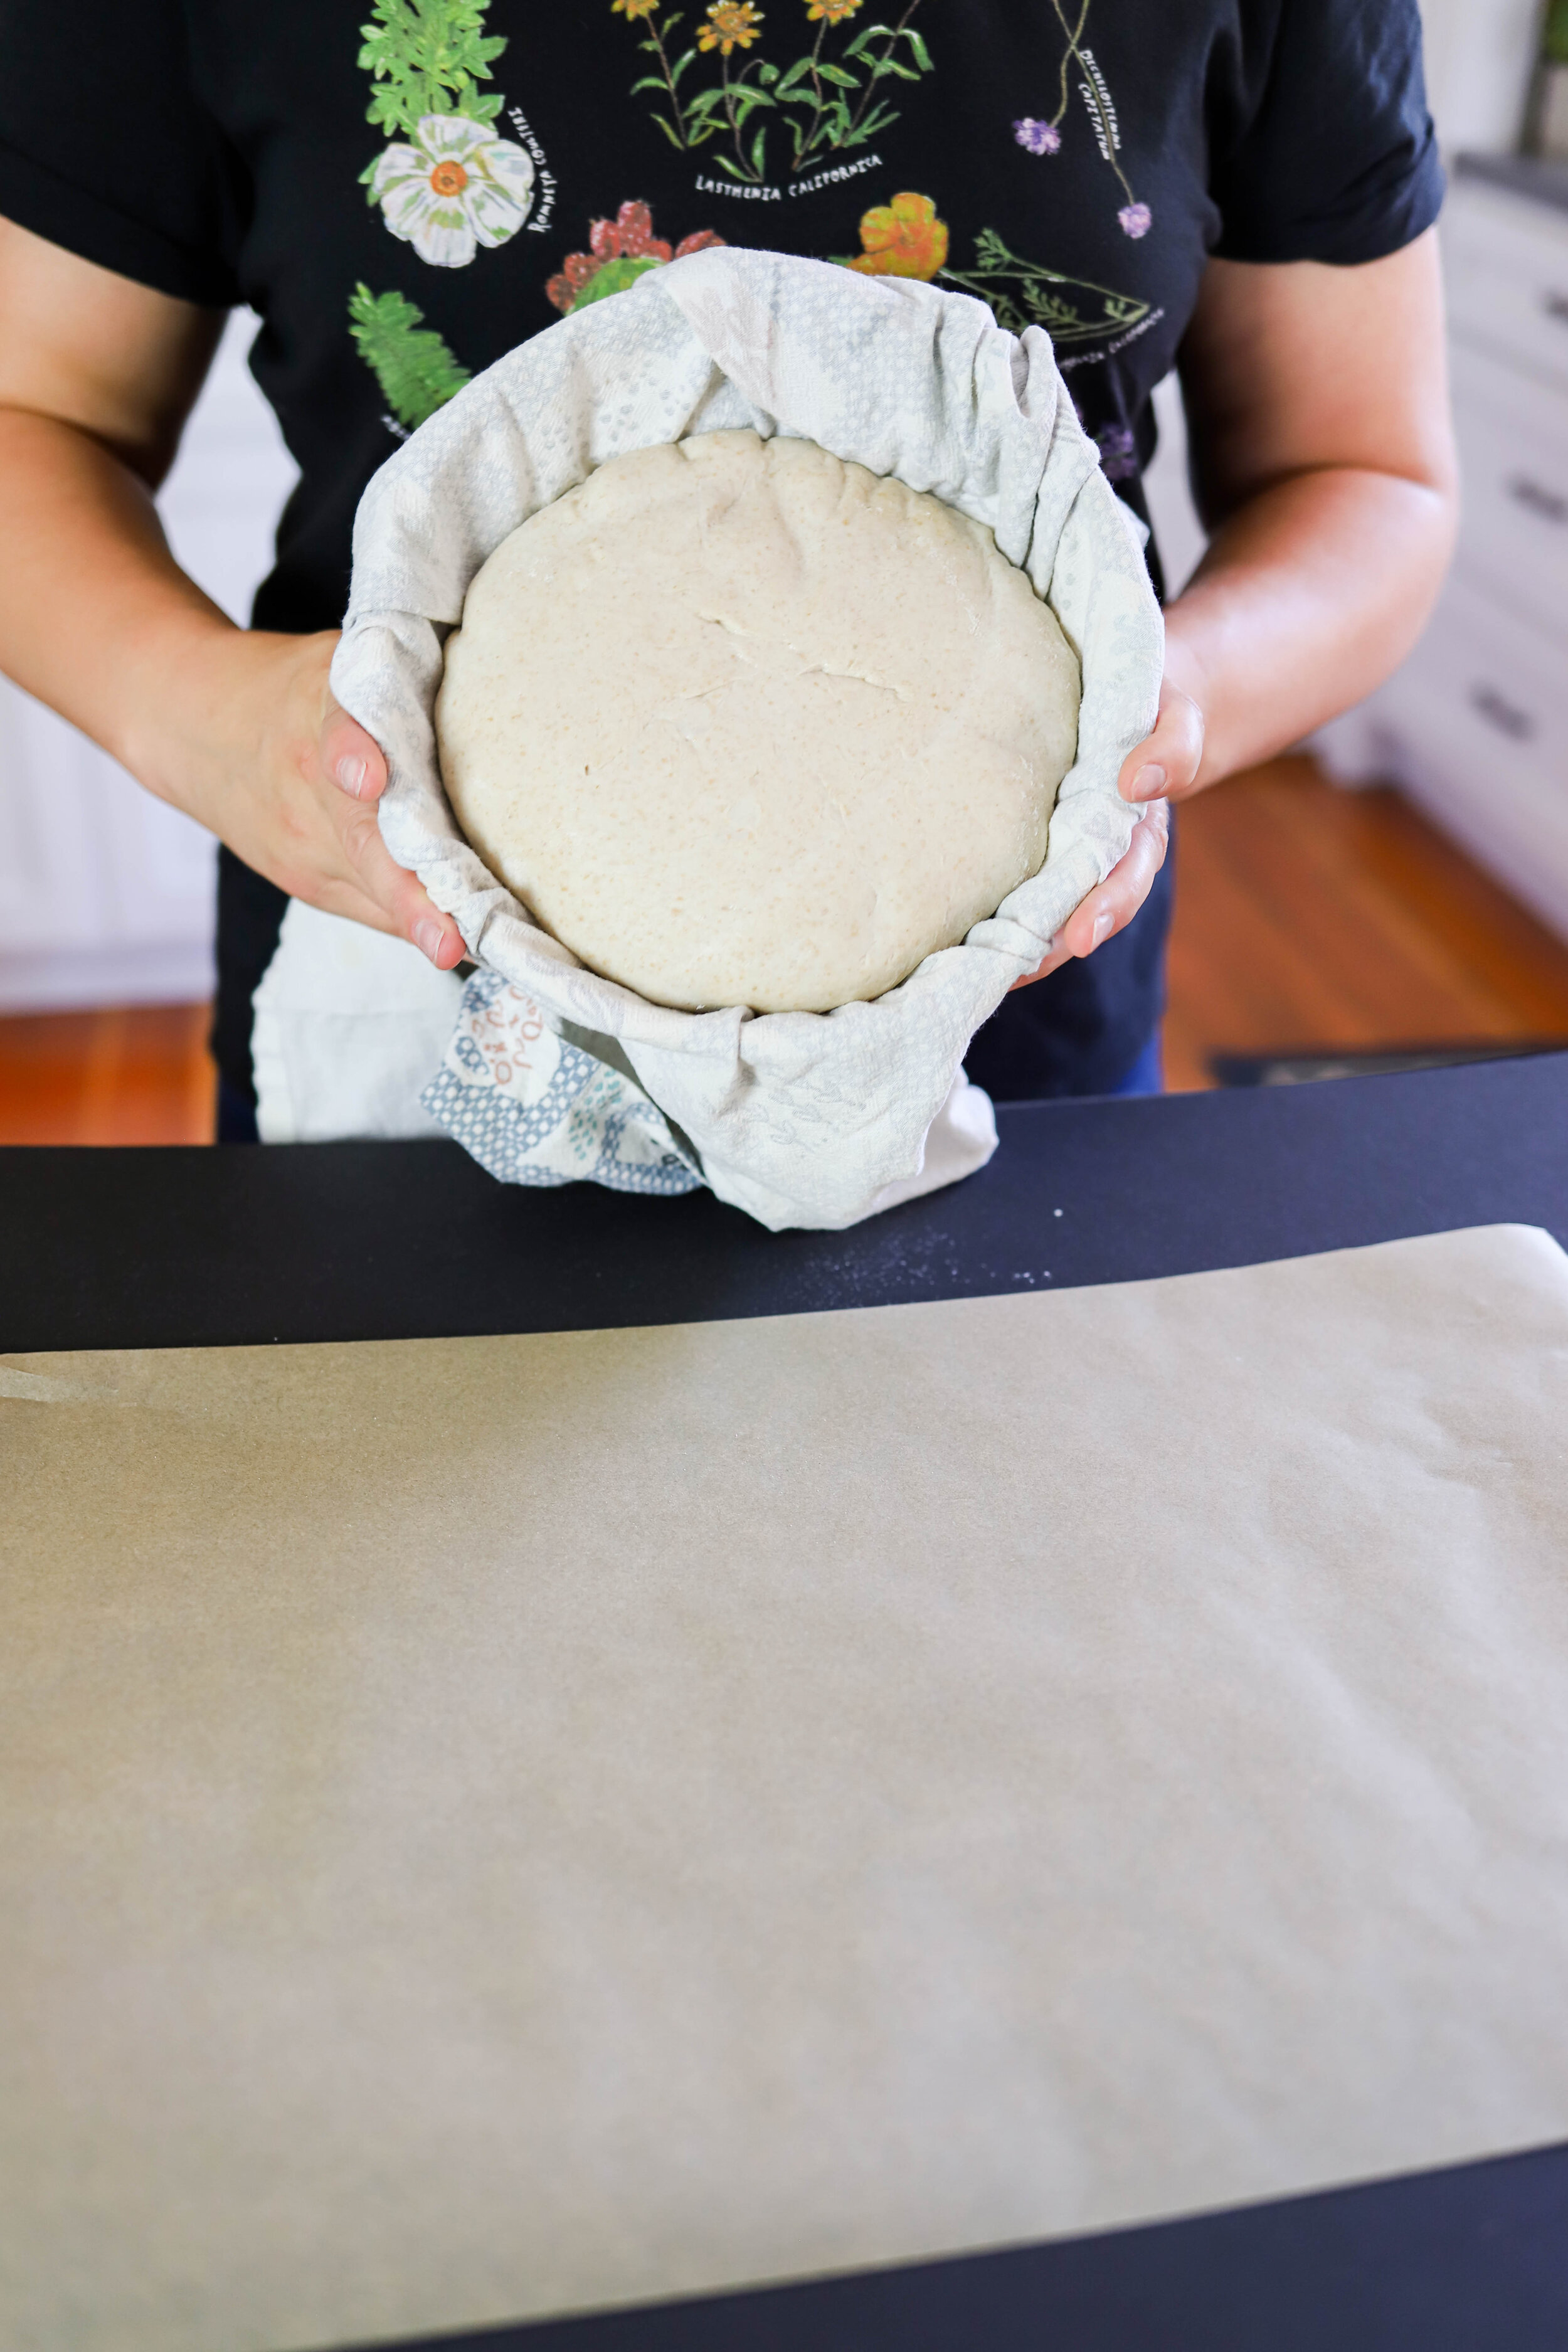
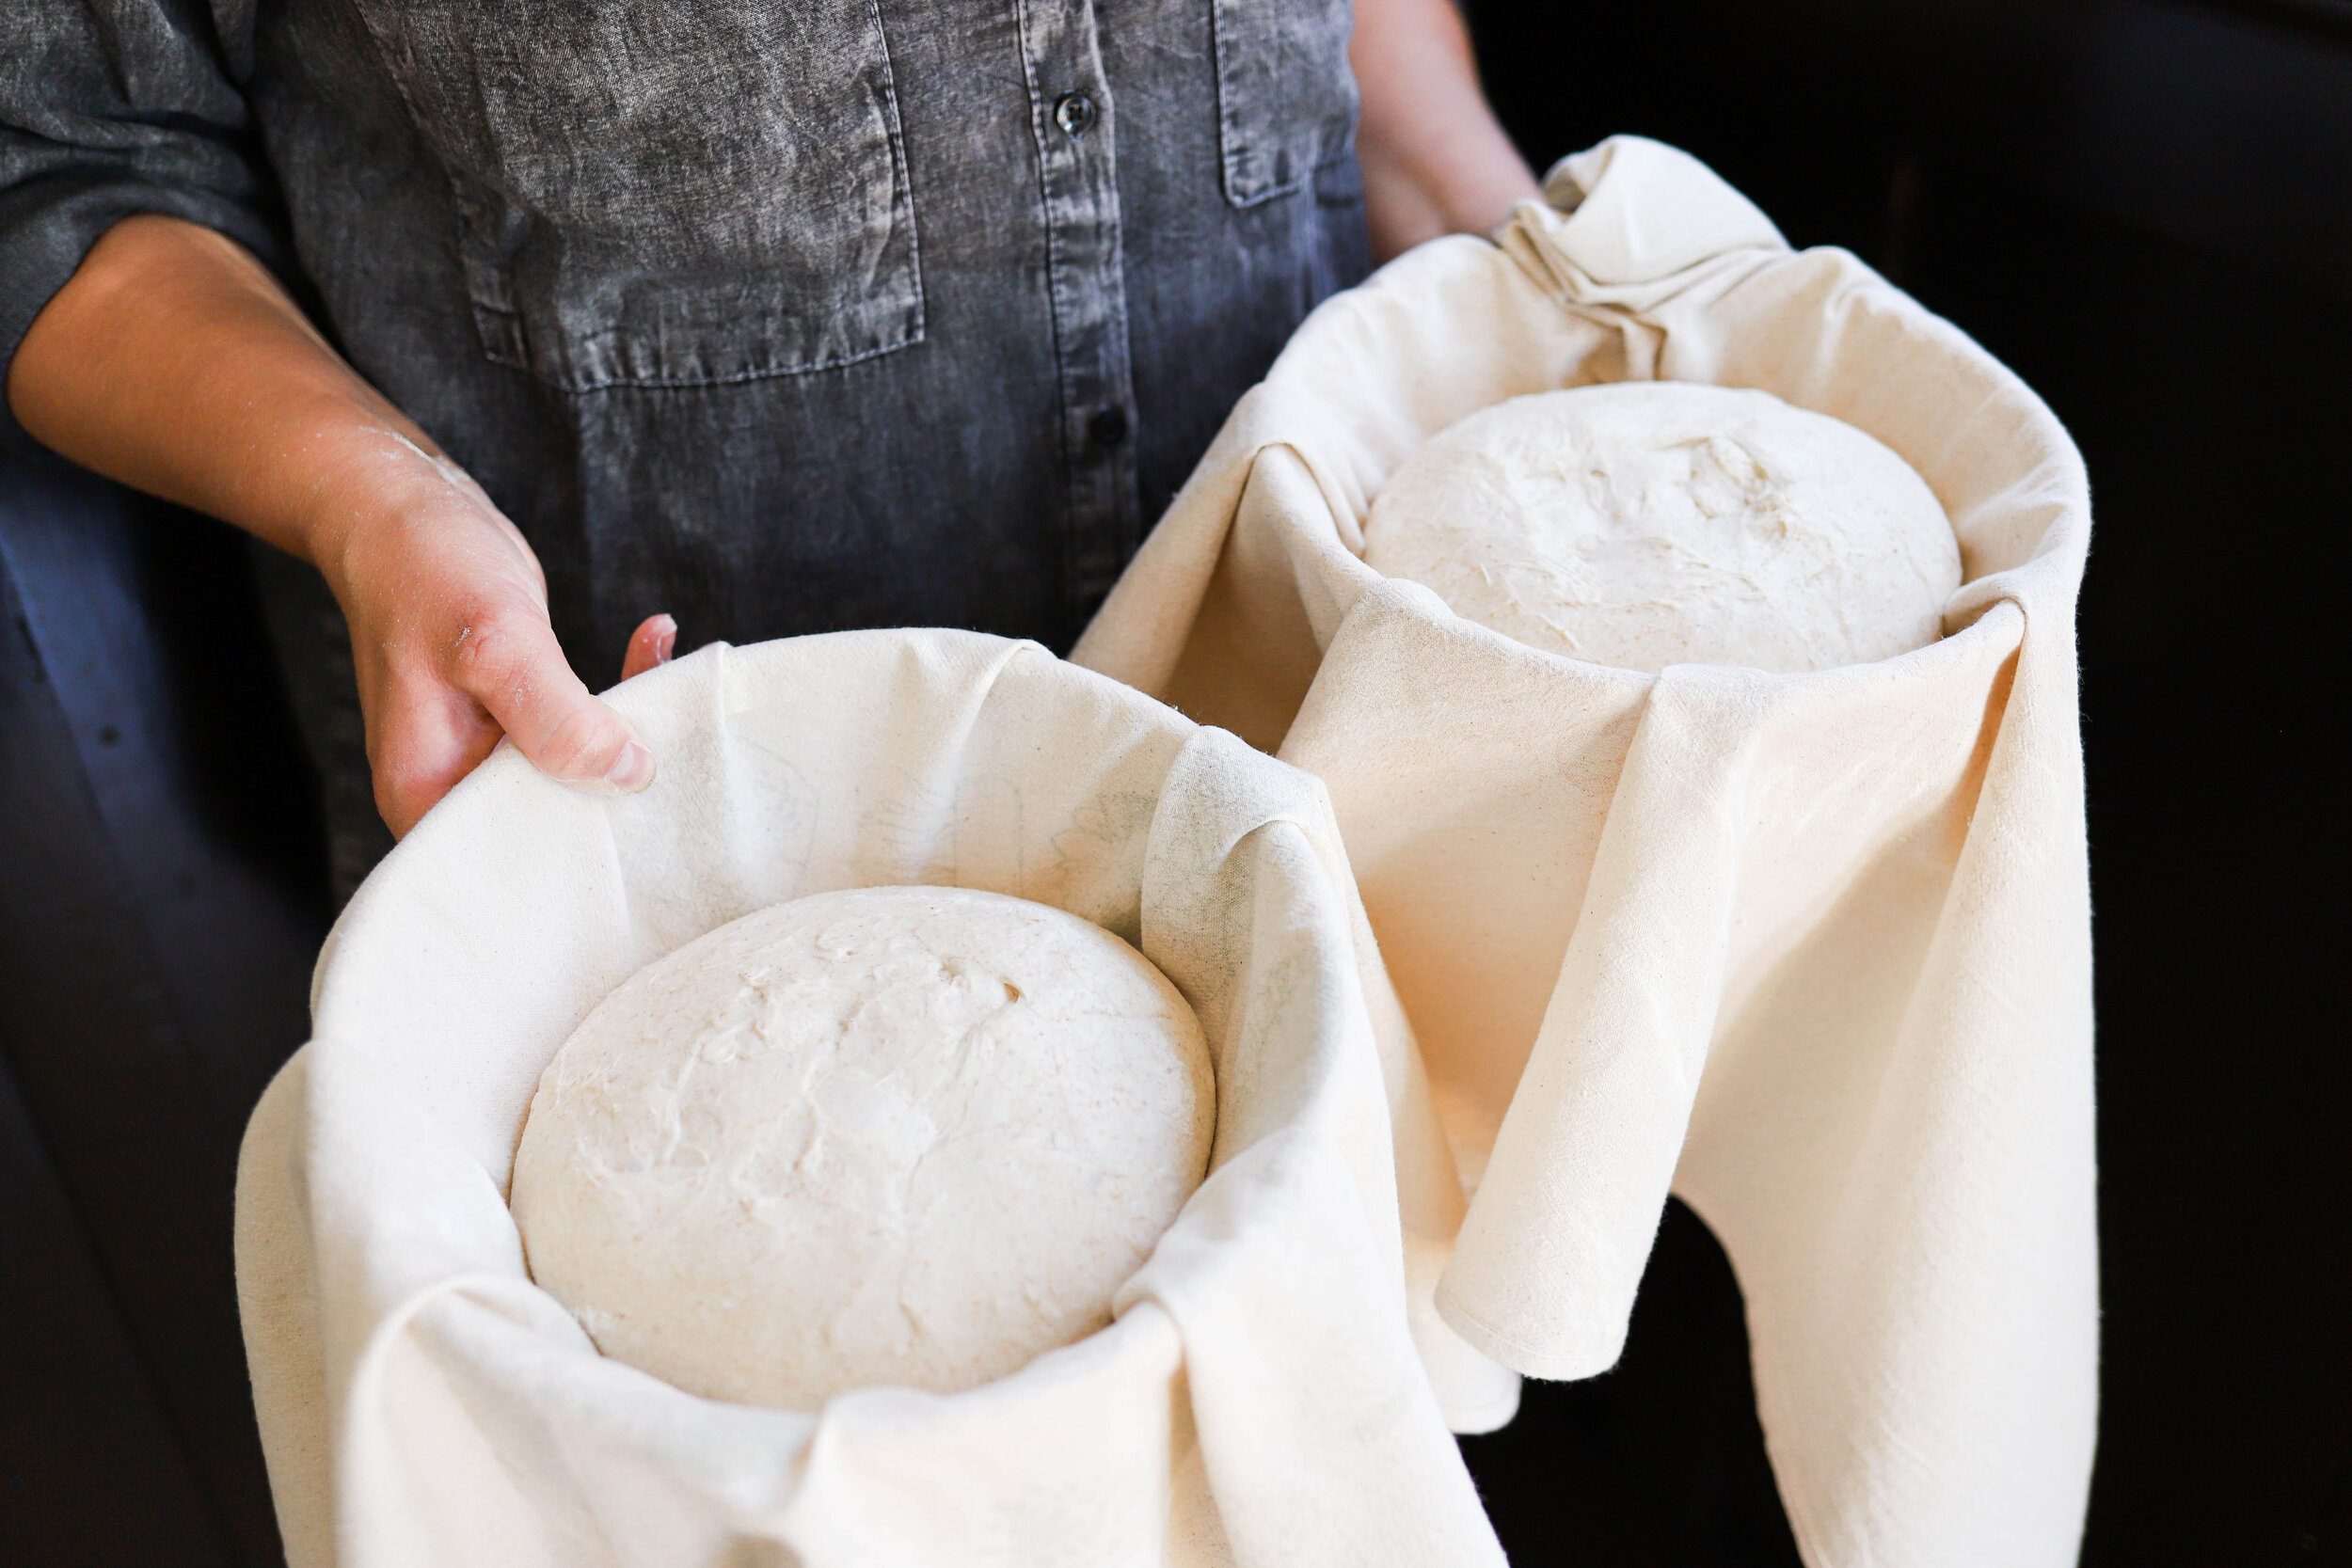
After the dough has rested (this allows the gluten to relax a little bit which will make final shaping much easier), repeat this process with each dough round: flour the top lightly, flip it over, gently stretch each side up and then in, and then flip it back over and work it into a ball with nice tension on top. Sprinkle with brown rice flour and use the bench scraper to transfer it to a banneton or a towel-lined bowl. Flip it in upside down (the bottom side of the dough will now be facing up). I used to then put the whole banneton in a big plastic bag for proofing overnight, but that caused one of my bannetons to grow mold, so now I just fold the edges of the towel over the dough and put it in the refrigerator as is.
Proof your dough in the fridge overnight, anywhere between 10 - 16 hours. My favorite timing is about 12-14 hours - this produces a nice tangy taste that’s not too sour.
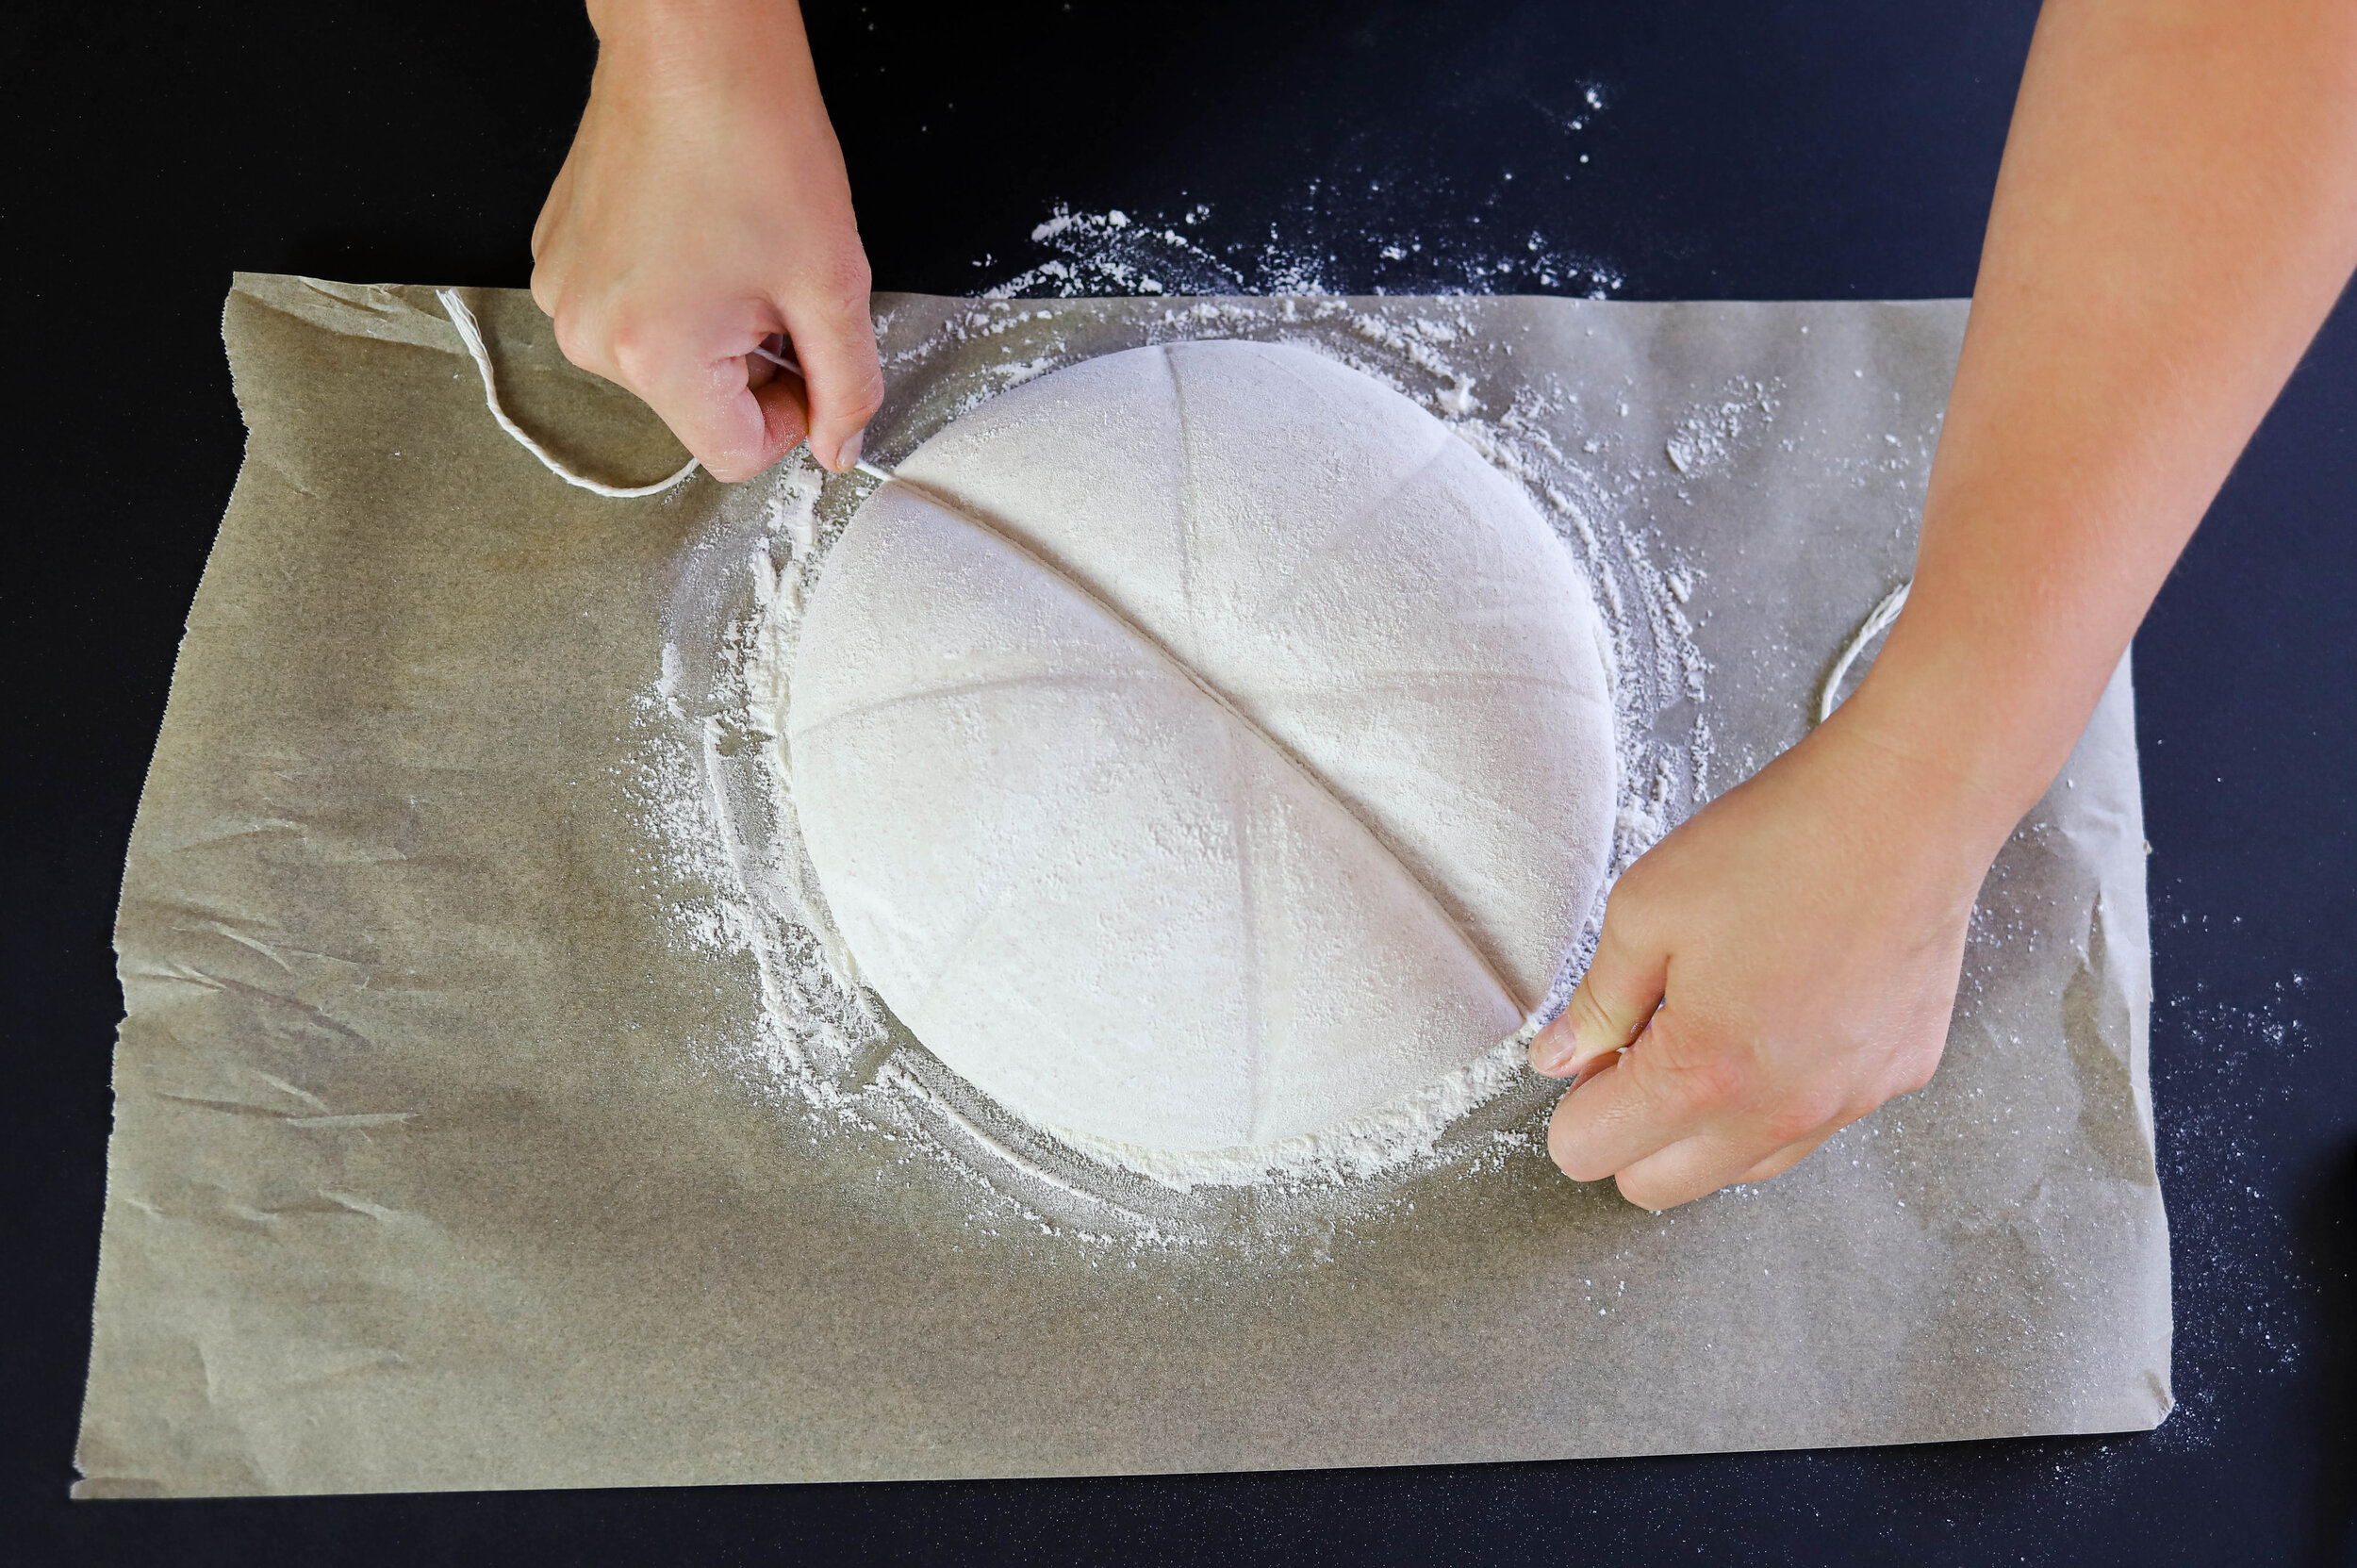
When you’re ready to bake the next day, preheat your oven to 500 degrees. I like to preheat my dutch oven or challenger bread pan (whichever I’m using) for around 45 minutes to get it super hot. Once the oven and pan are properly heated, lay a piece of parchment on the counter and gently release your dough directly from the fridge onto the paper. Score the bread with a lame (sprinkle it with flour through a sieve if you’re doing an intricate design that you want to show up well). Carefully lower it into the heated pot and place the lid on quickly.
Lower the temperature to 450 degrees and bake with the lid on for 26 minutes. Then carefully remove the lid and bake for another 14 minutes. Sometimes if the bread hasn’t browned enough for my liking, I’ll take it out of the pot and put it directly on the oven rack for another few minutes to brown further. If you can’t bake two loaves at once, make sure to bring the oven back up to 500/525 to preheat your pan for about 20 minutes before you bake your second loaf. When I’m baking my second loaf of bread, I’ll often turn the oven off when it’s nearly done baking and crack the door, allowing the crust of the loaf to crisp up nicely as the oven cools slowly.
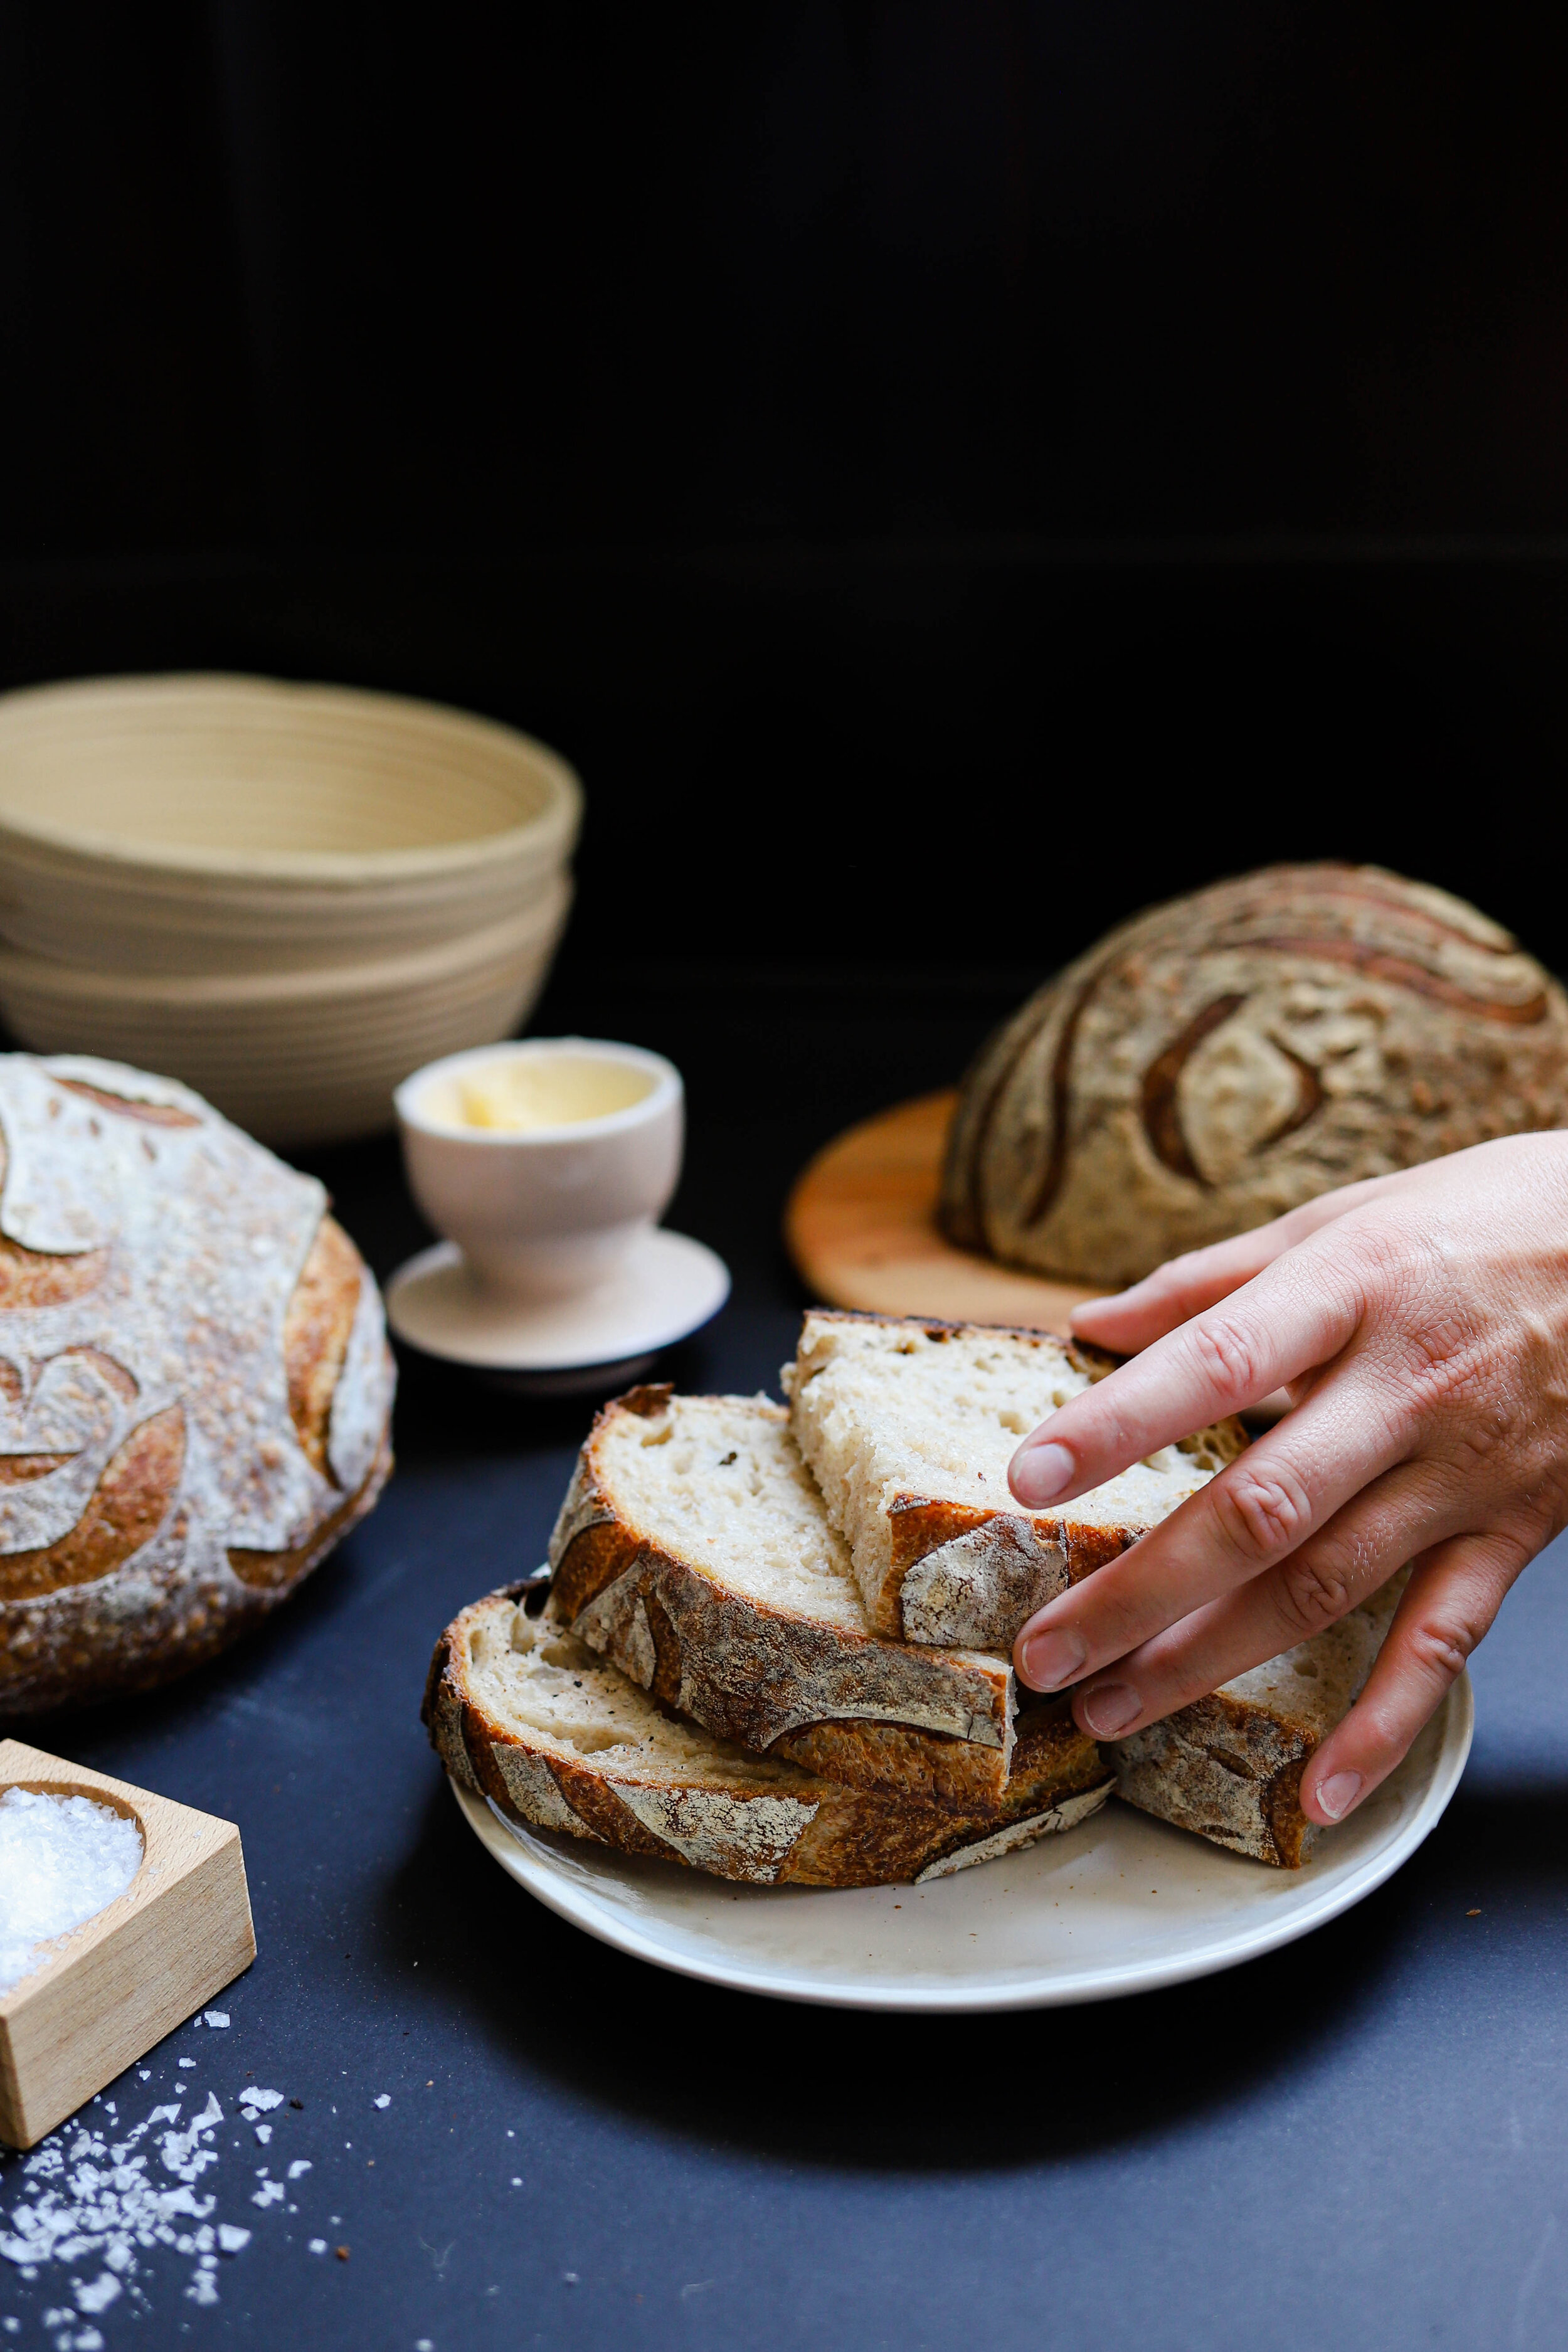
Cool your loaf on a rack for at least an hour (several hours of cooling is preferable though). Slice and serve! Whatever we haven’t finished by the next morning will usually get sliced and frozen, this is my favorite way to preserve the freshness of the bread! Just pop the frozen slices directly in the toaster when you want to eat them.
SAMPLE SCHEDULE:
9:00 am - make levain
10:00 am - autolyse flour & water
12:00 pm - mix in levain and salt
12:05 pm - 12:10 - 5 minutes of rubaud mixing
12:10 pm - 12:25 - 15 minutes rest (covered)
12:25 pm - 12:30 - 5 minutes of rubaud mixing
12:30 pm - 12:45 - 15 minutes rest (covered)
12:45 pm - transfer to new bowl and do coil fold #1
1:00 pm - coil fold #2
1:15 pm - coil fold #3
1:45 pm - coil fold #4
2:15 pm - coil fold #5
2:45 pm - coil fold #6
3:15 pm - coil fold #7
3:15 pm - 4:15 pm - allow to rest and finish bulk fermentation
4:15 pm - pre shape on counter
4:20 pm - 4:50 - bench rest
4:50 pm - final shape
5:00 pm - into the fridge for cold overnight proof
Next morning:
7:30 am - preheat oven
8:30 am - 9:10 am bake loaf #1
9:10 am - 9:40 - re-heat pan
9:40 am - 10:20 am - bake loaf #2